
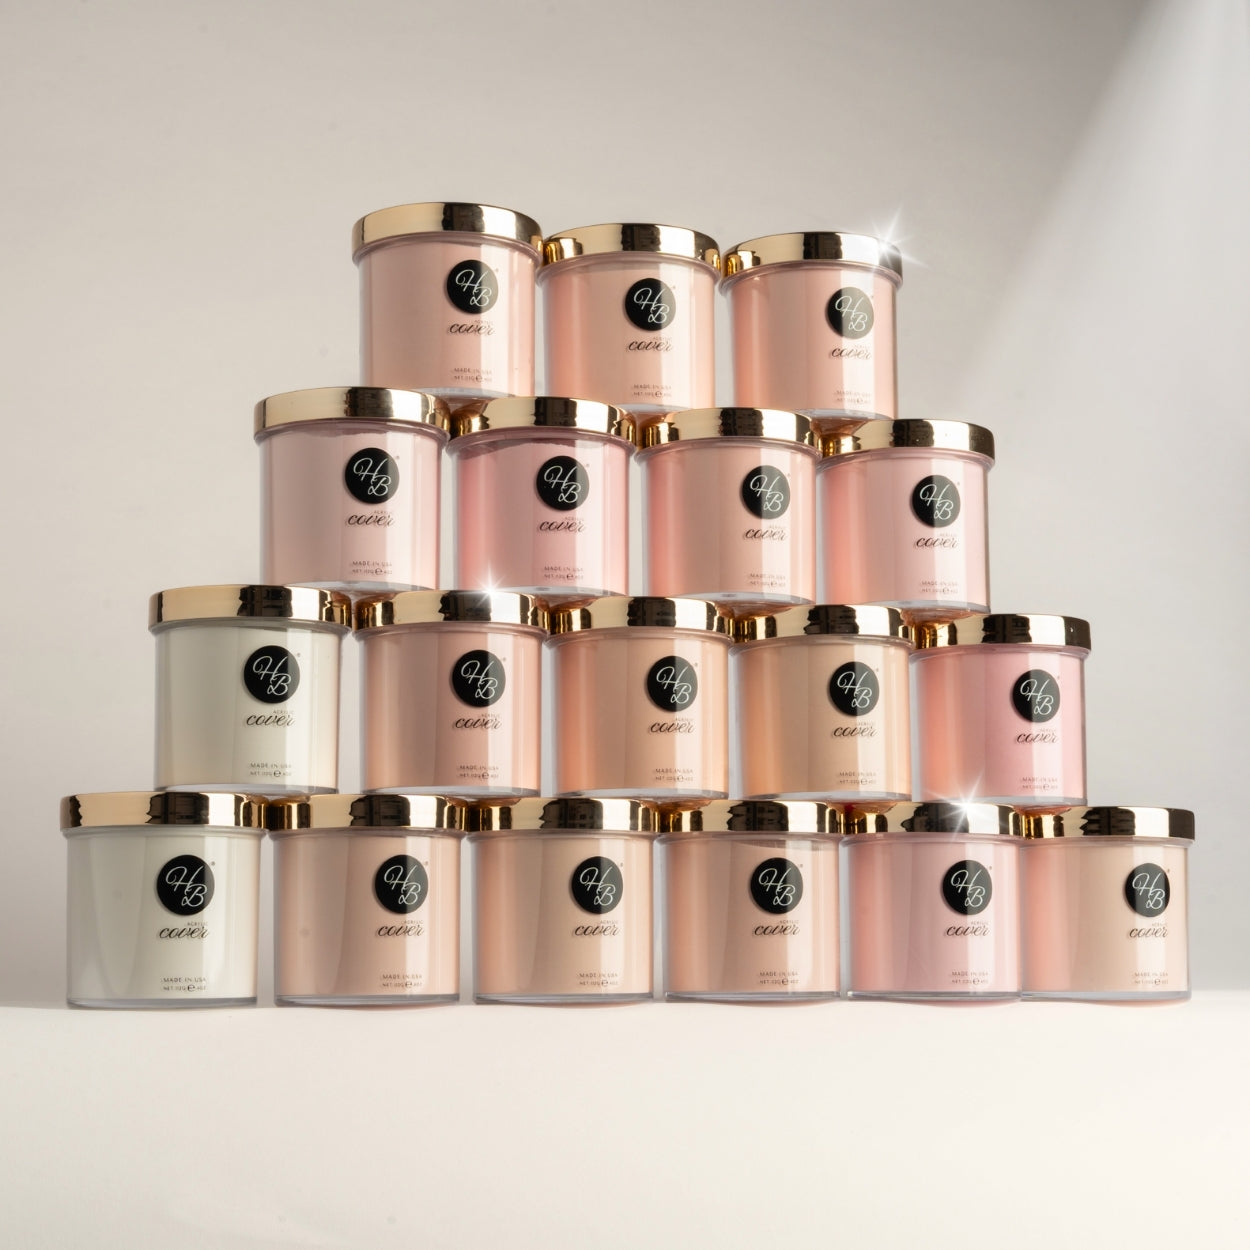


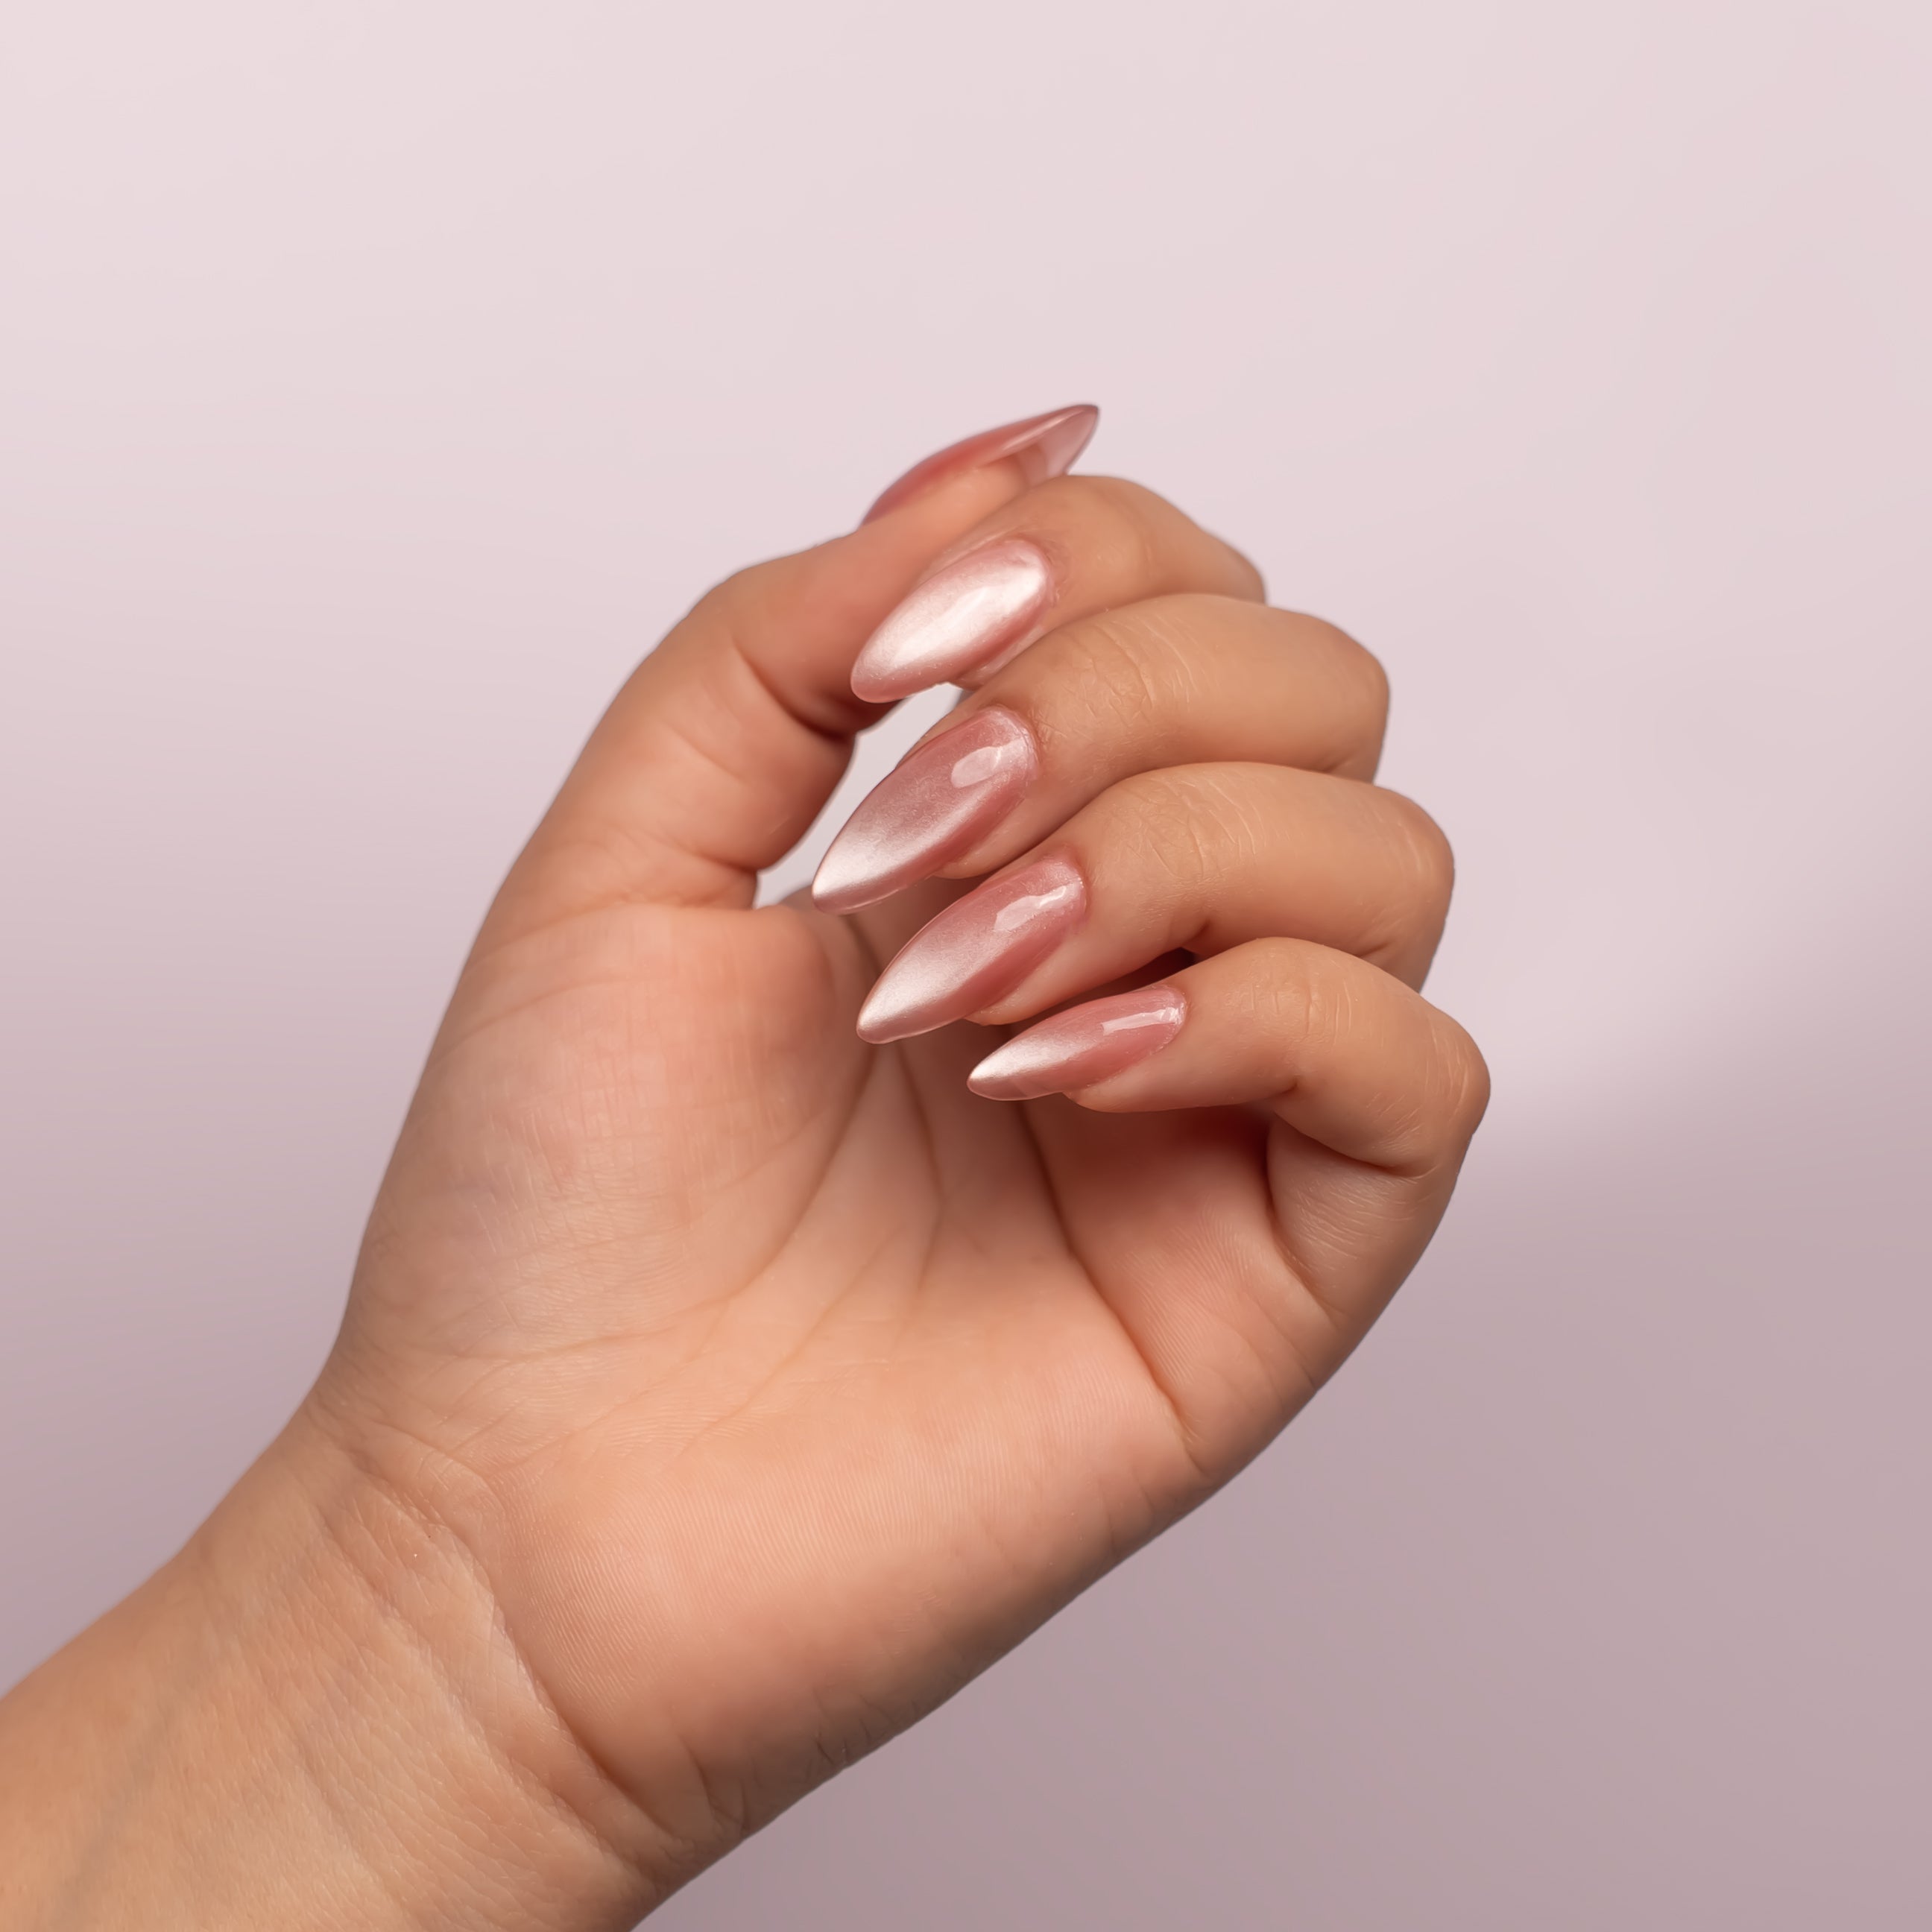
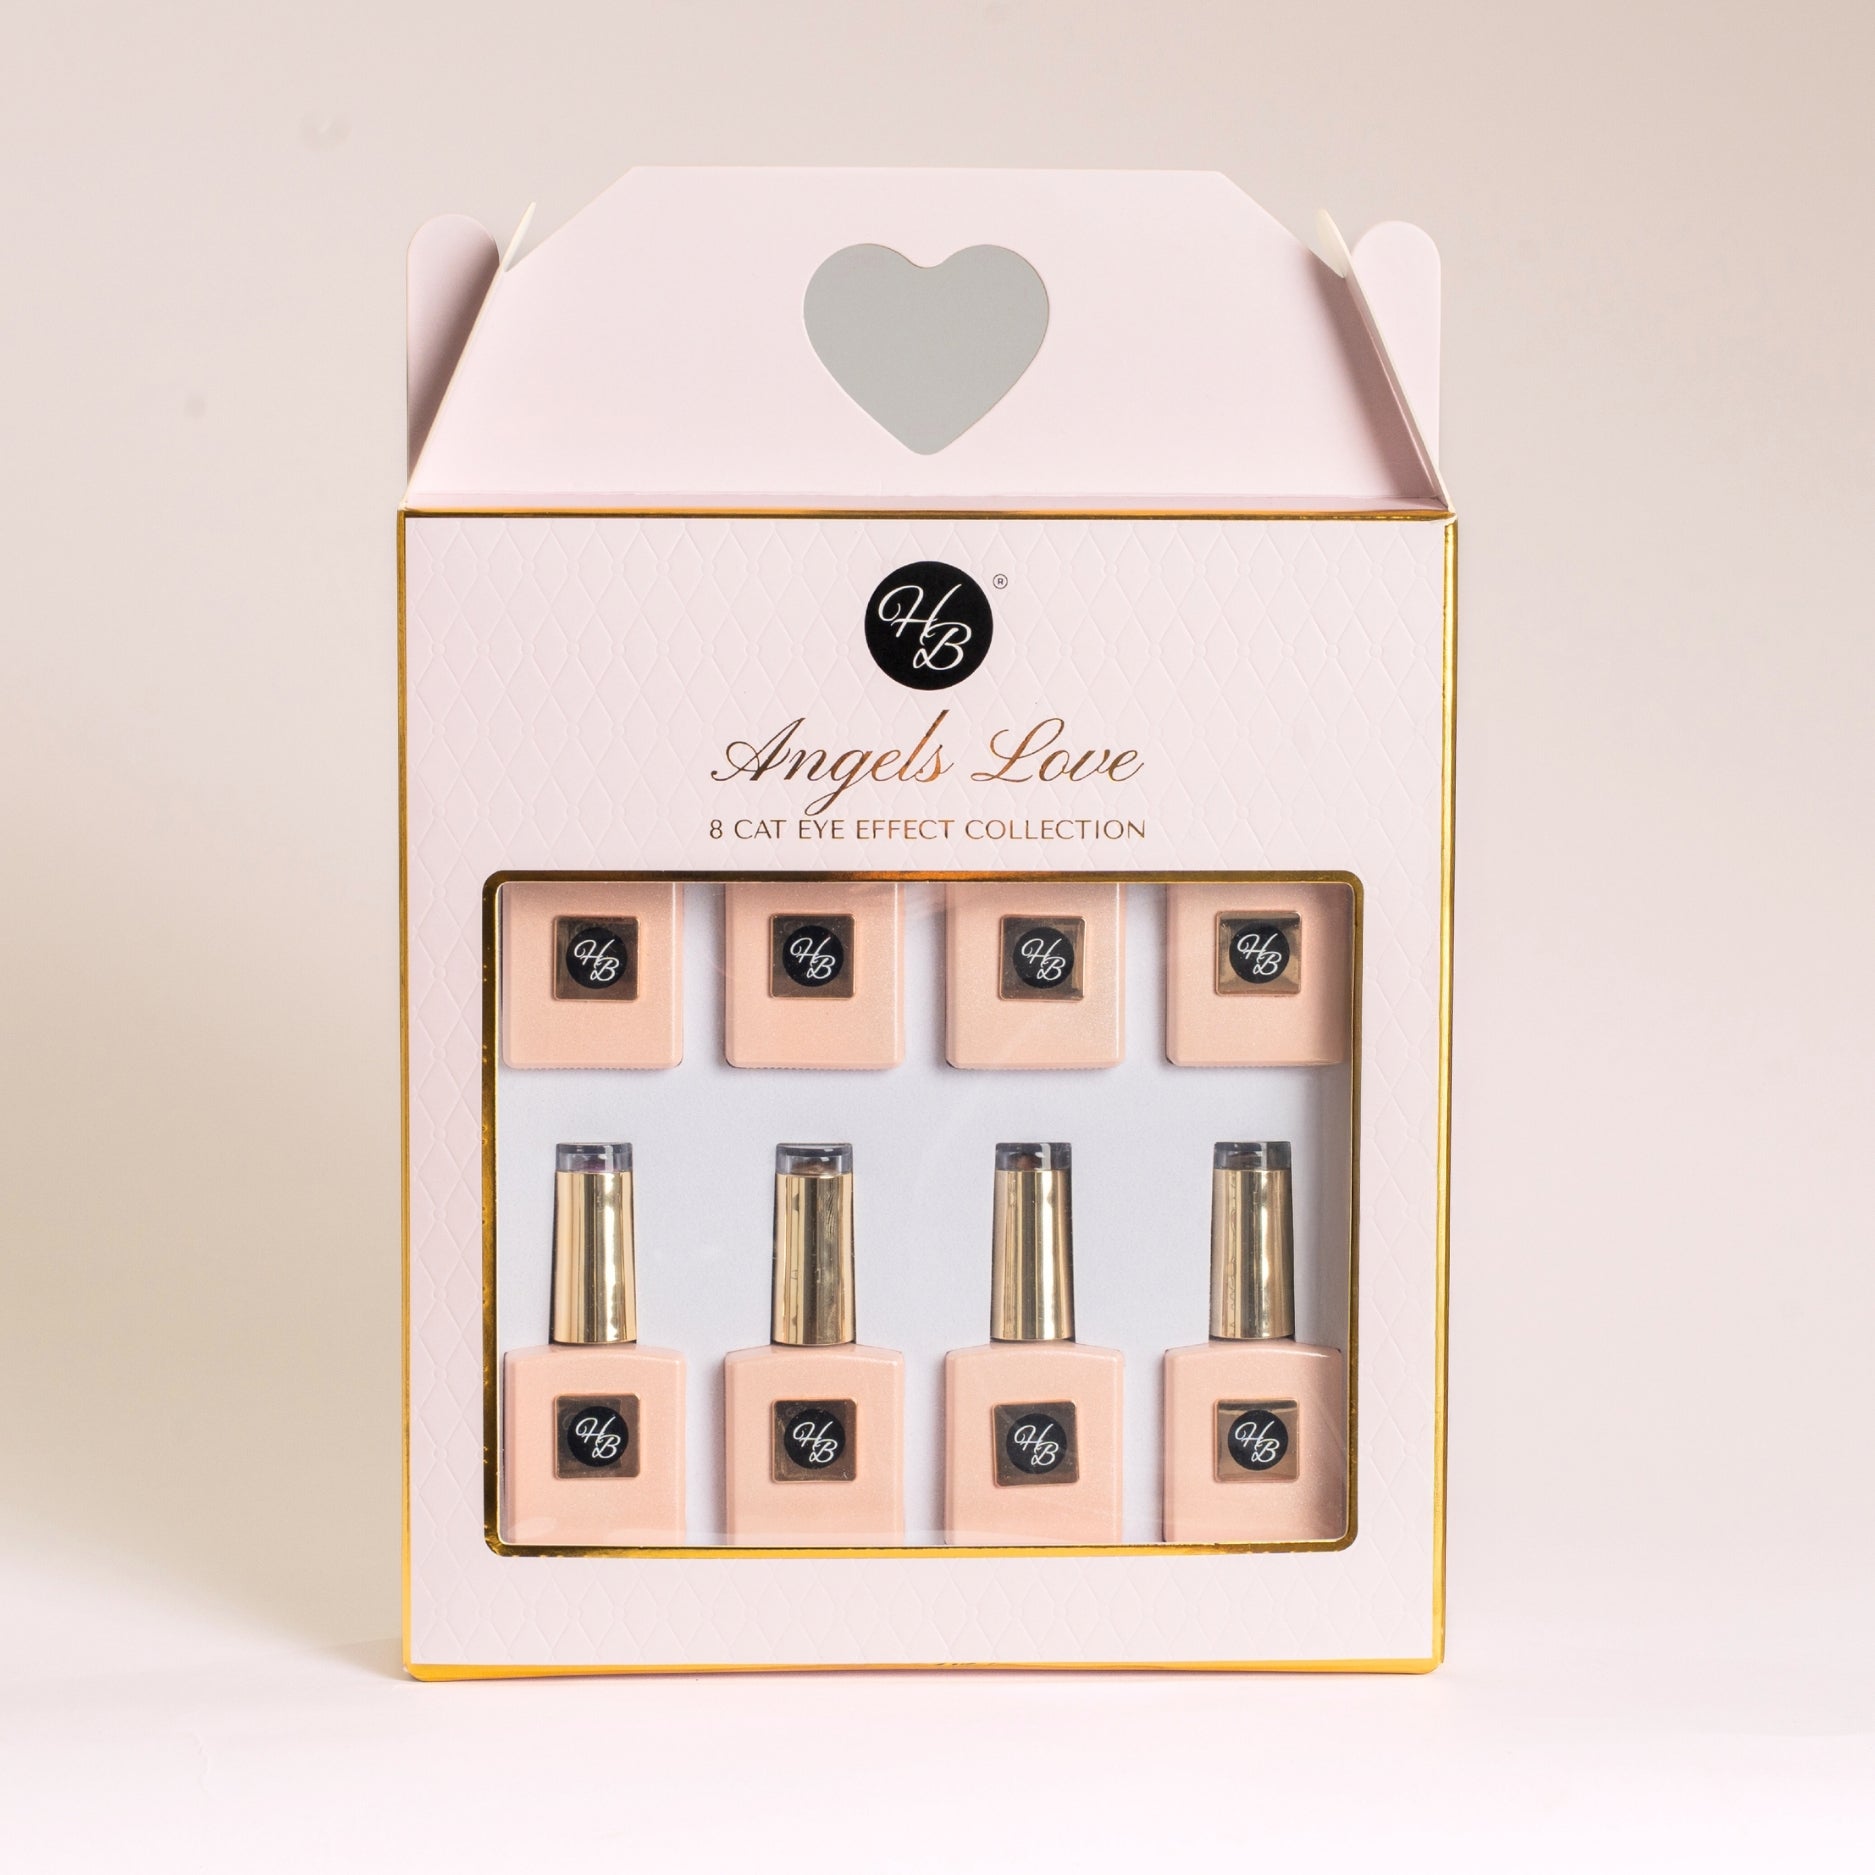
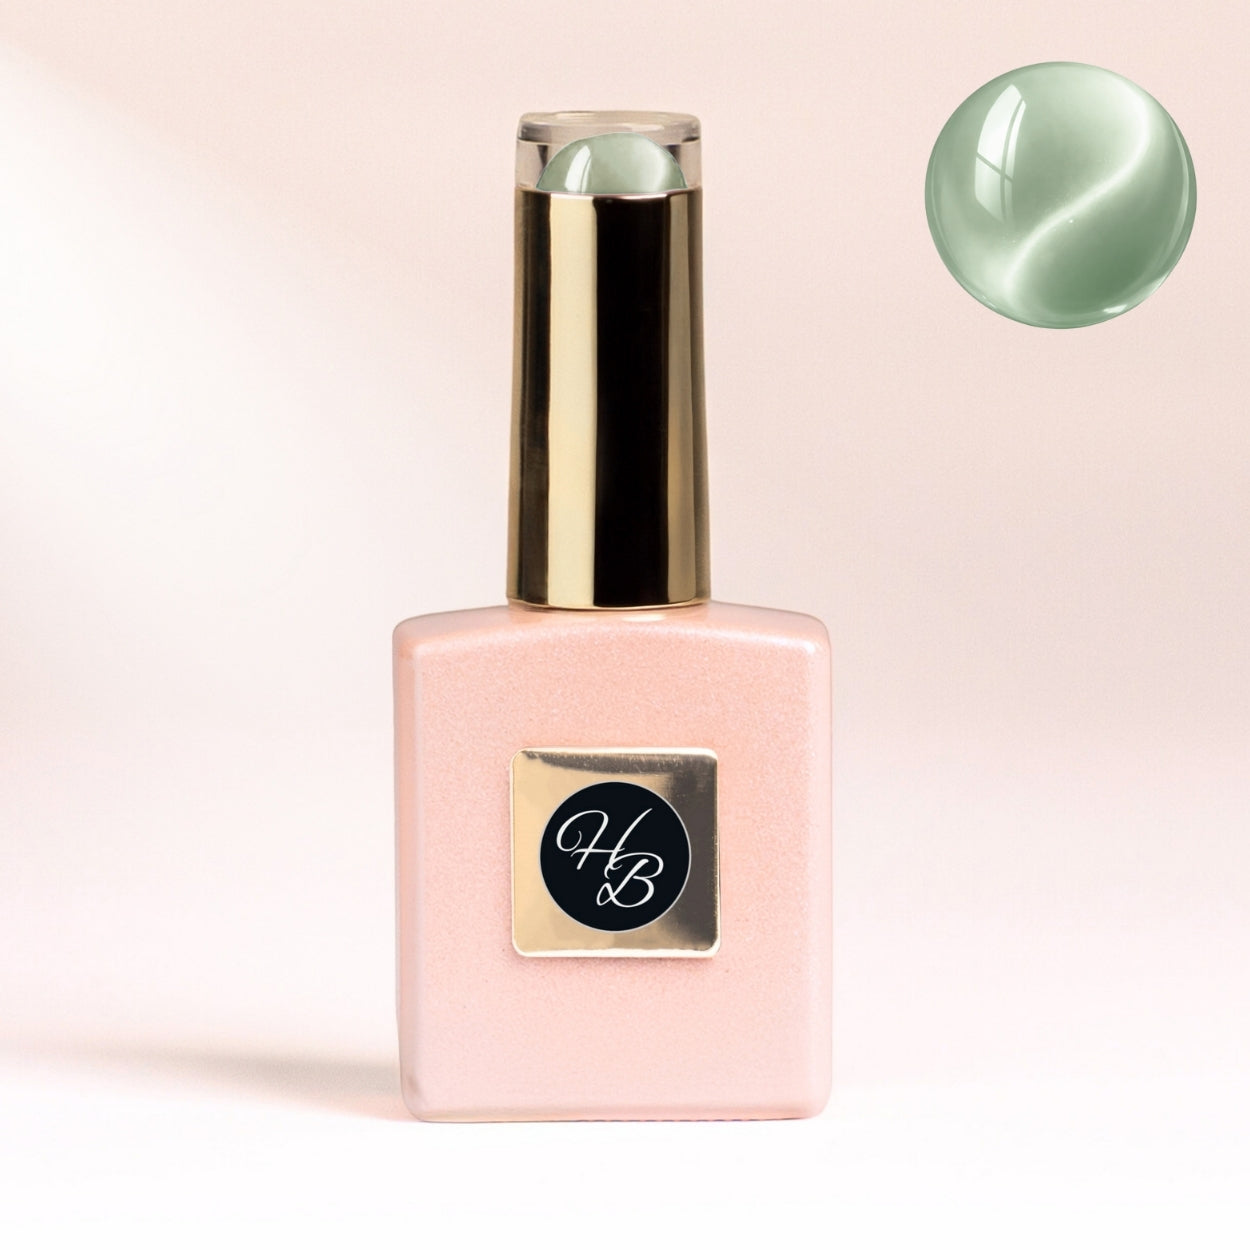
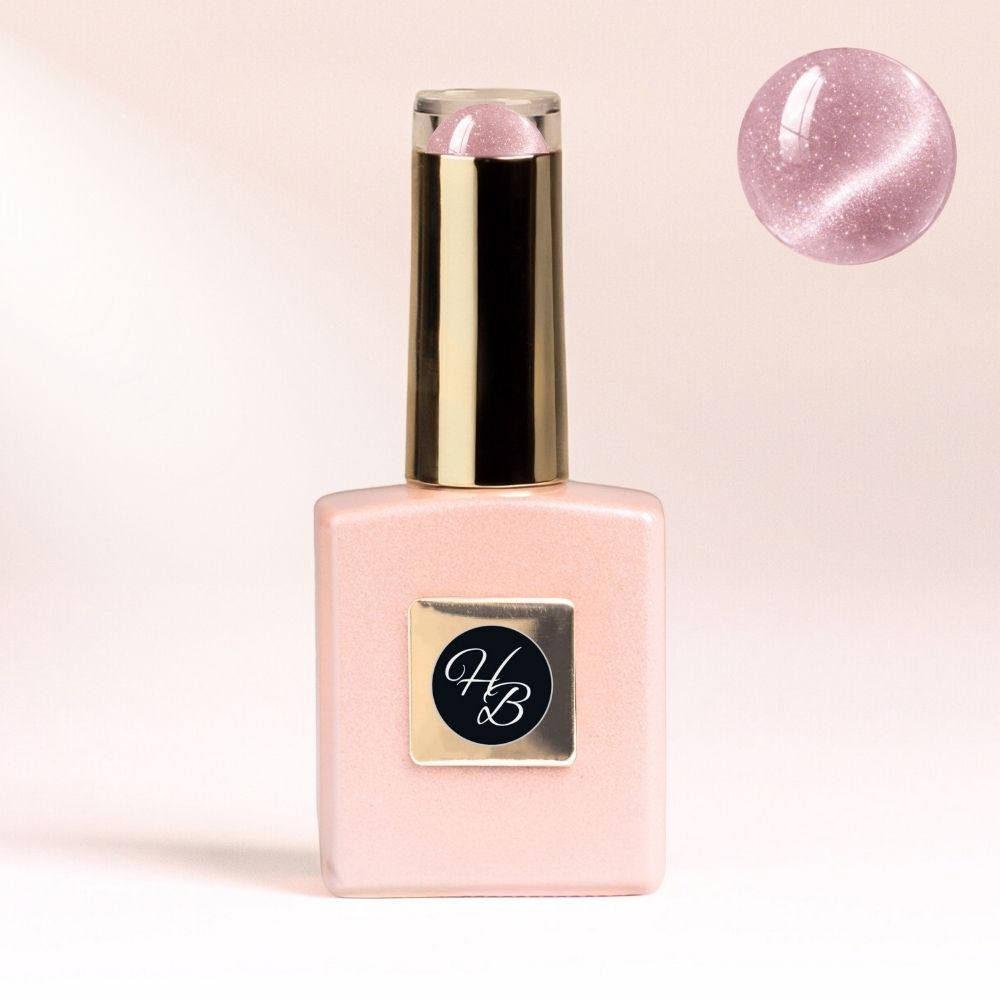
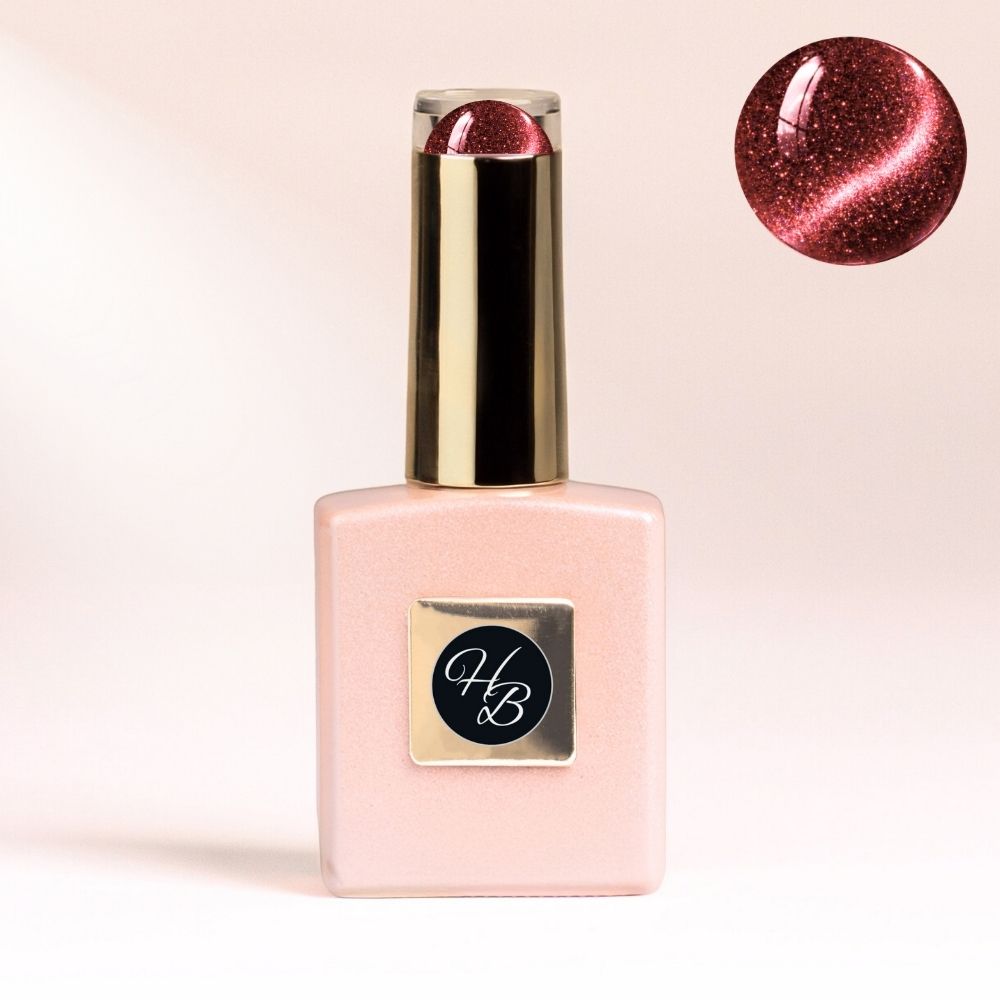
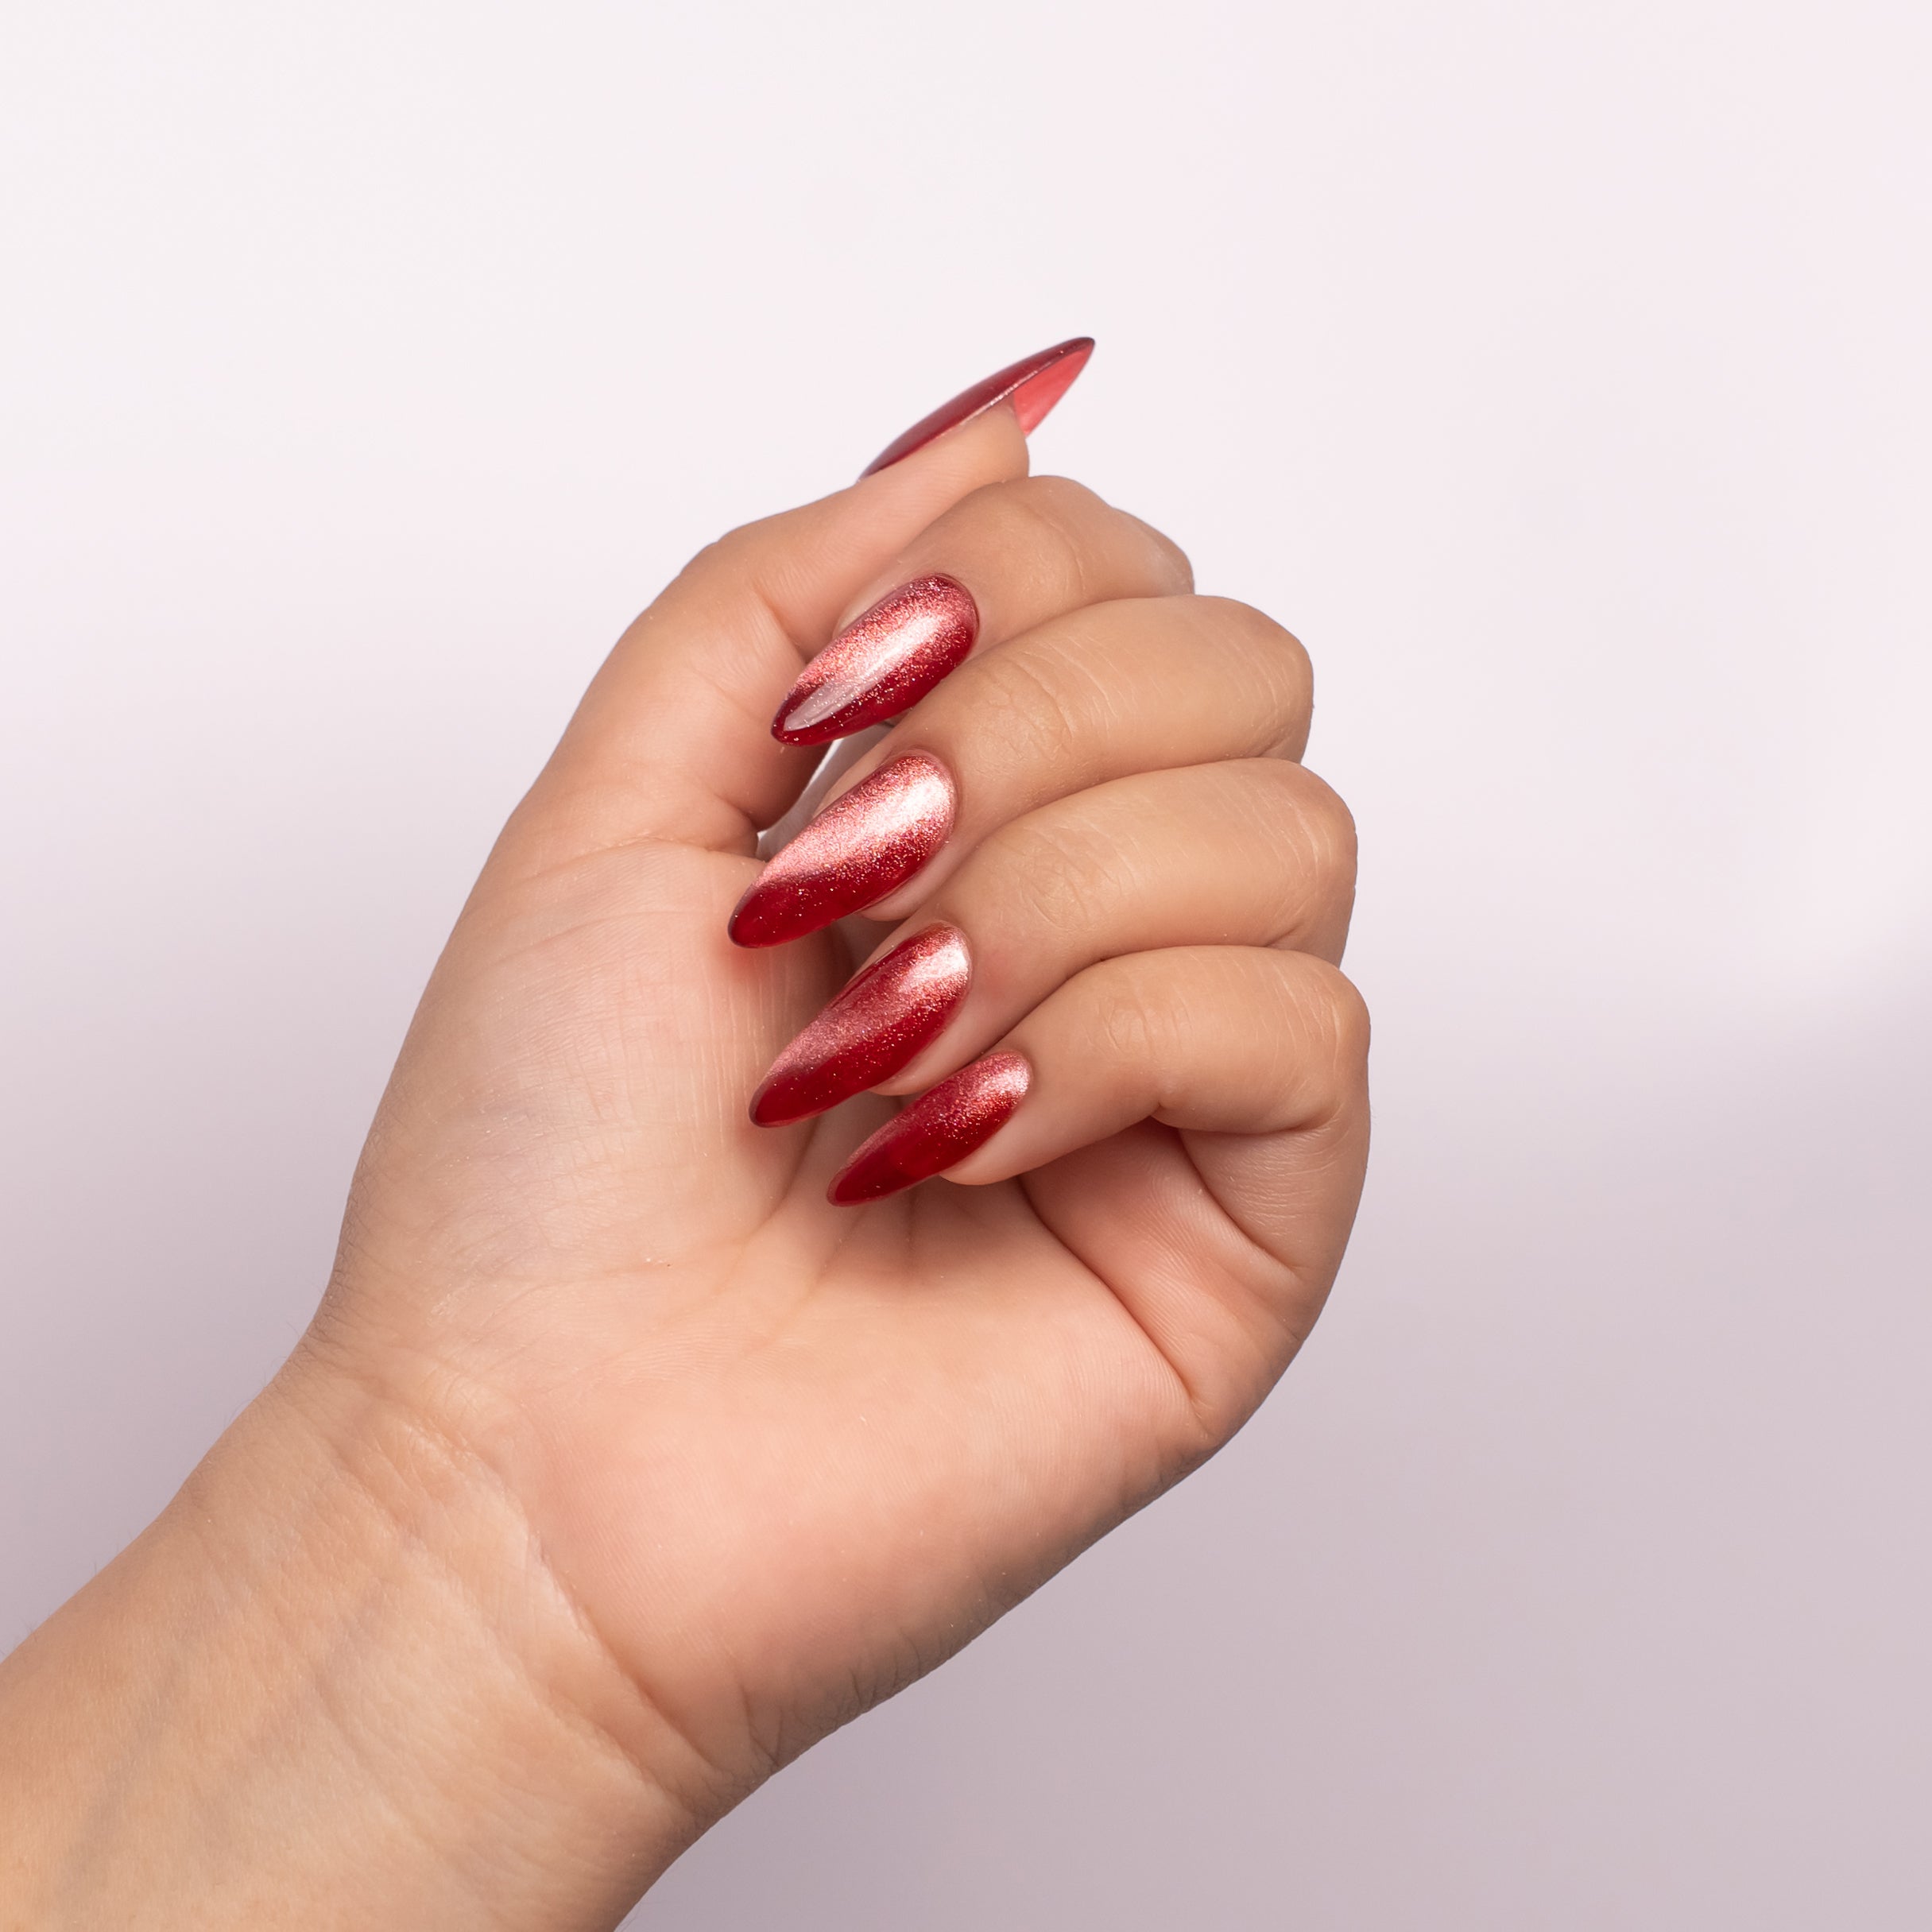
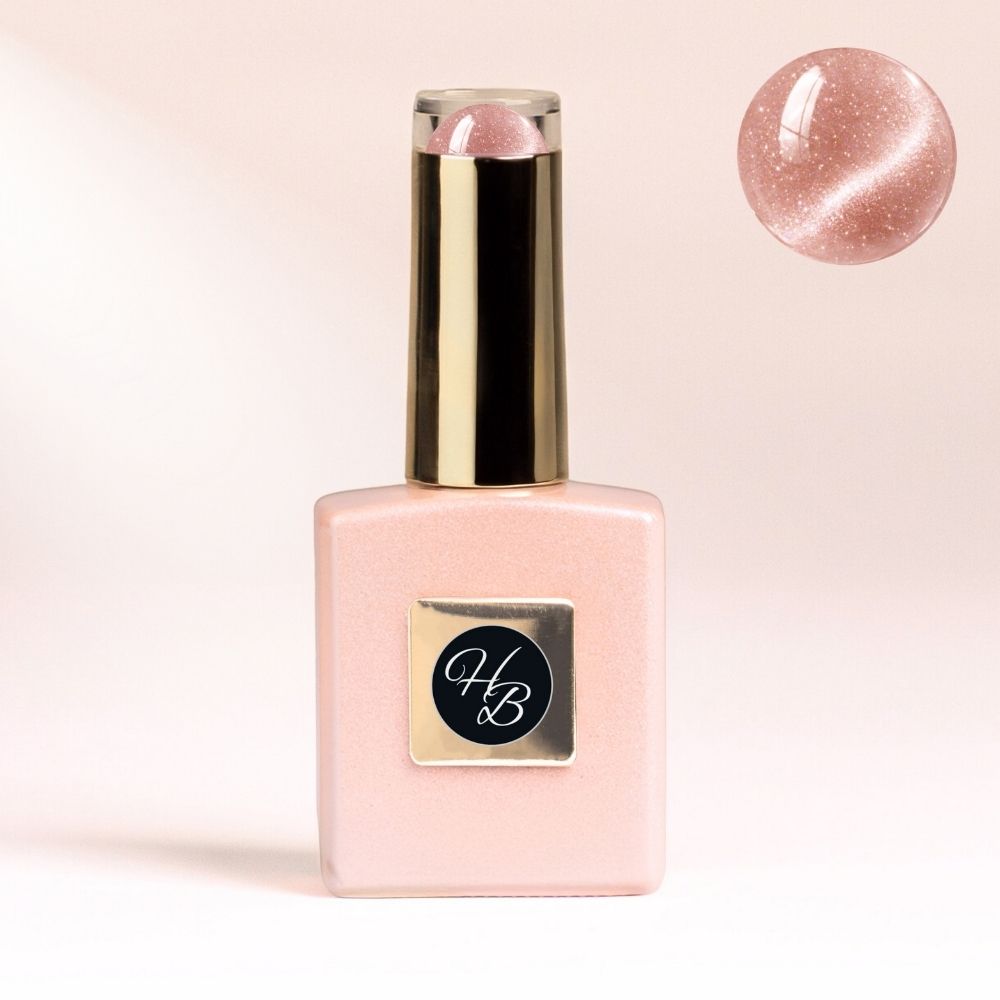
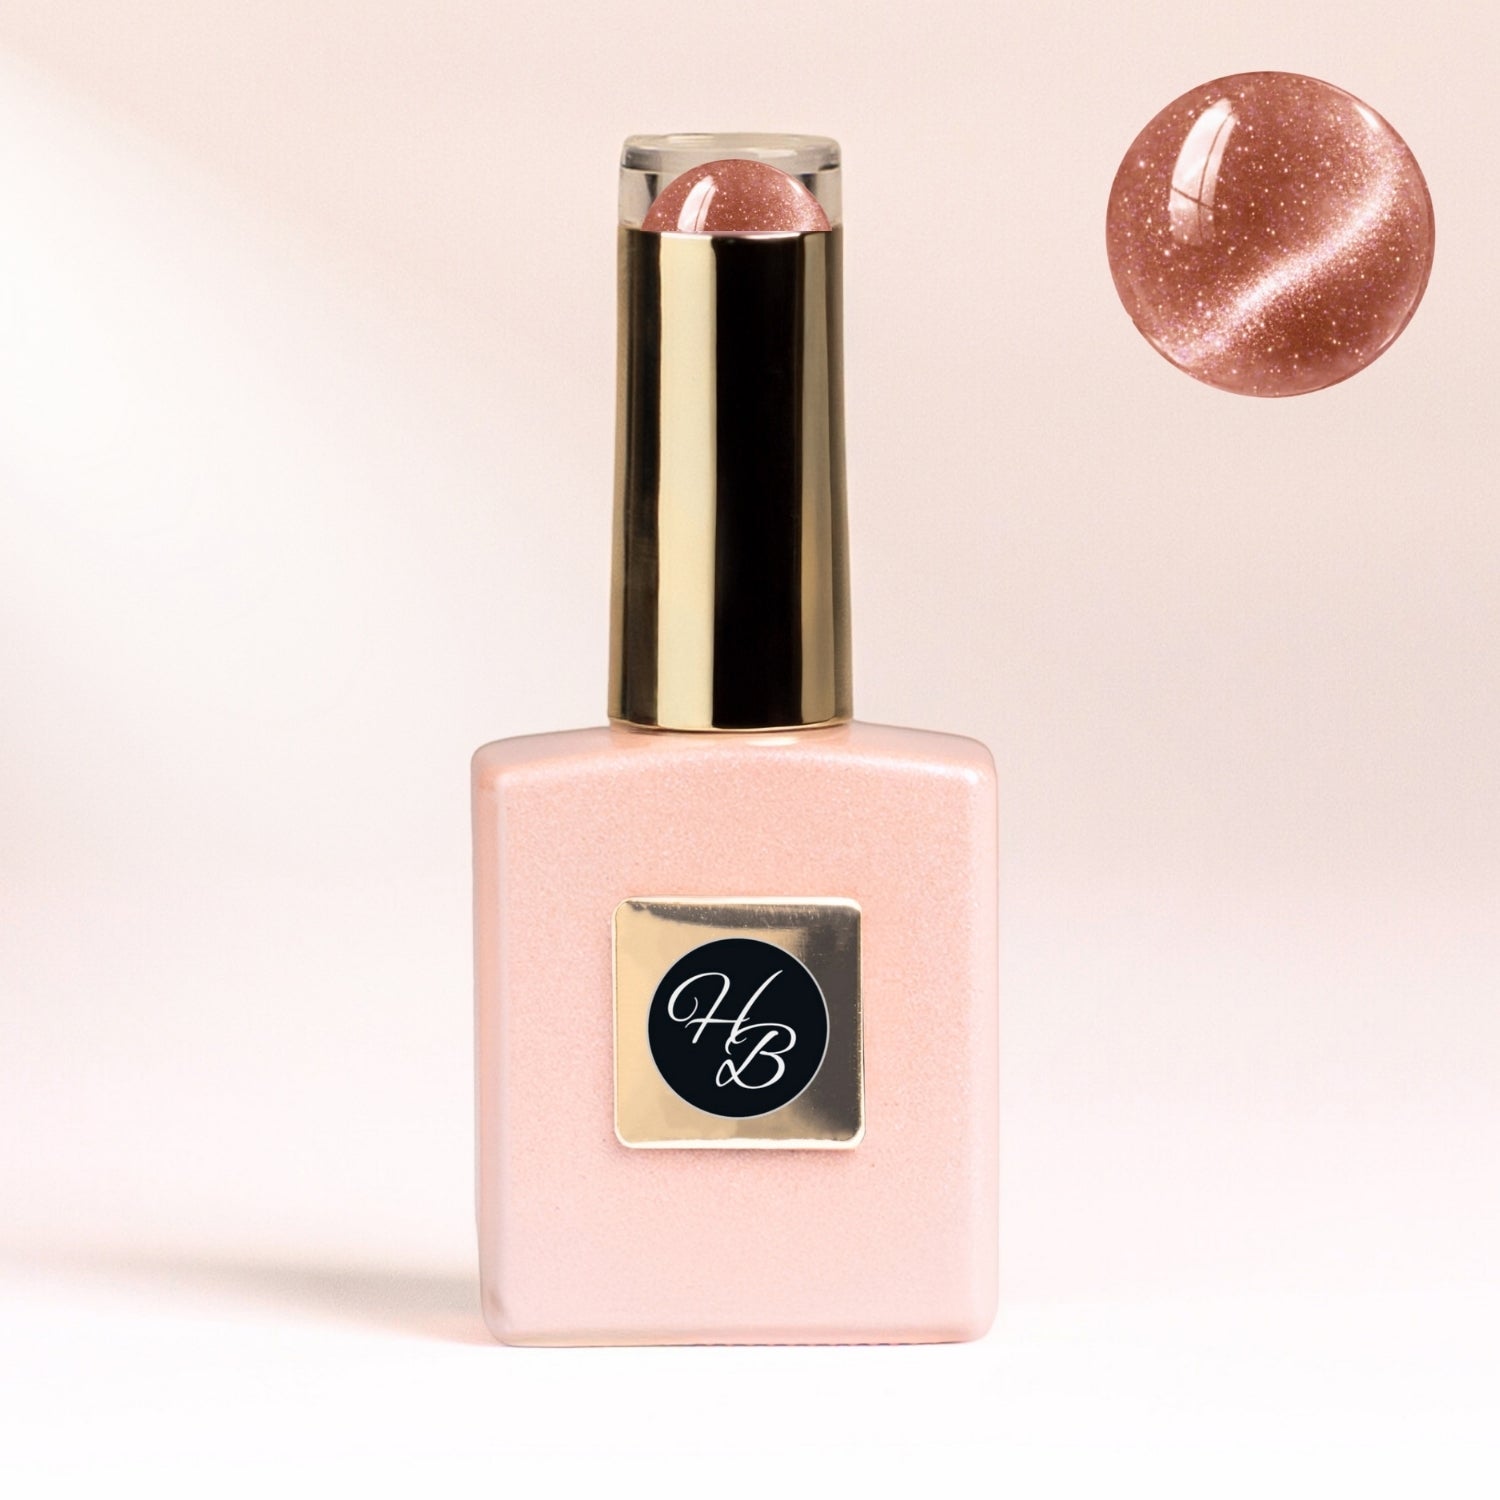
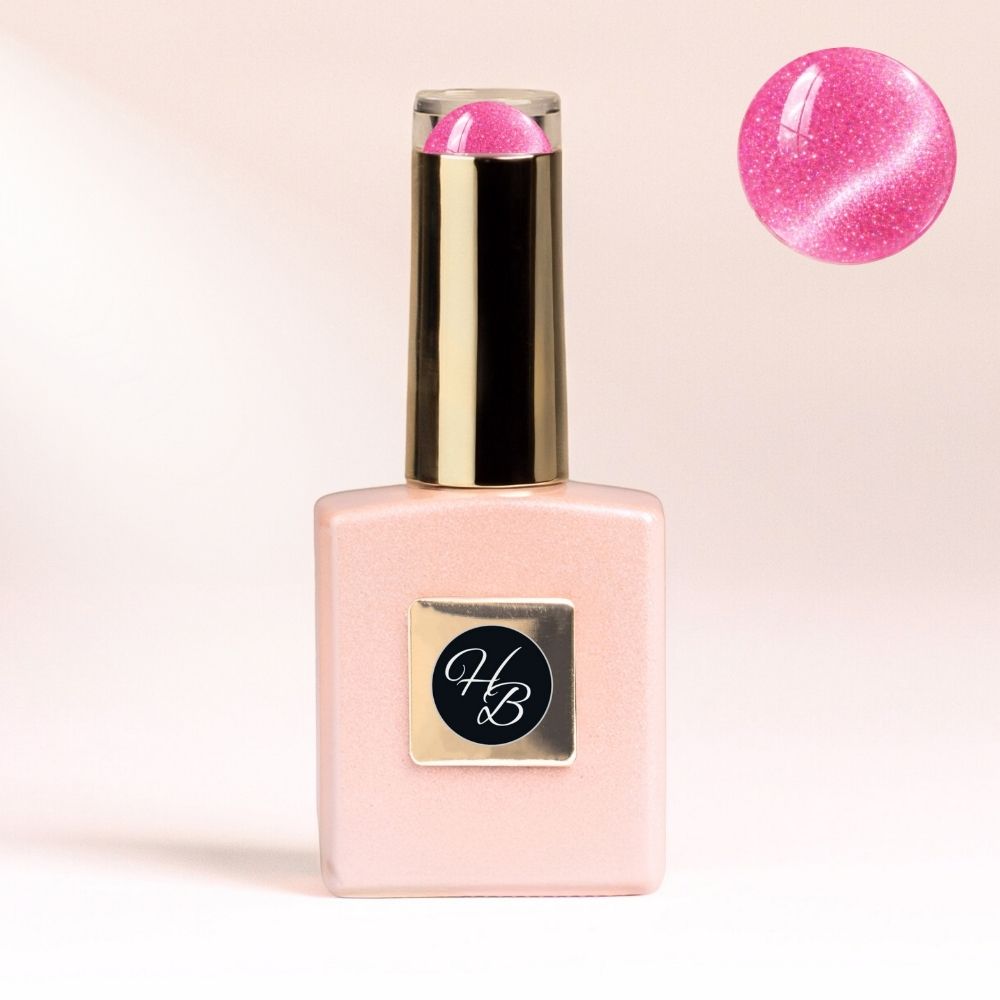
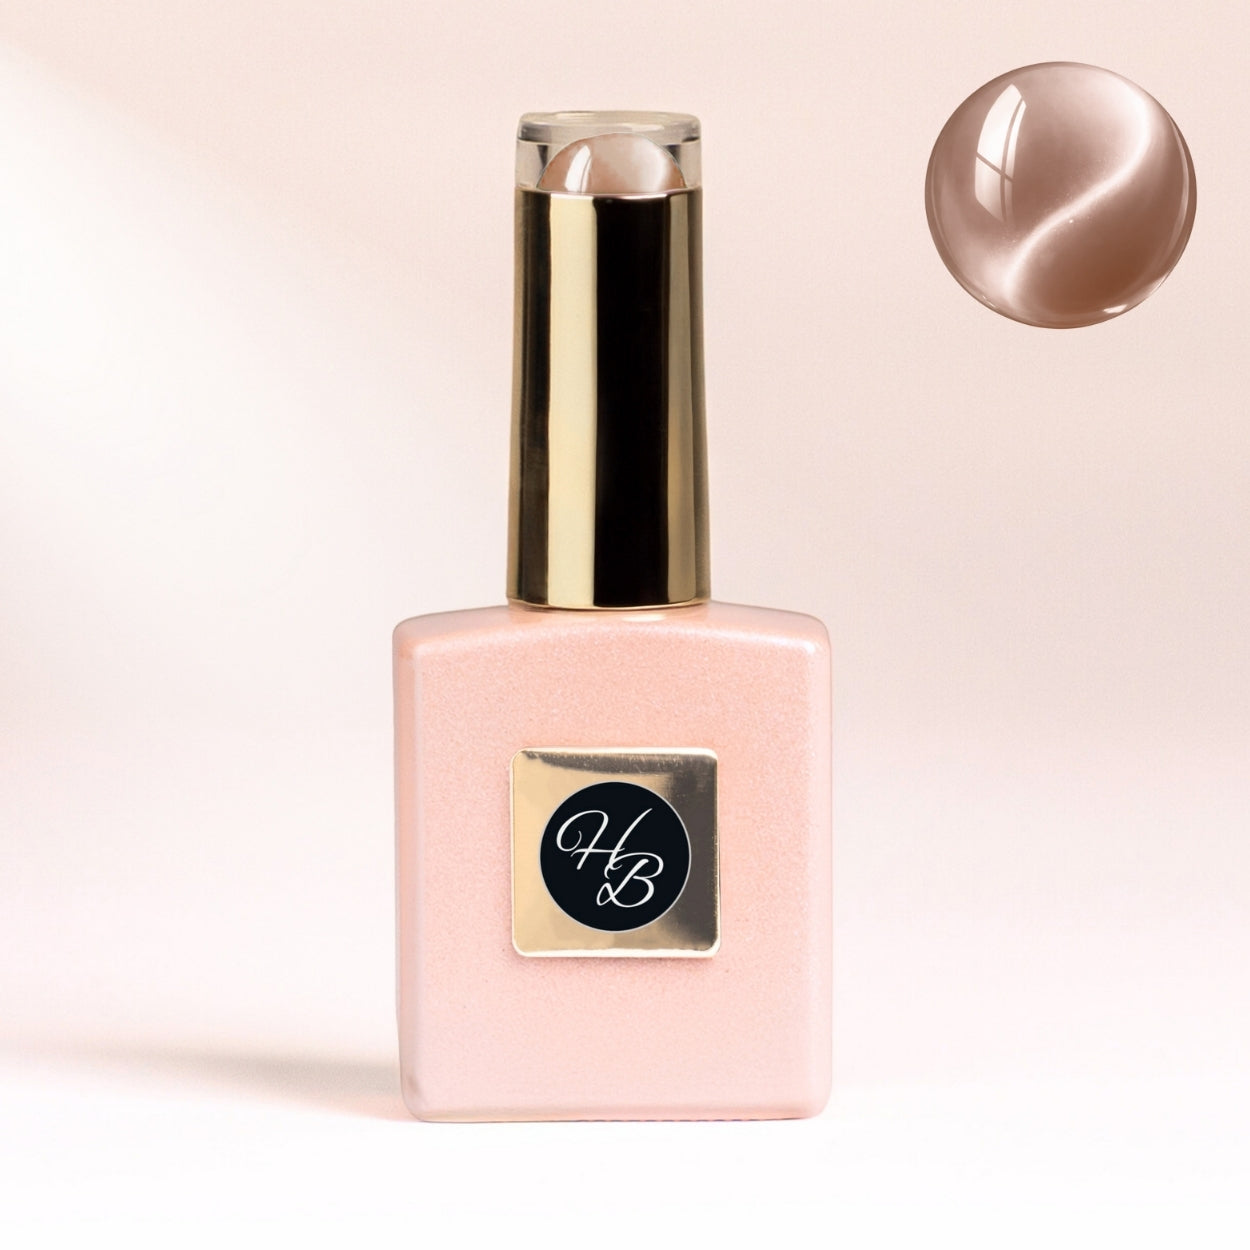
Angels Love Cat Eye Collection
Collection of ultra-fine magnetic particles create silky shimmer, soft dimension, and a glassy finish with ease. Designed for effortless shaping and elevated nail sets. HEMA-free + TPO-free.

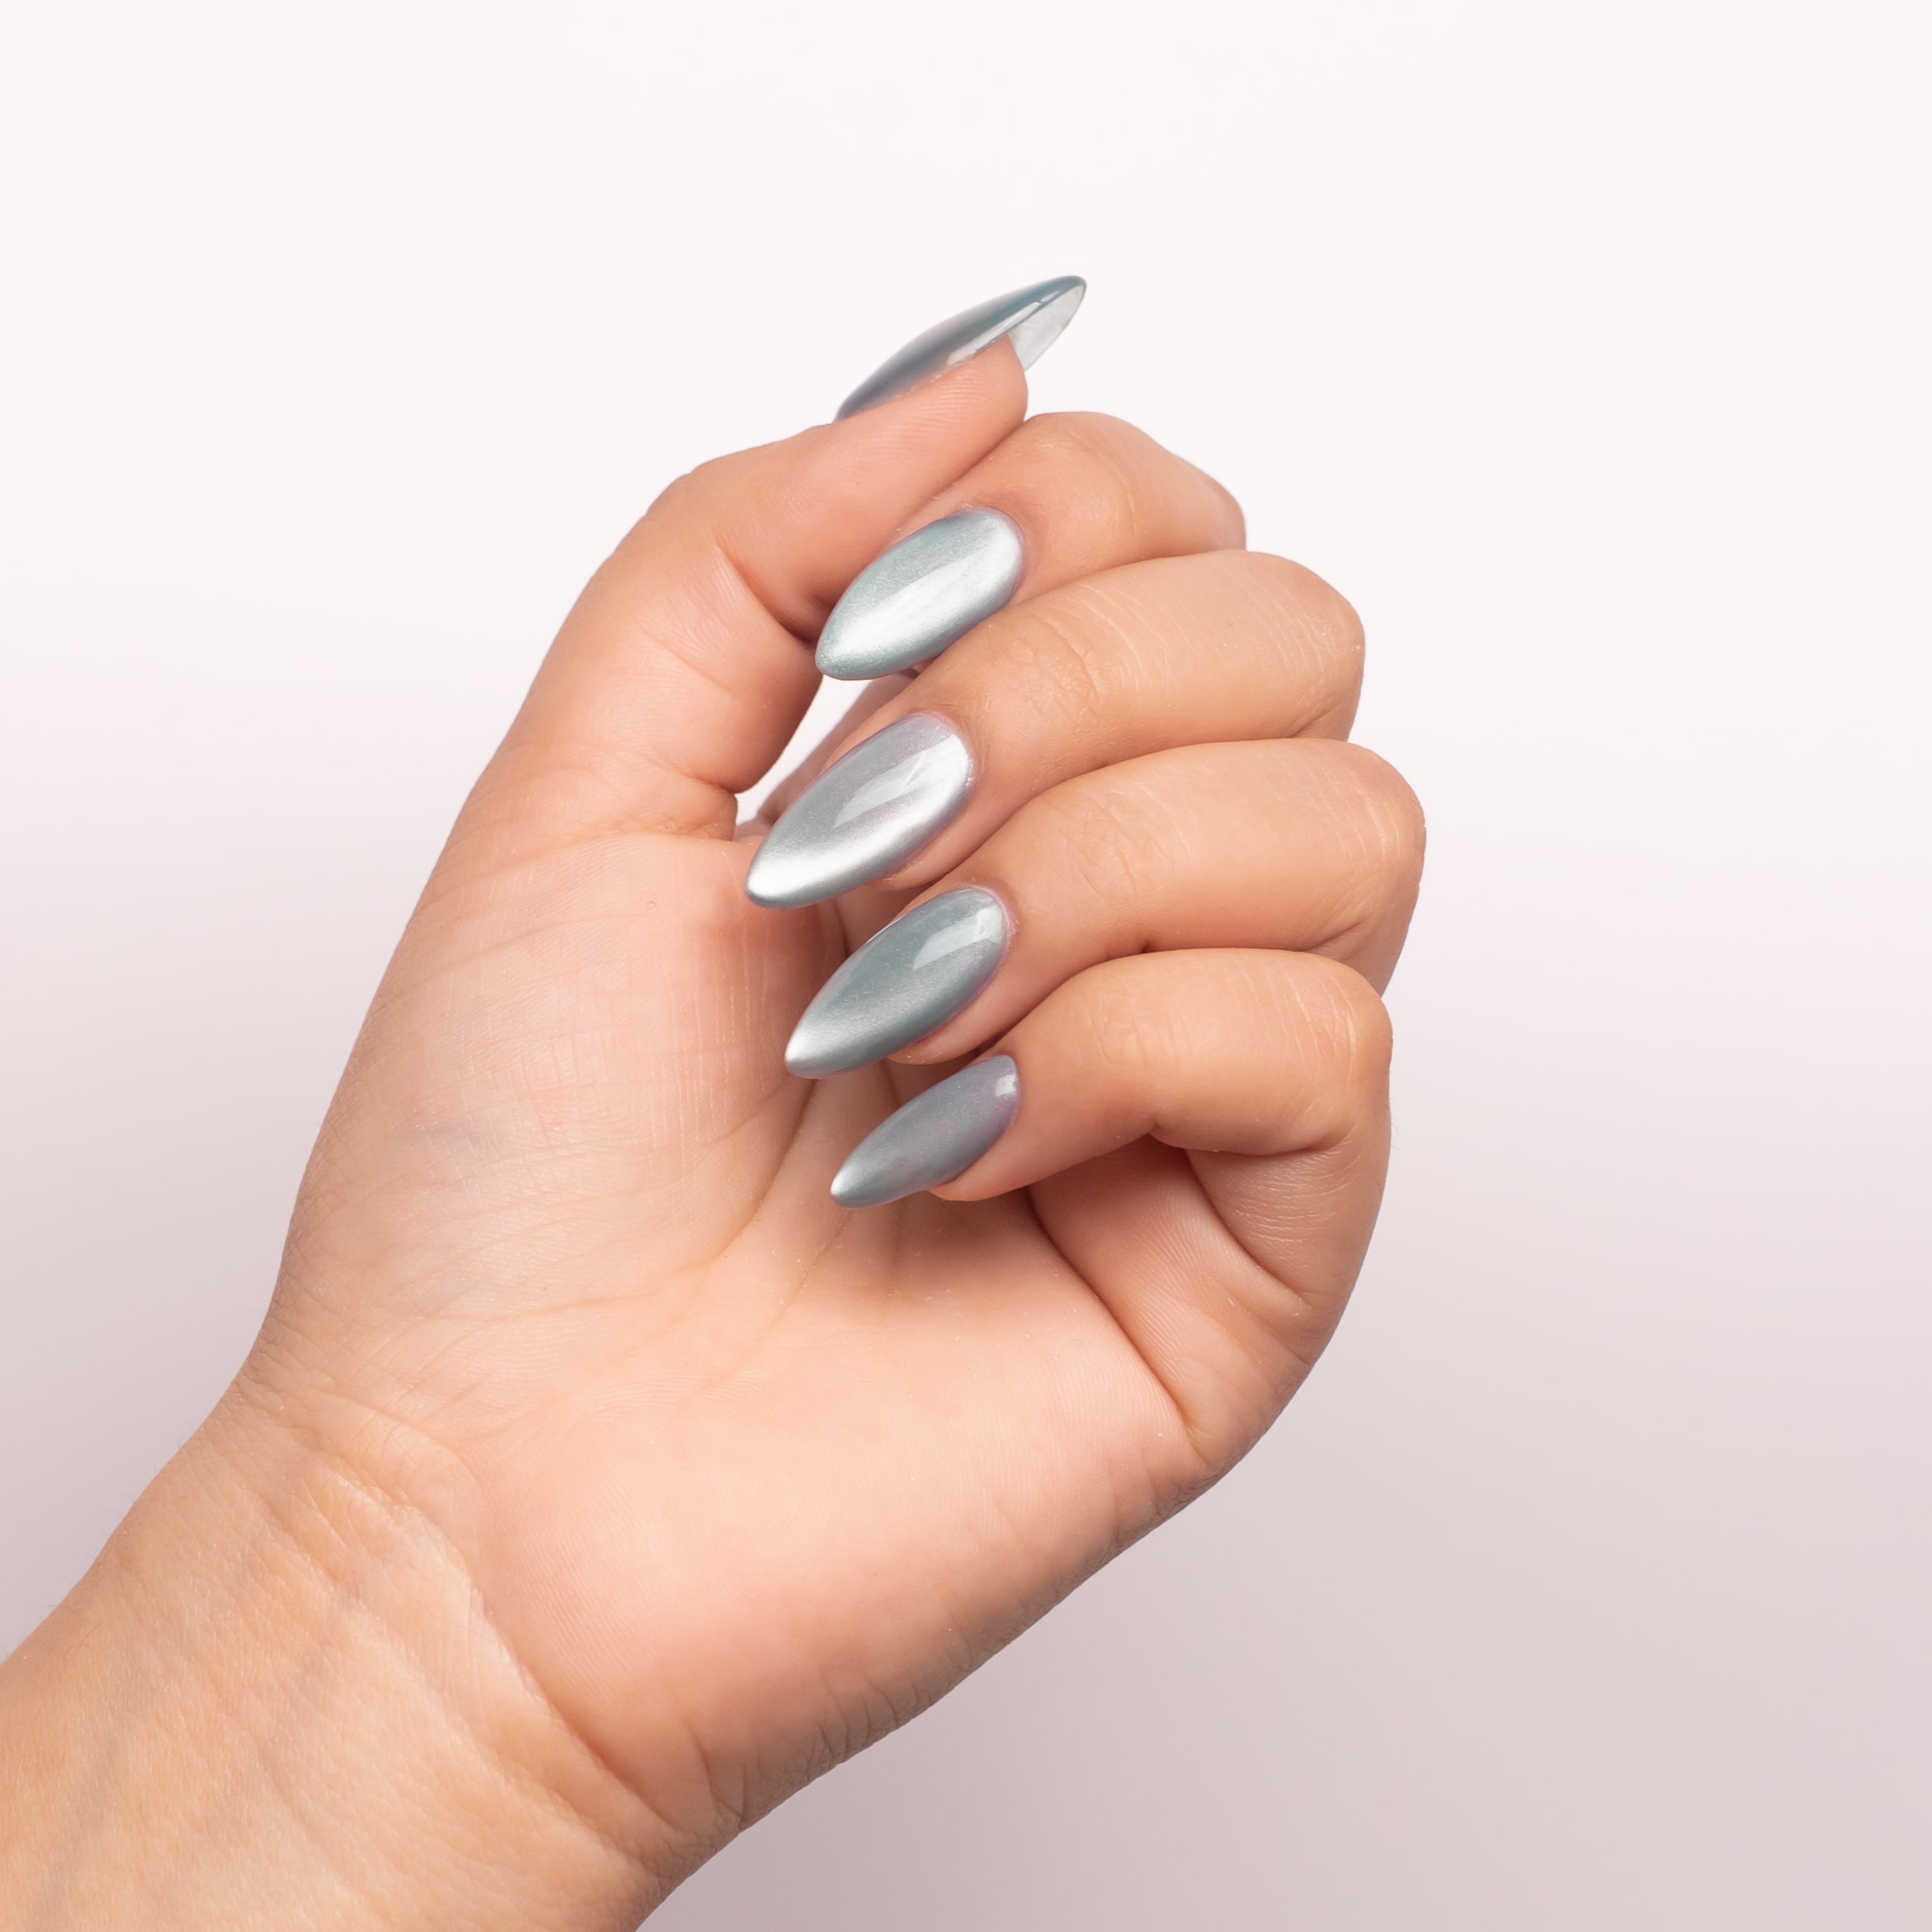
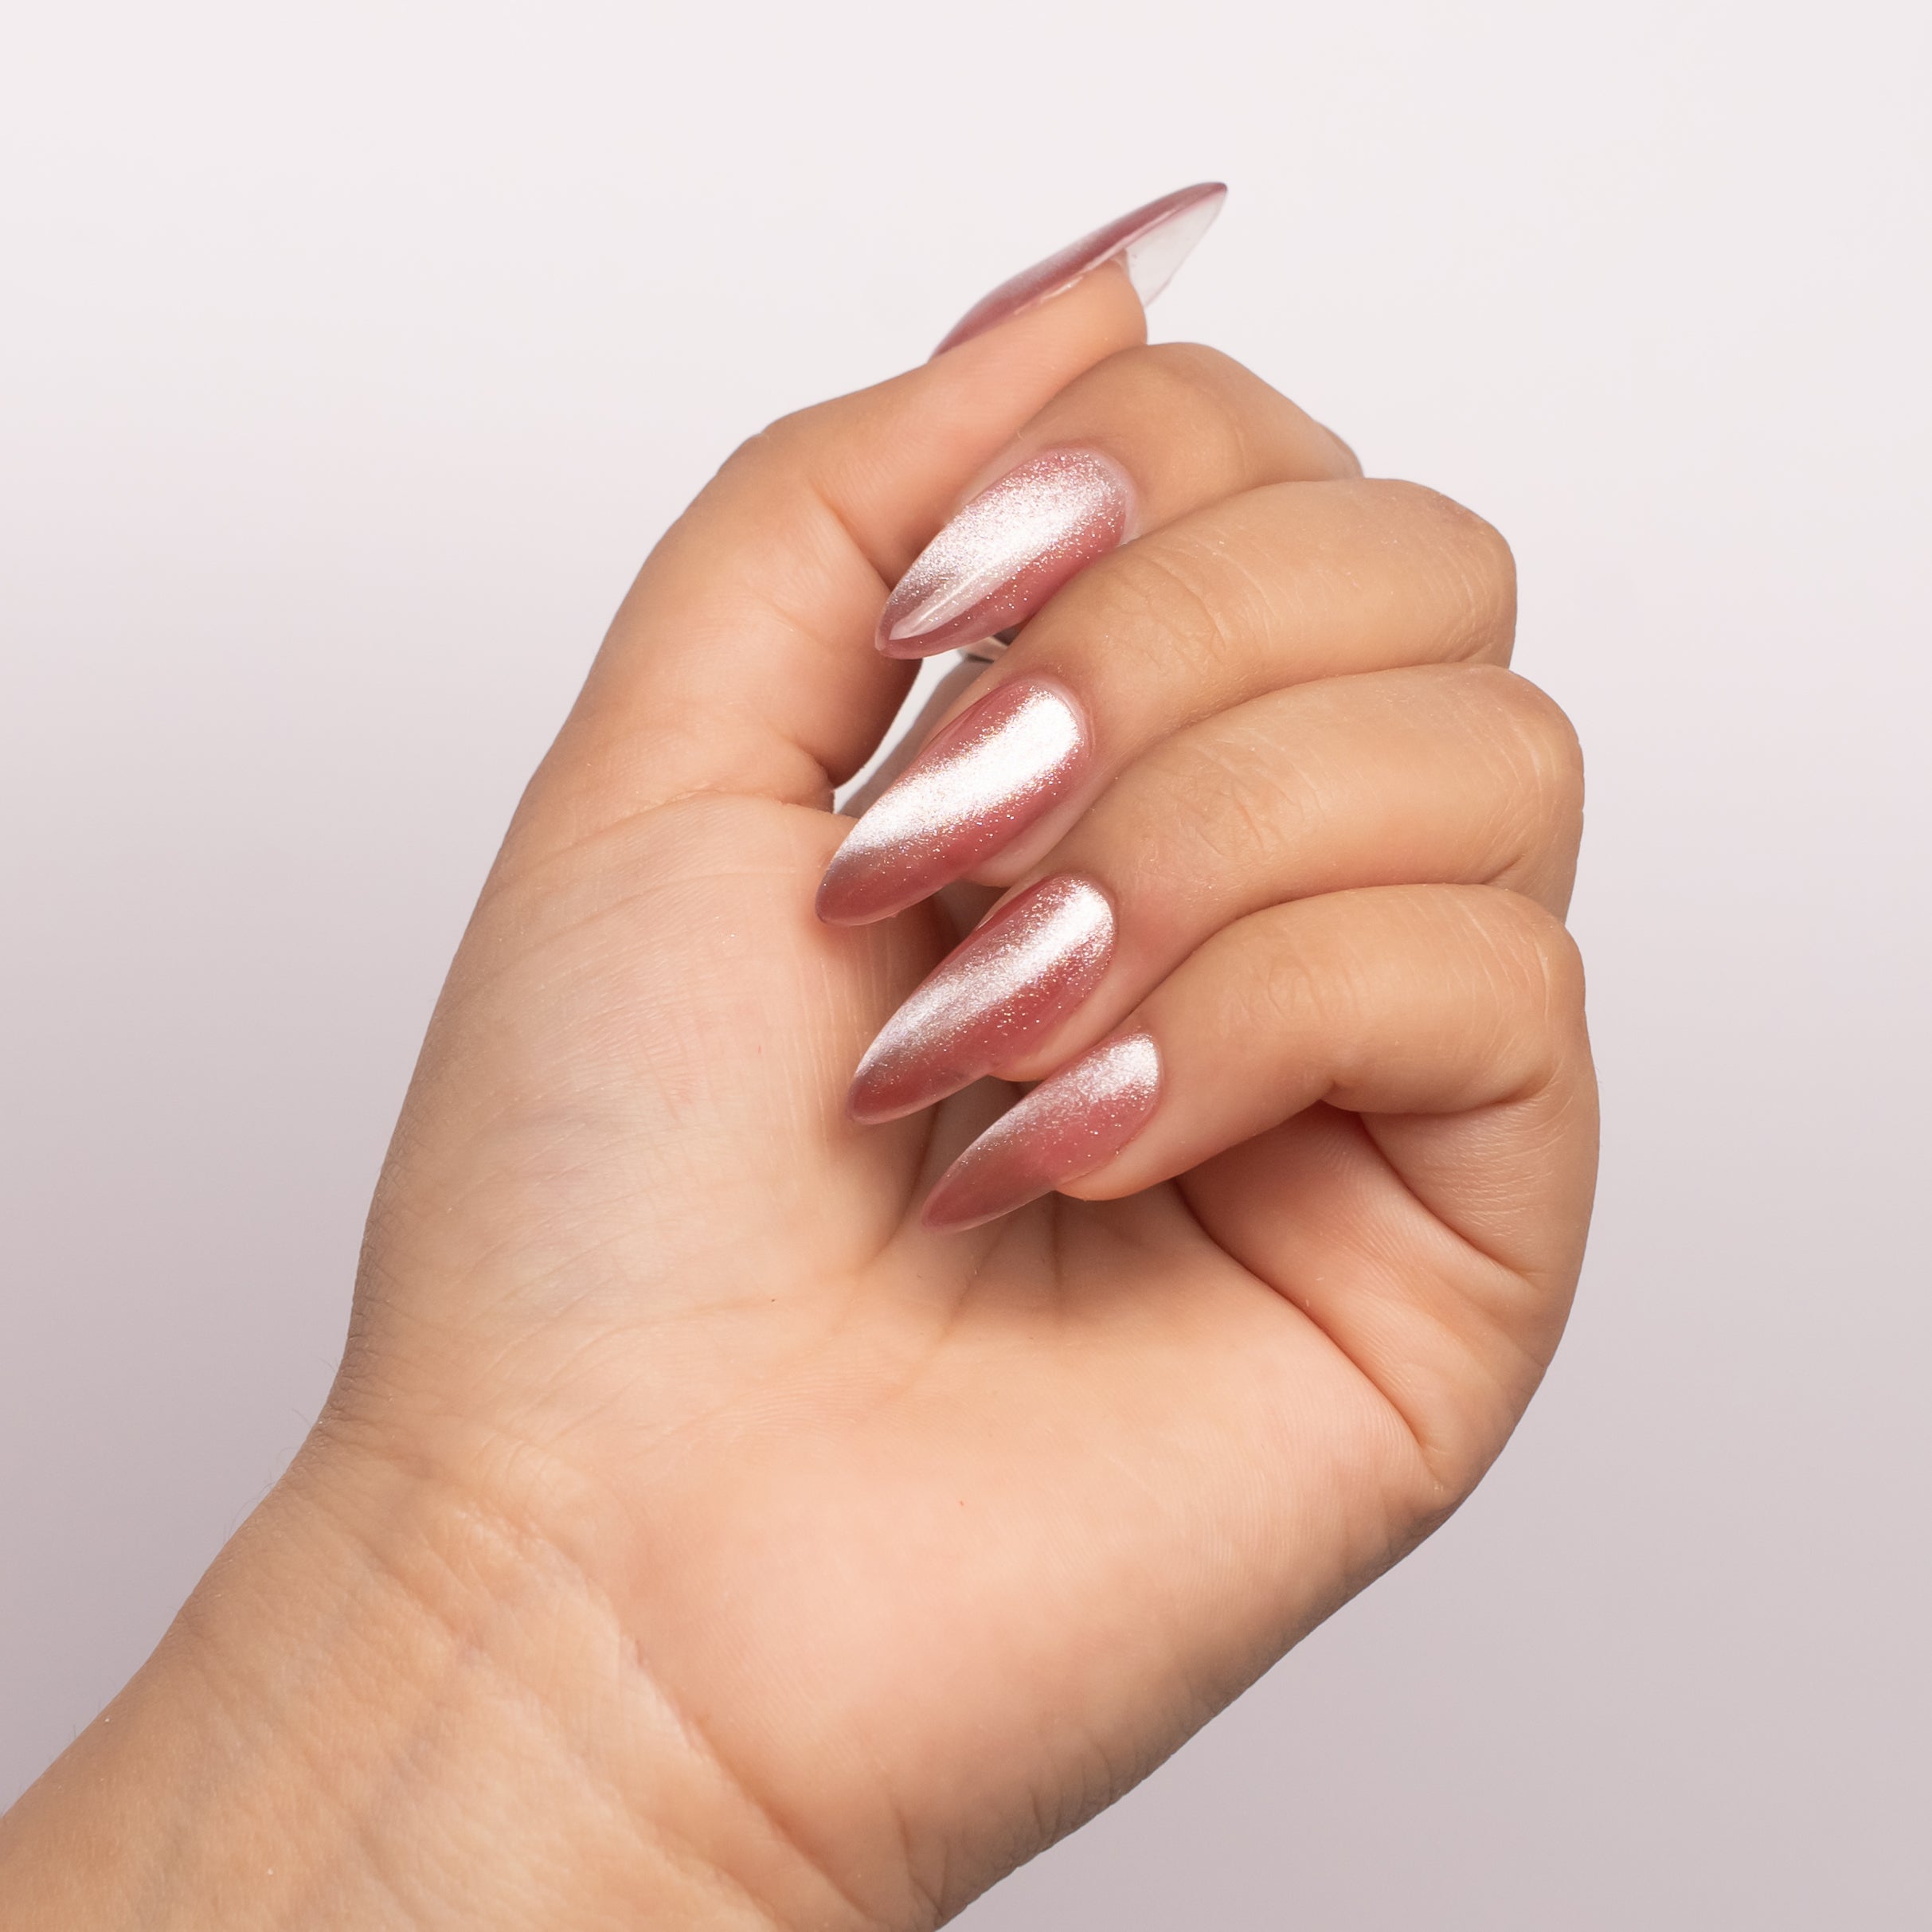
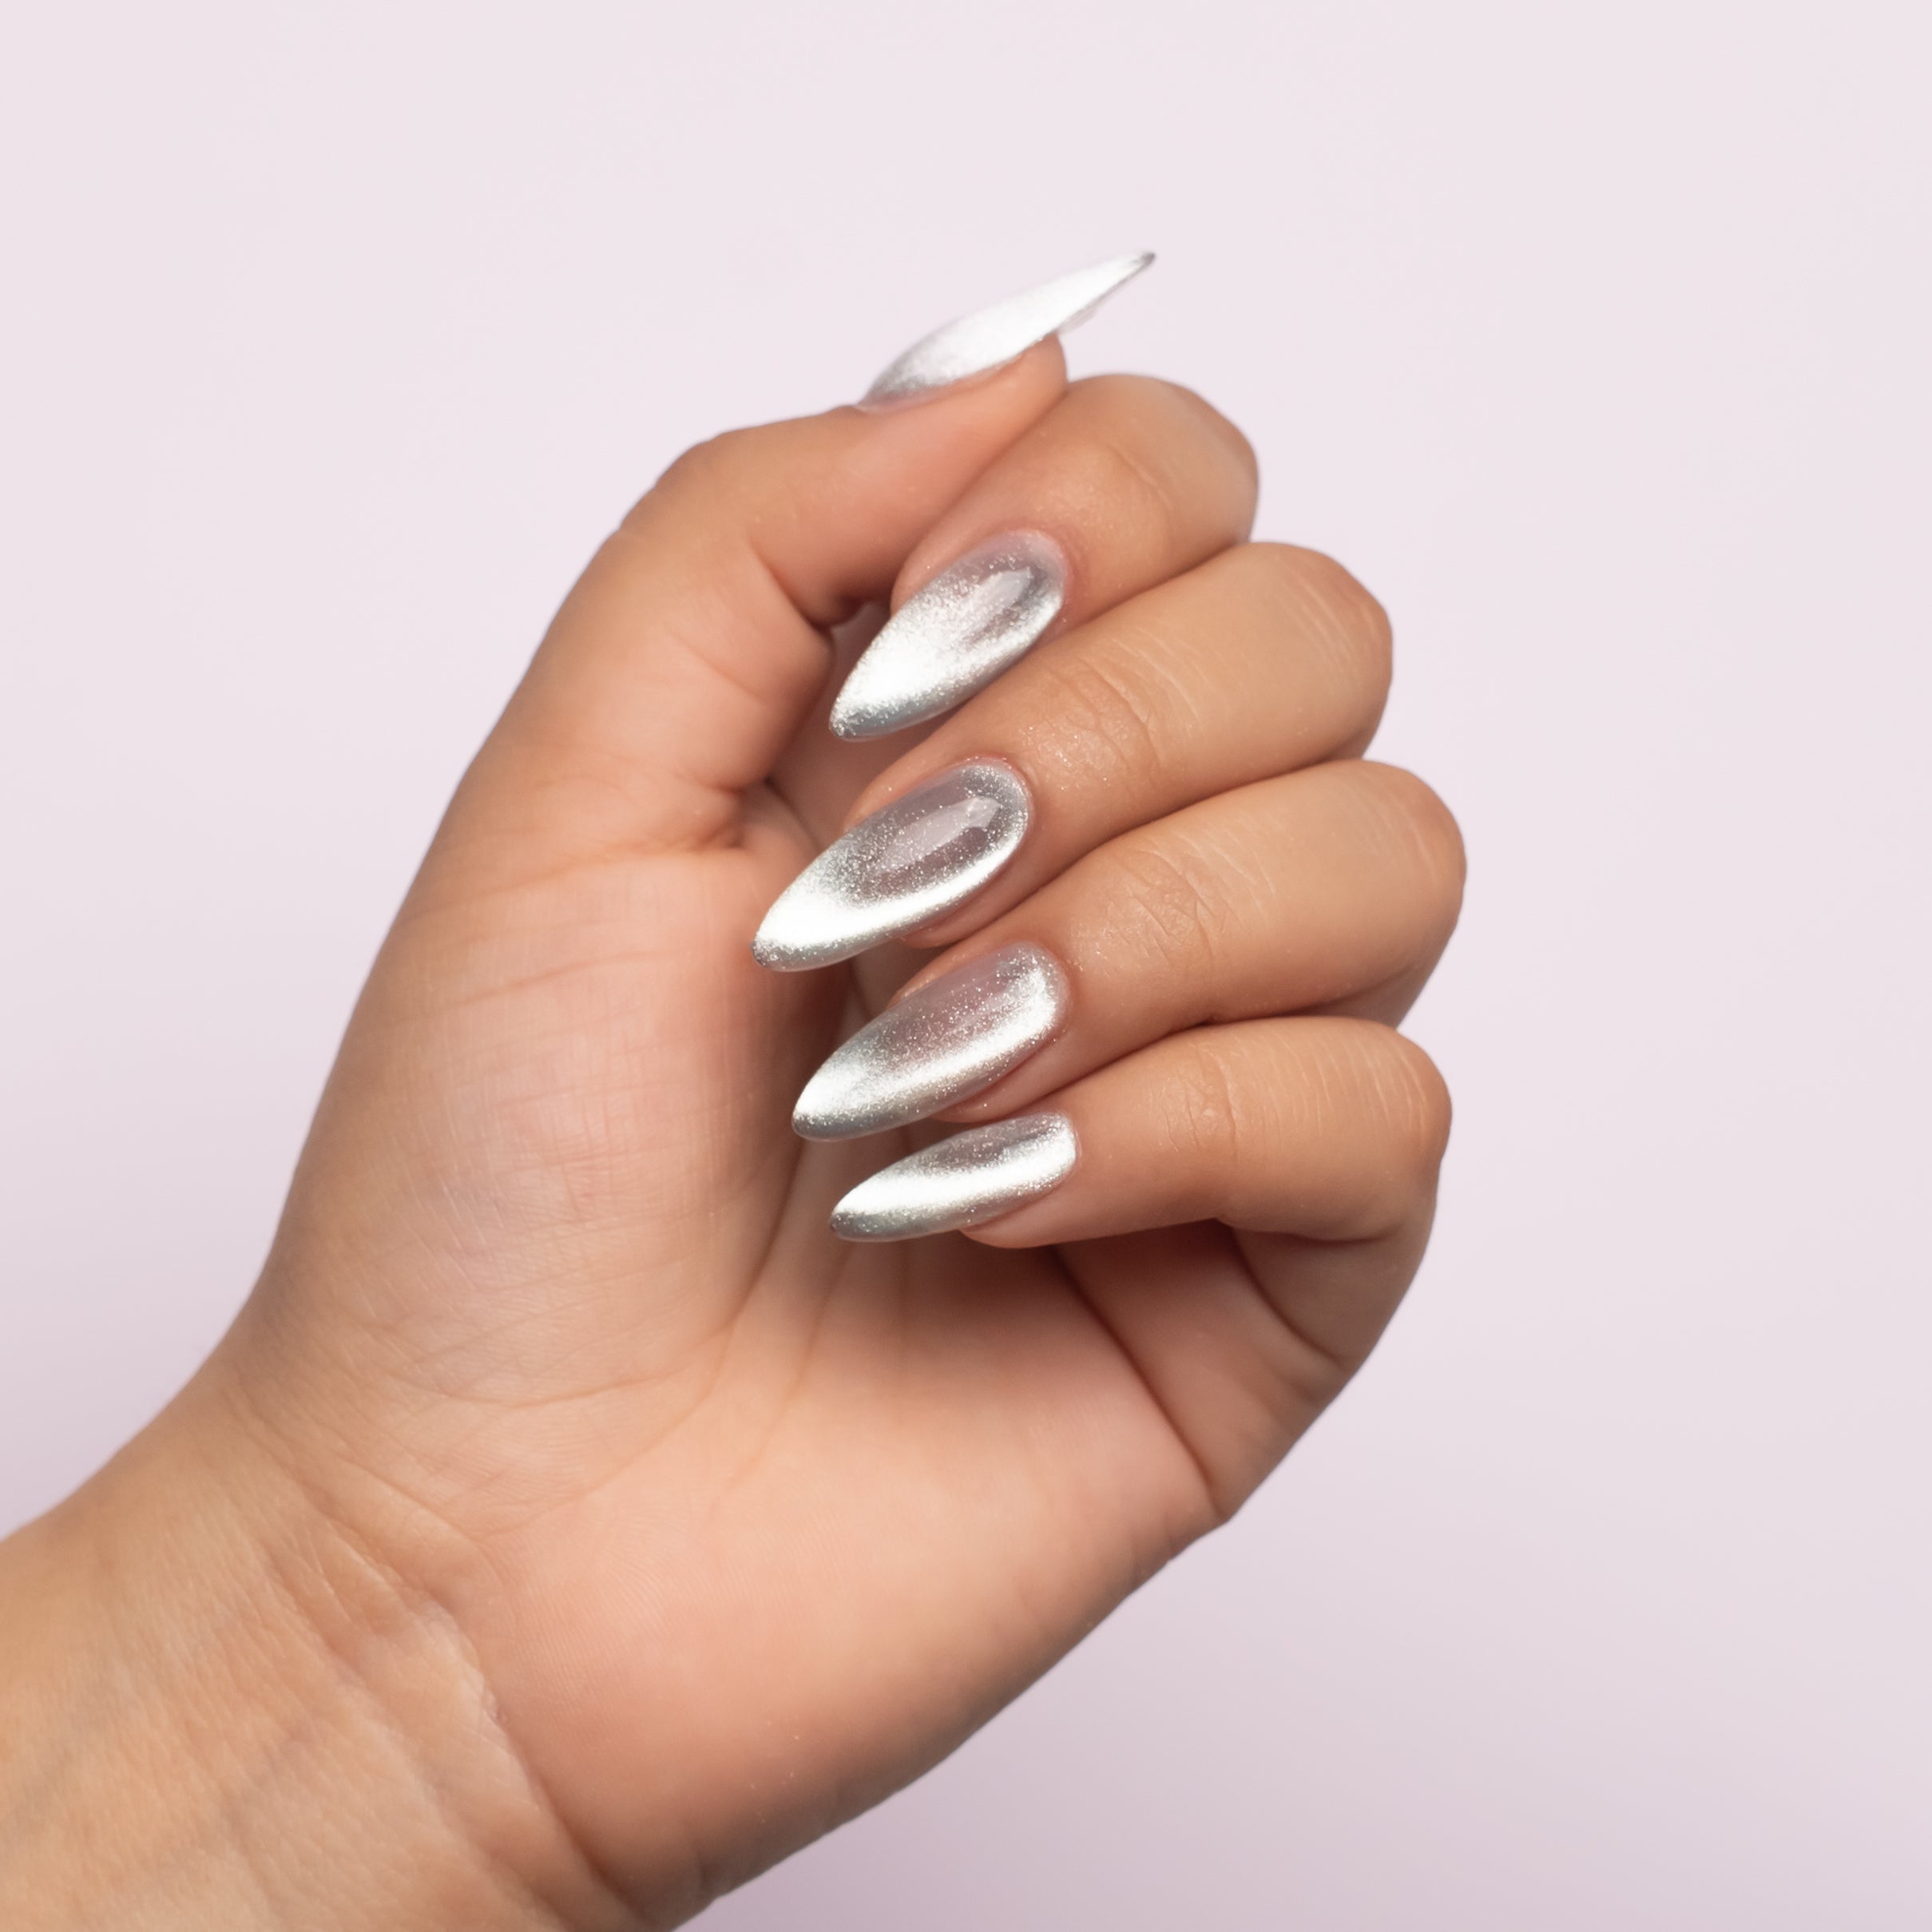
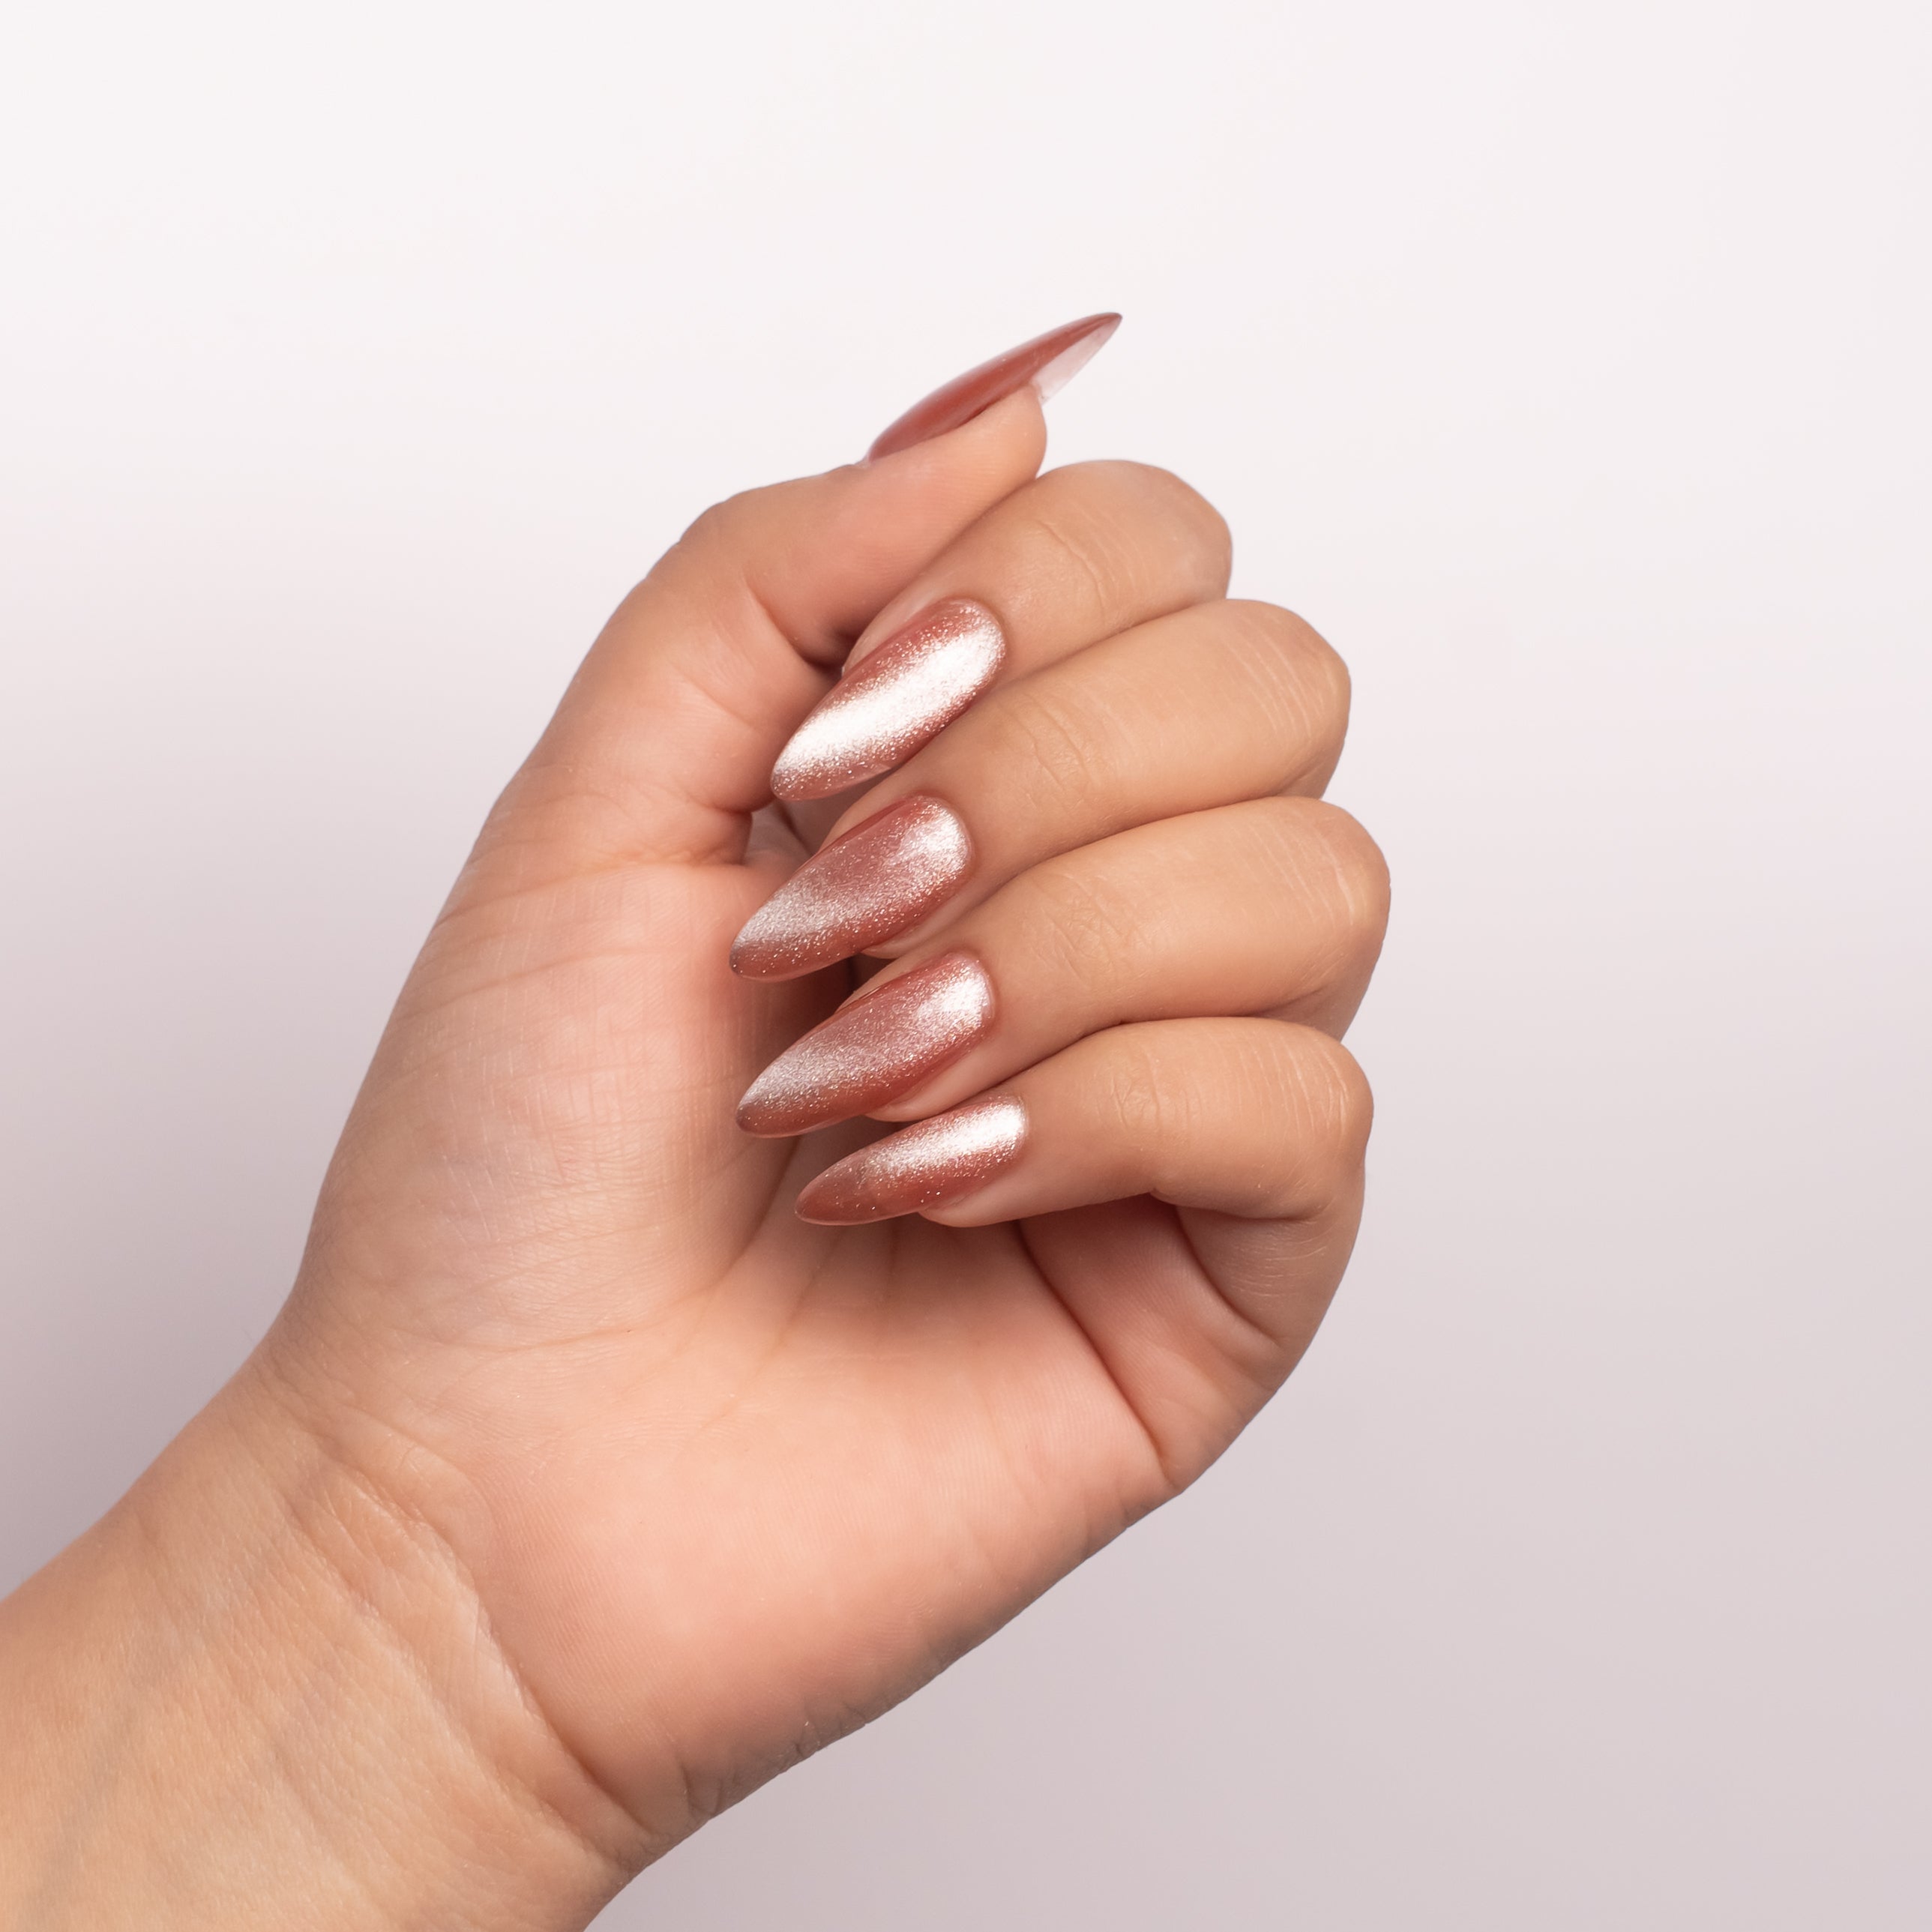
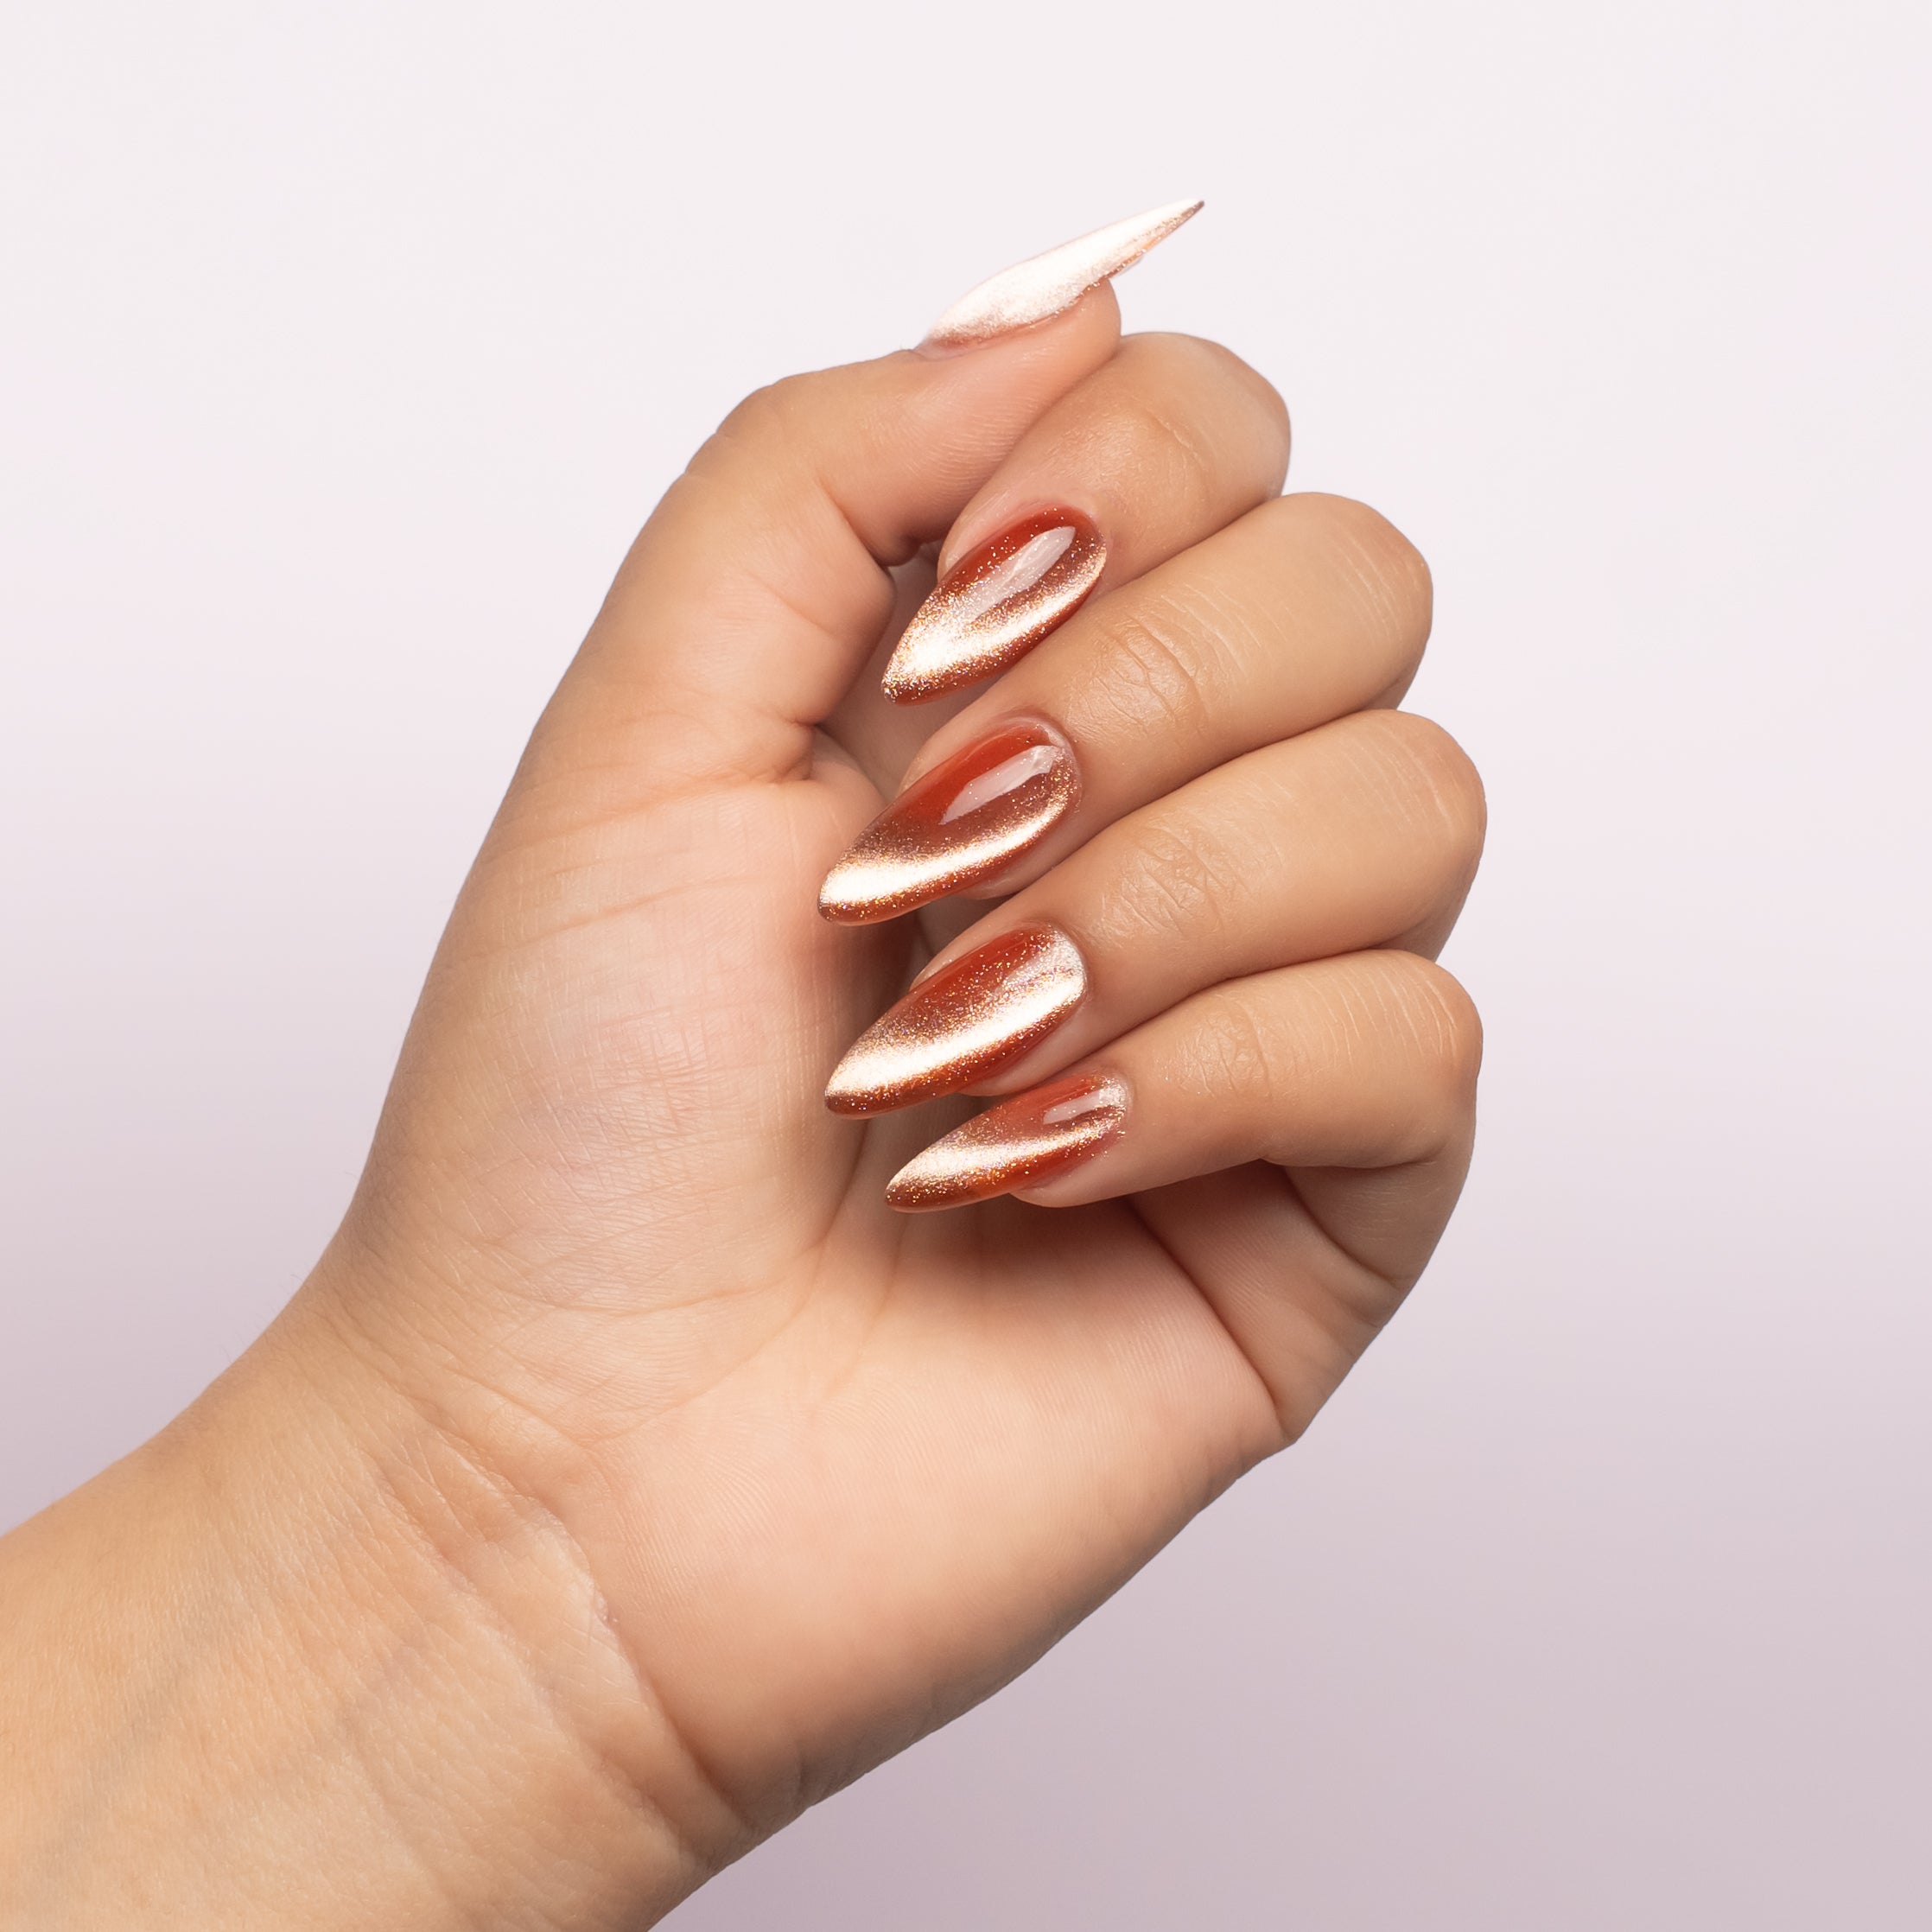
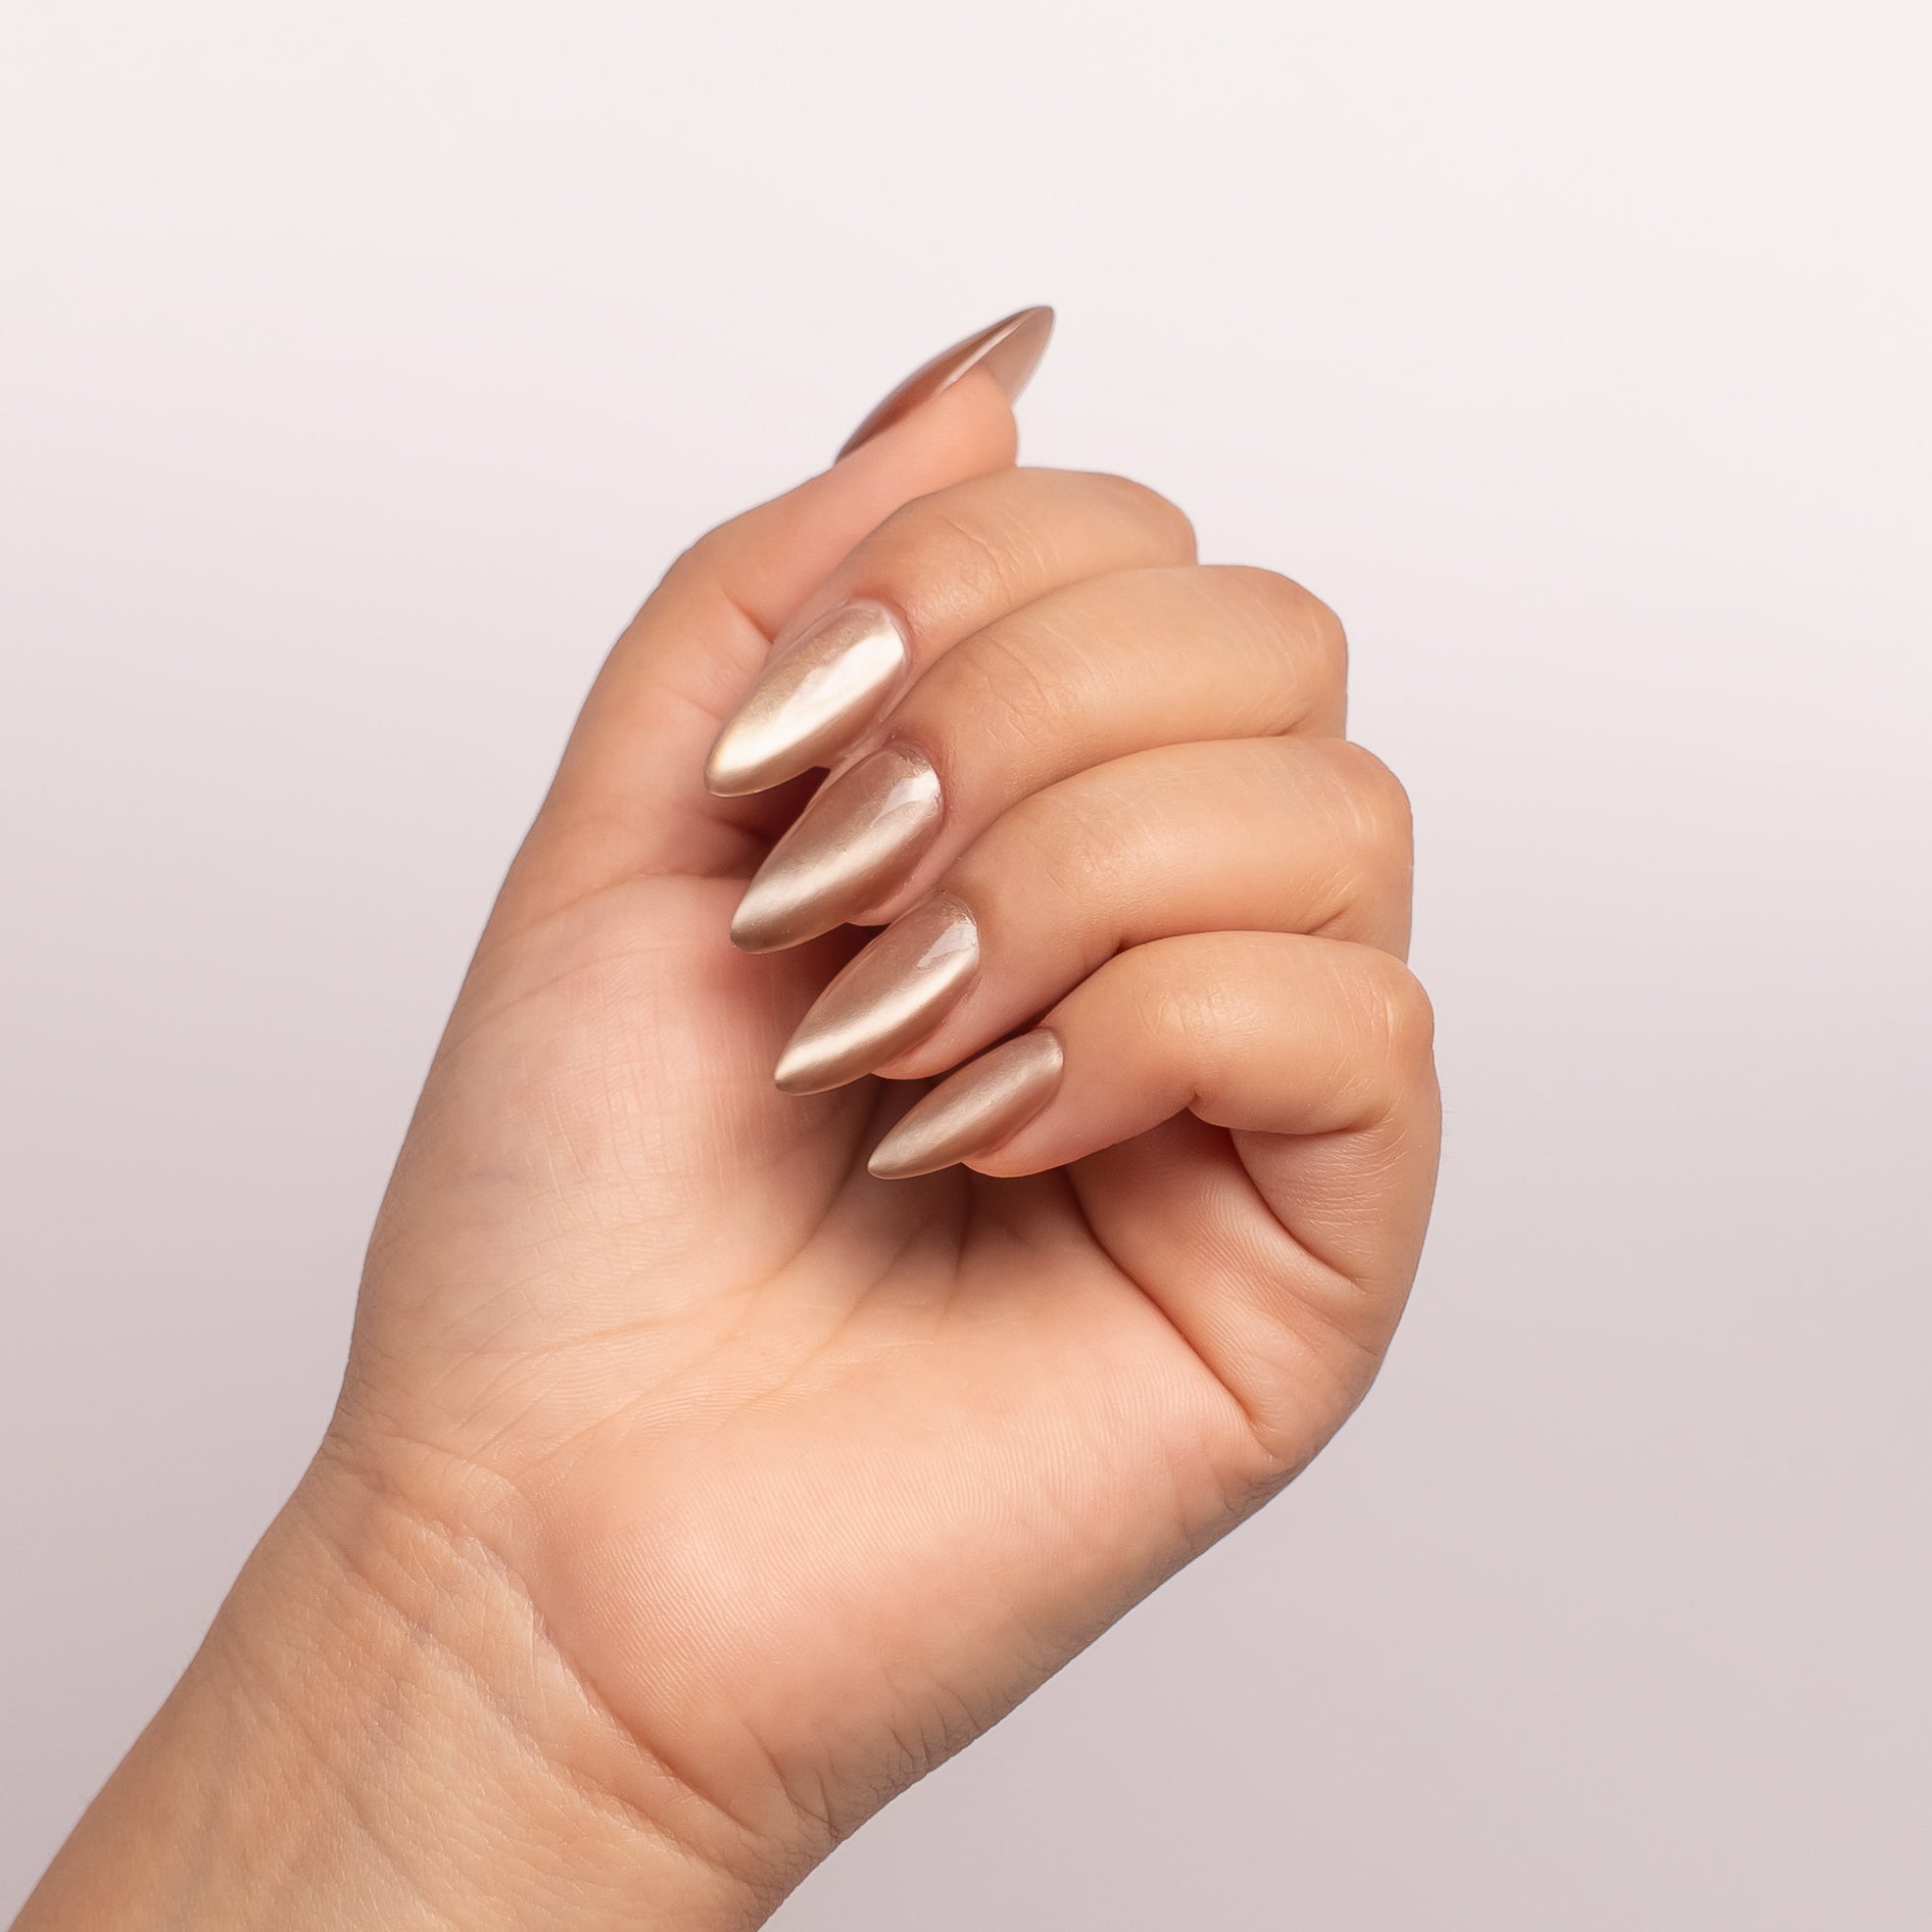
A silky Effect
Fine Grains to create a stunning elegant effect

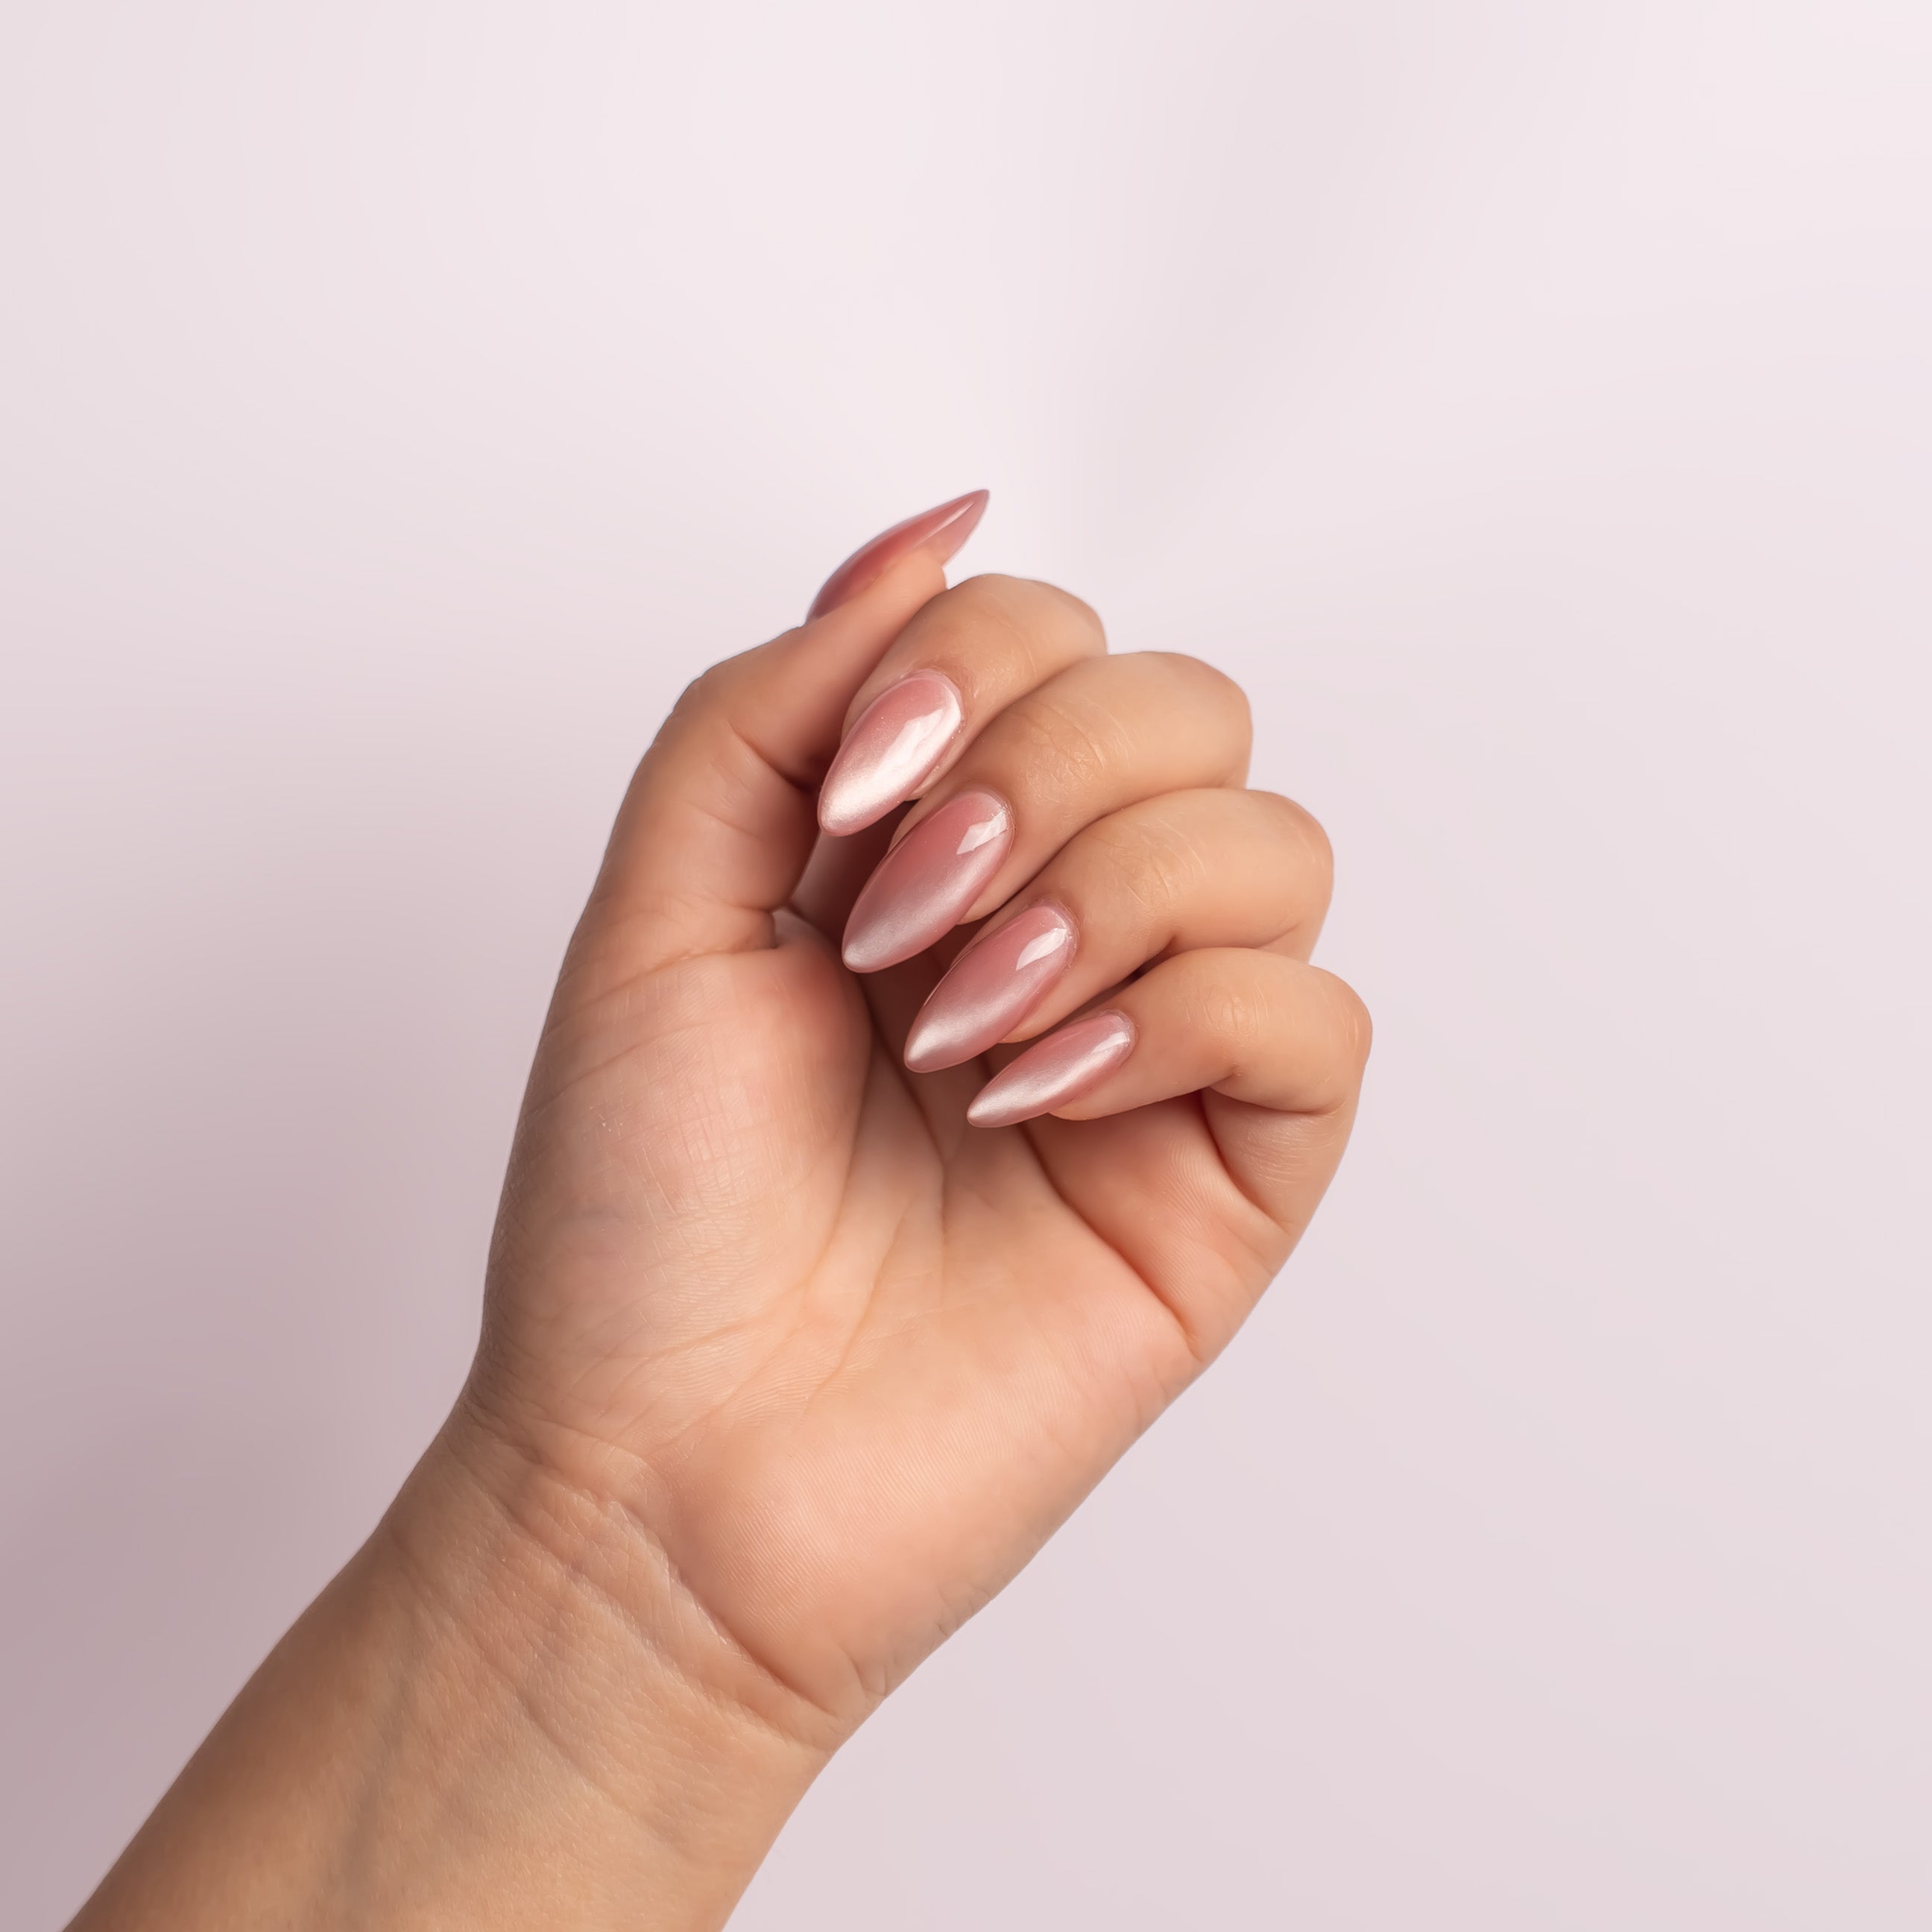

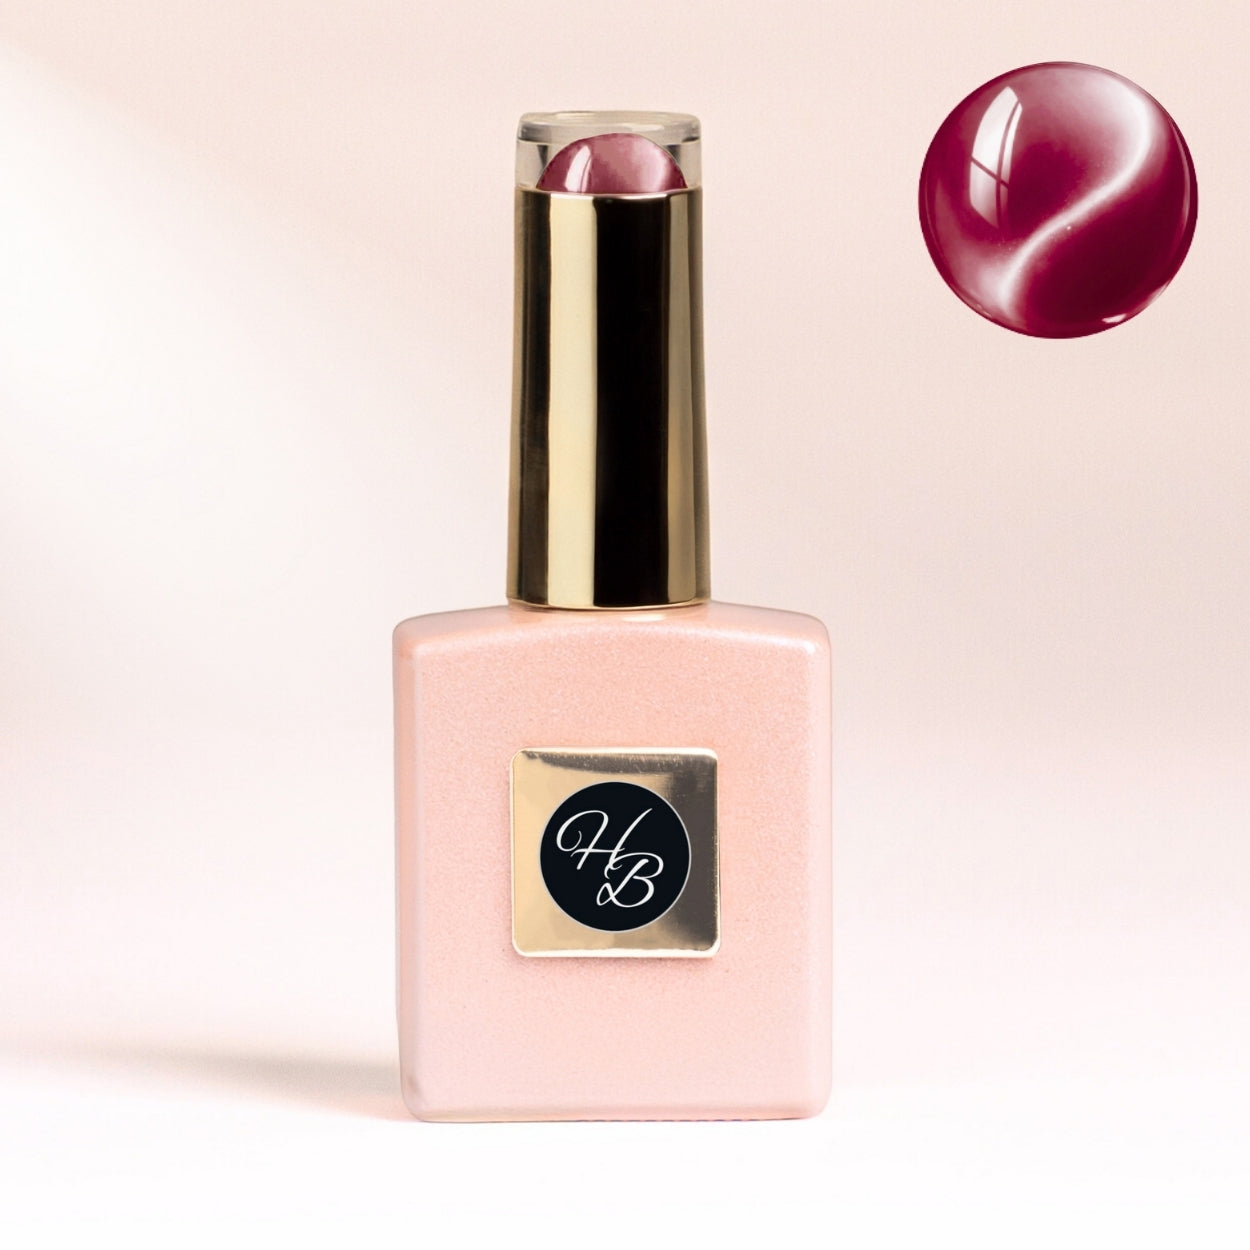
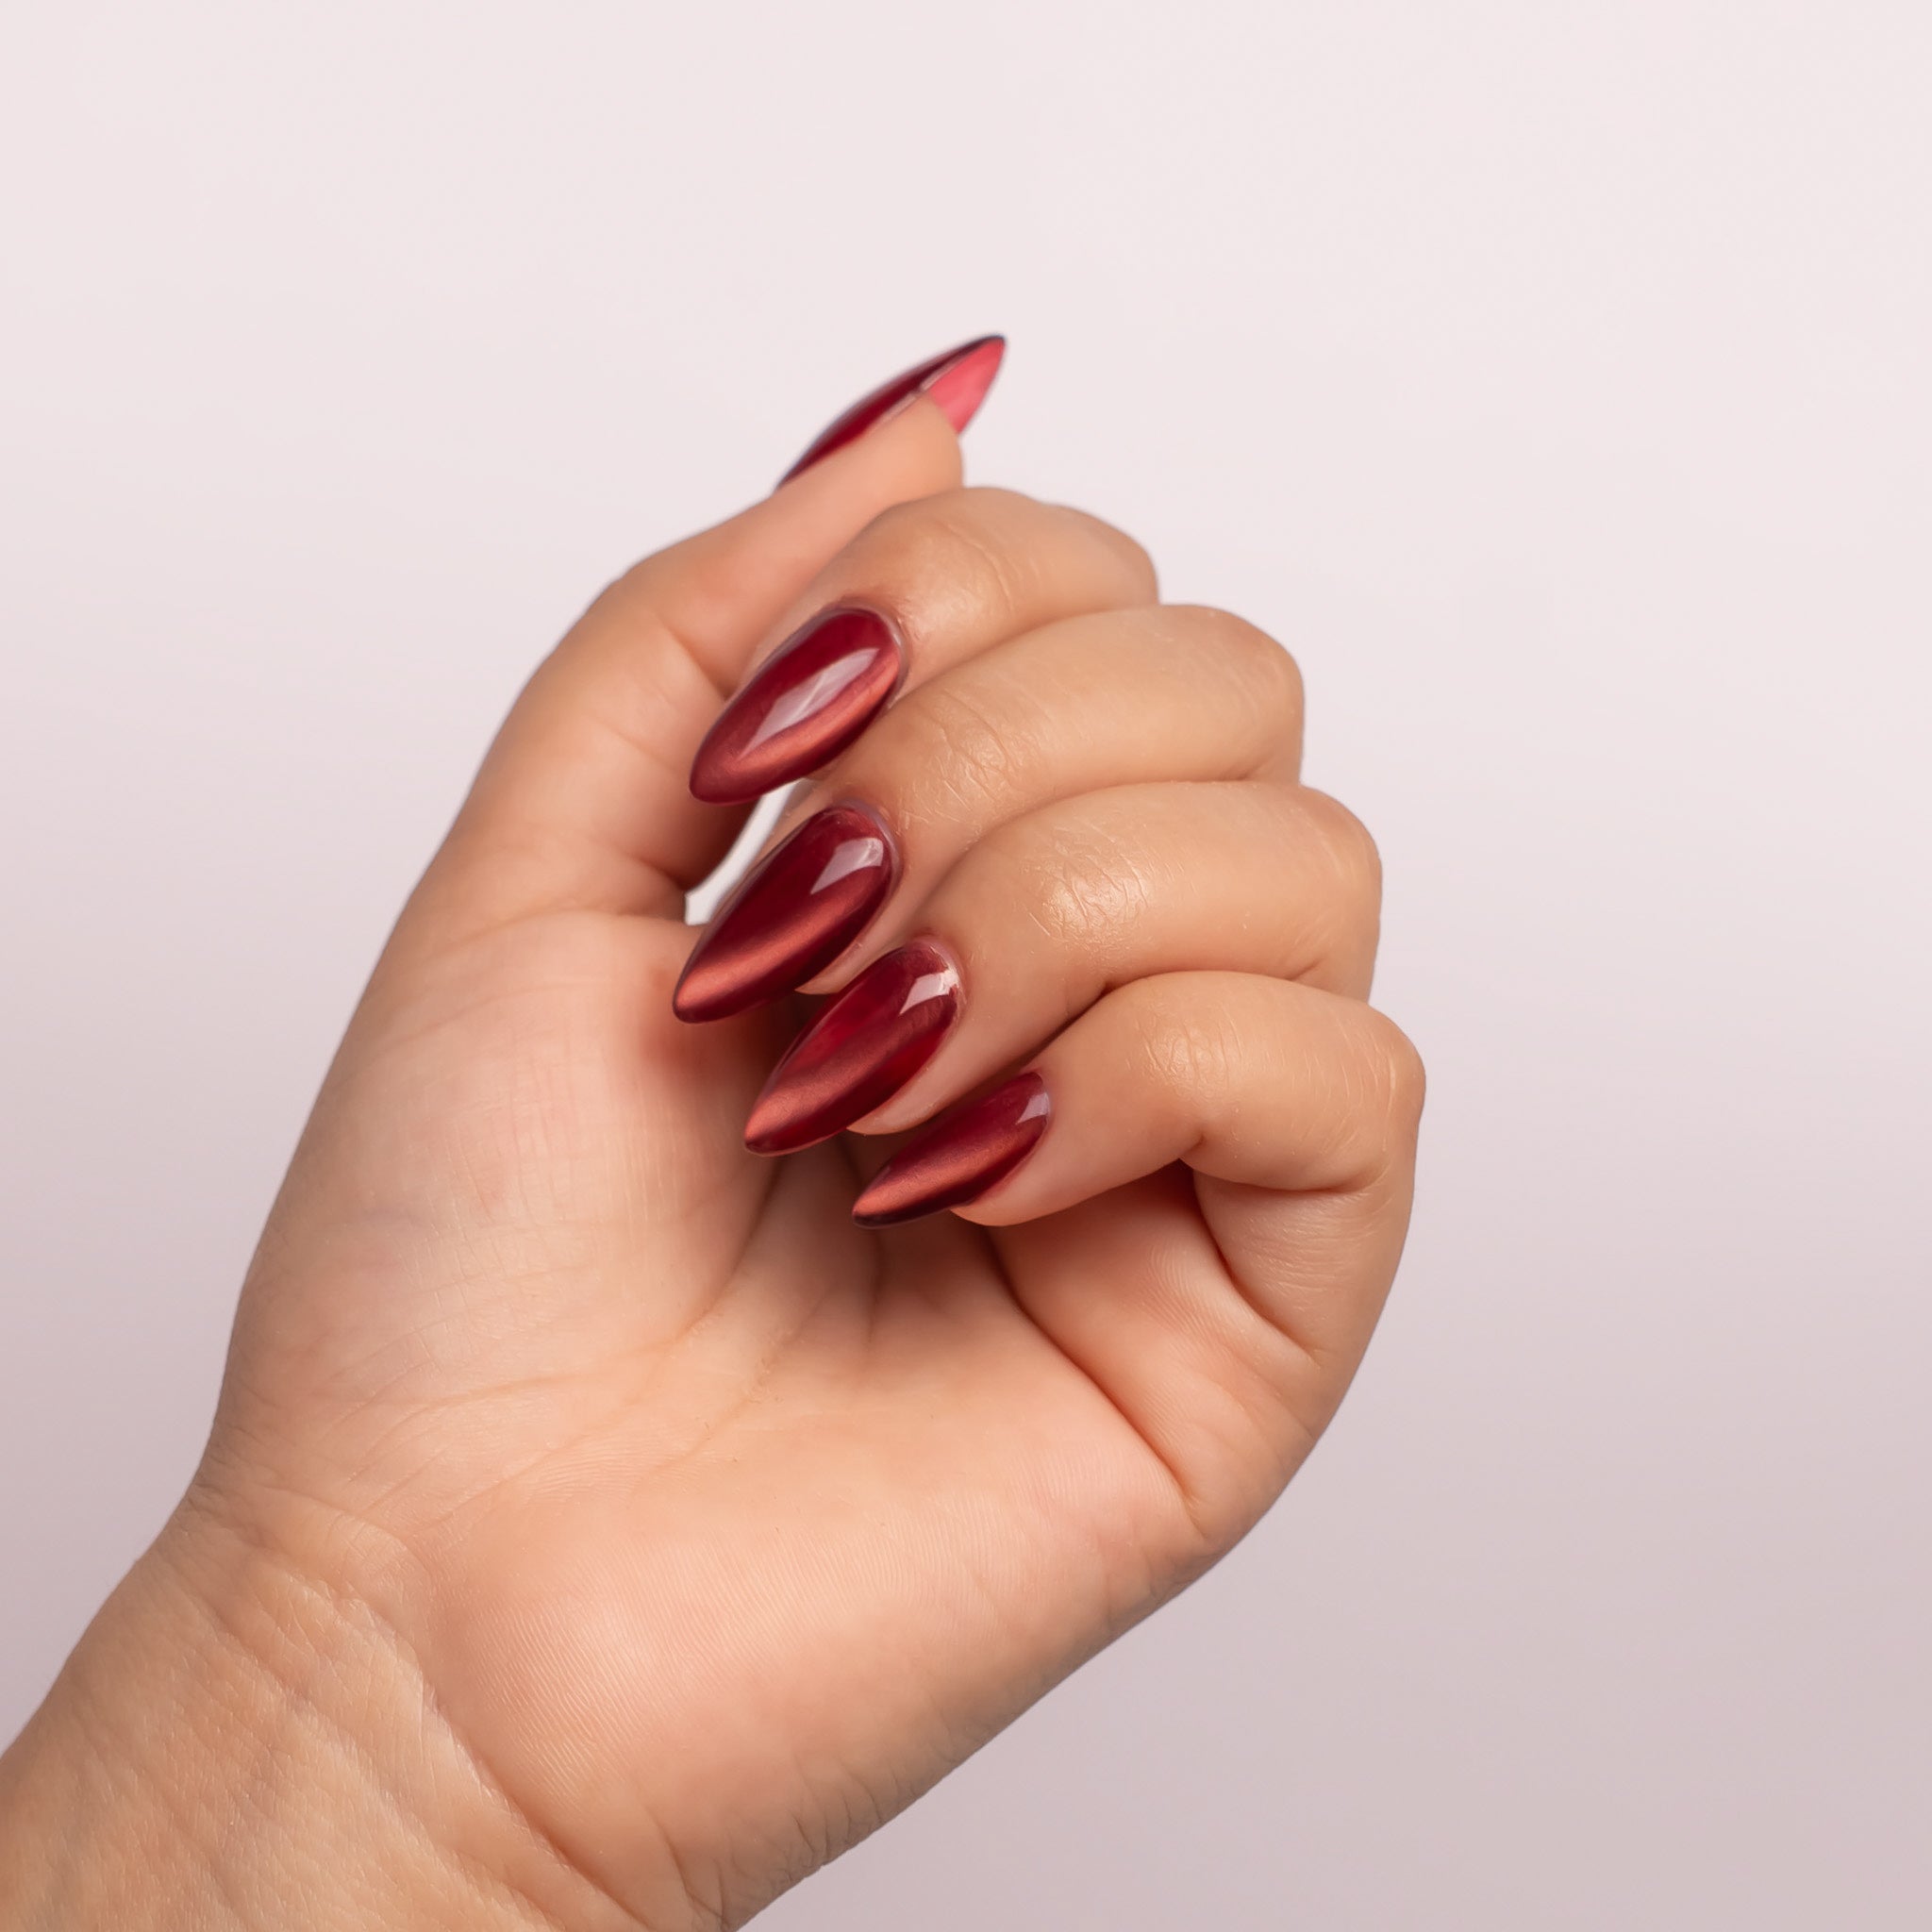


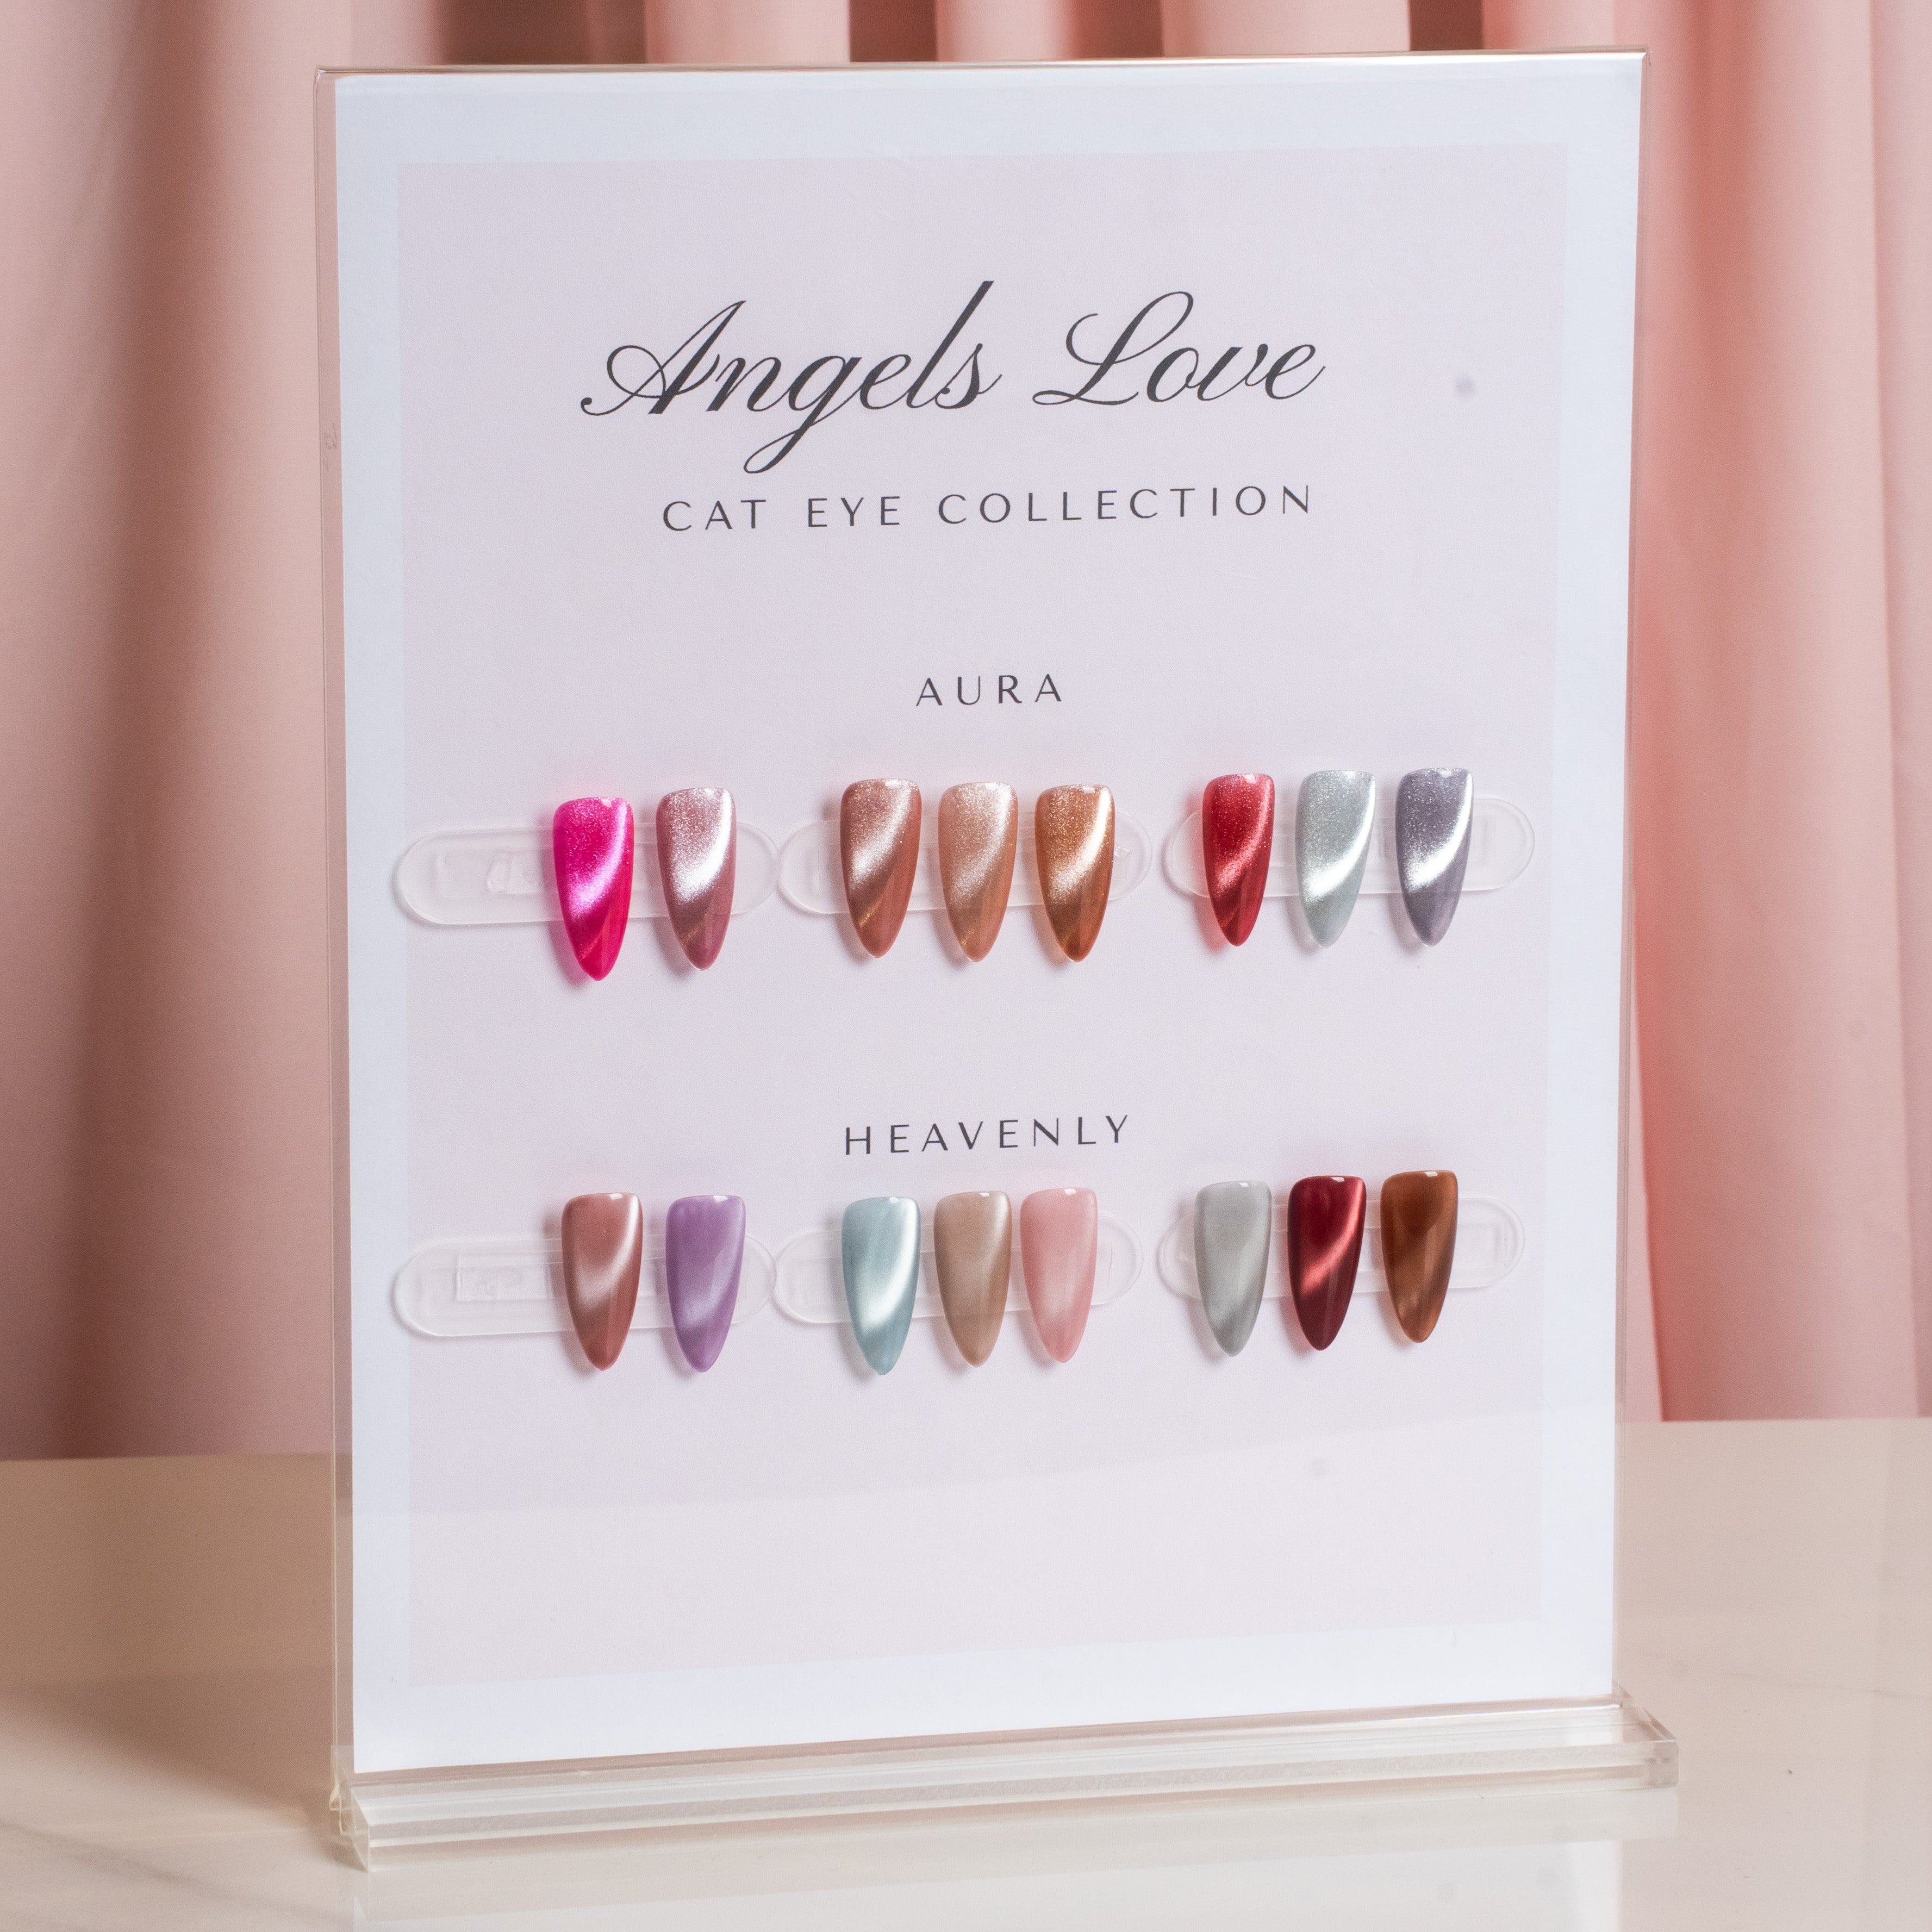


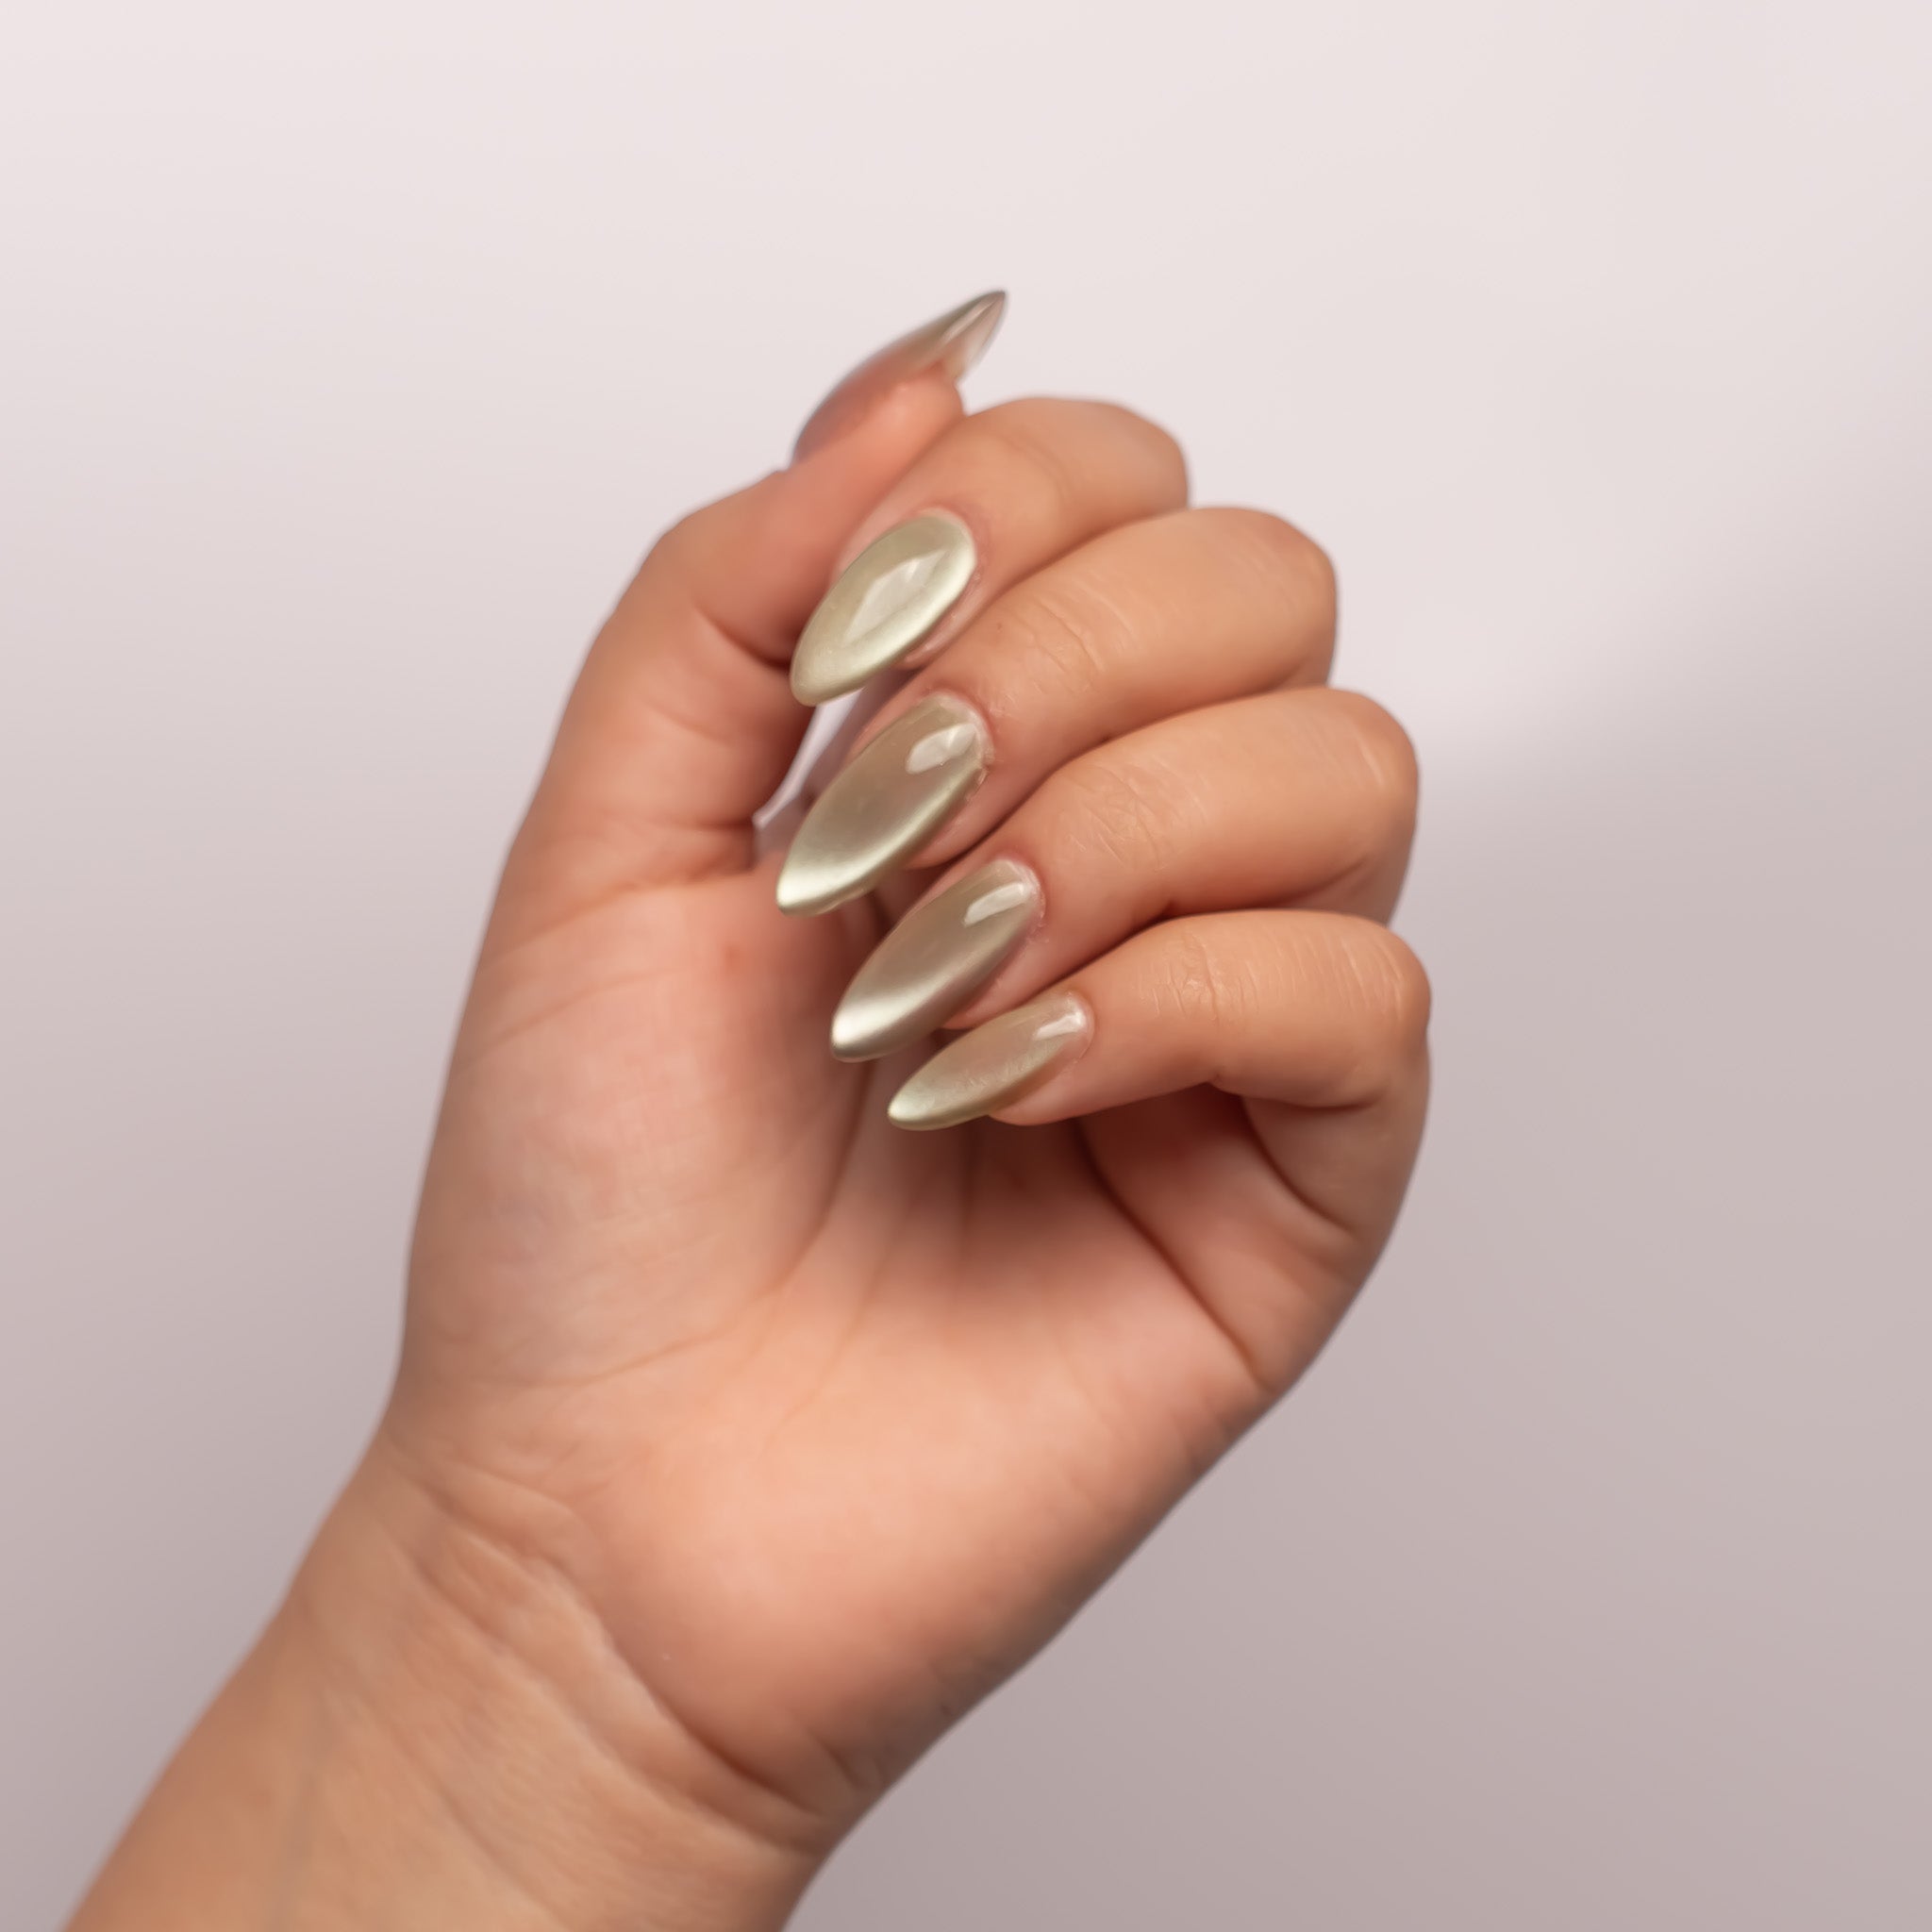

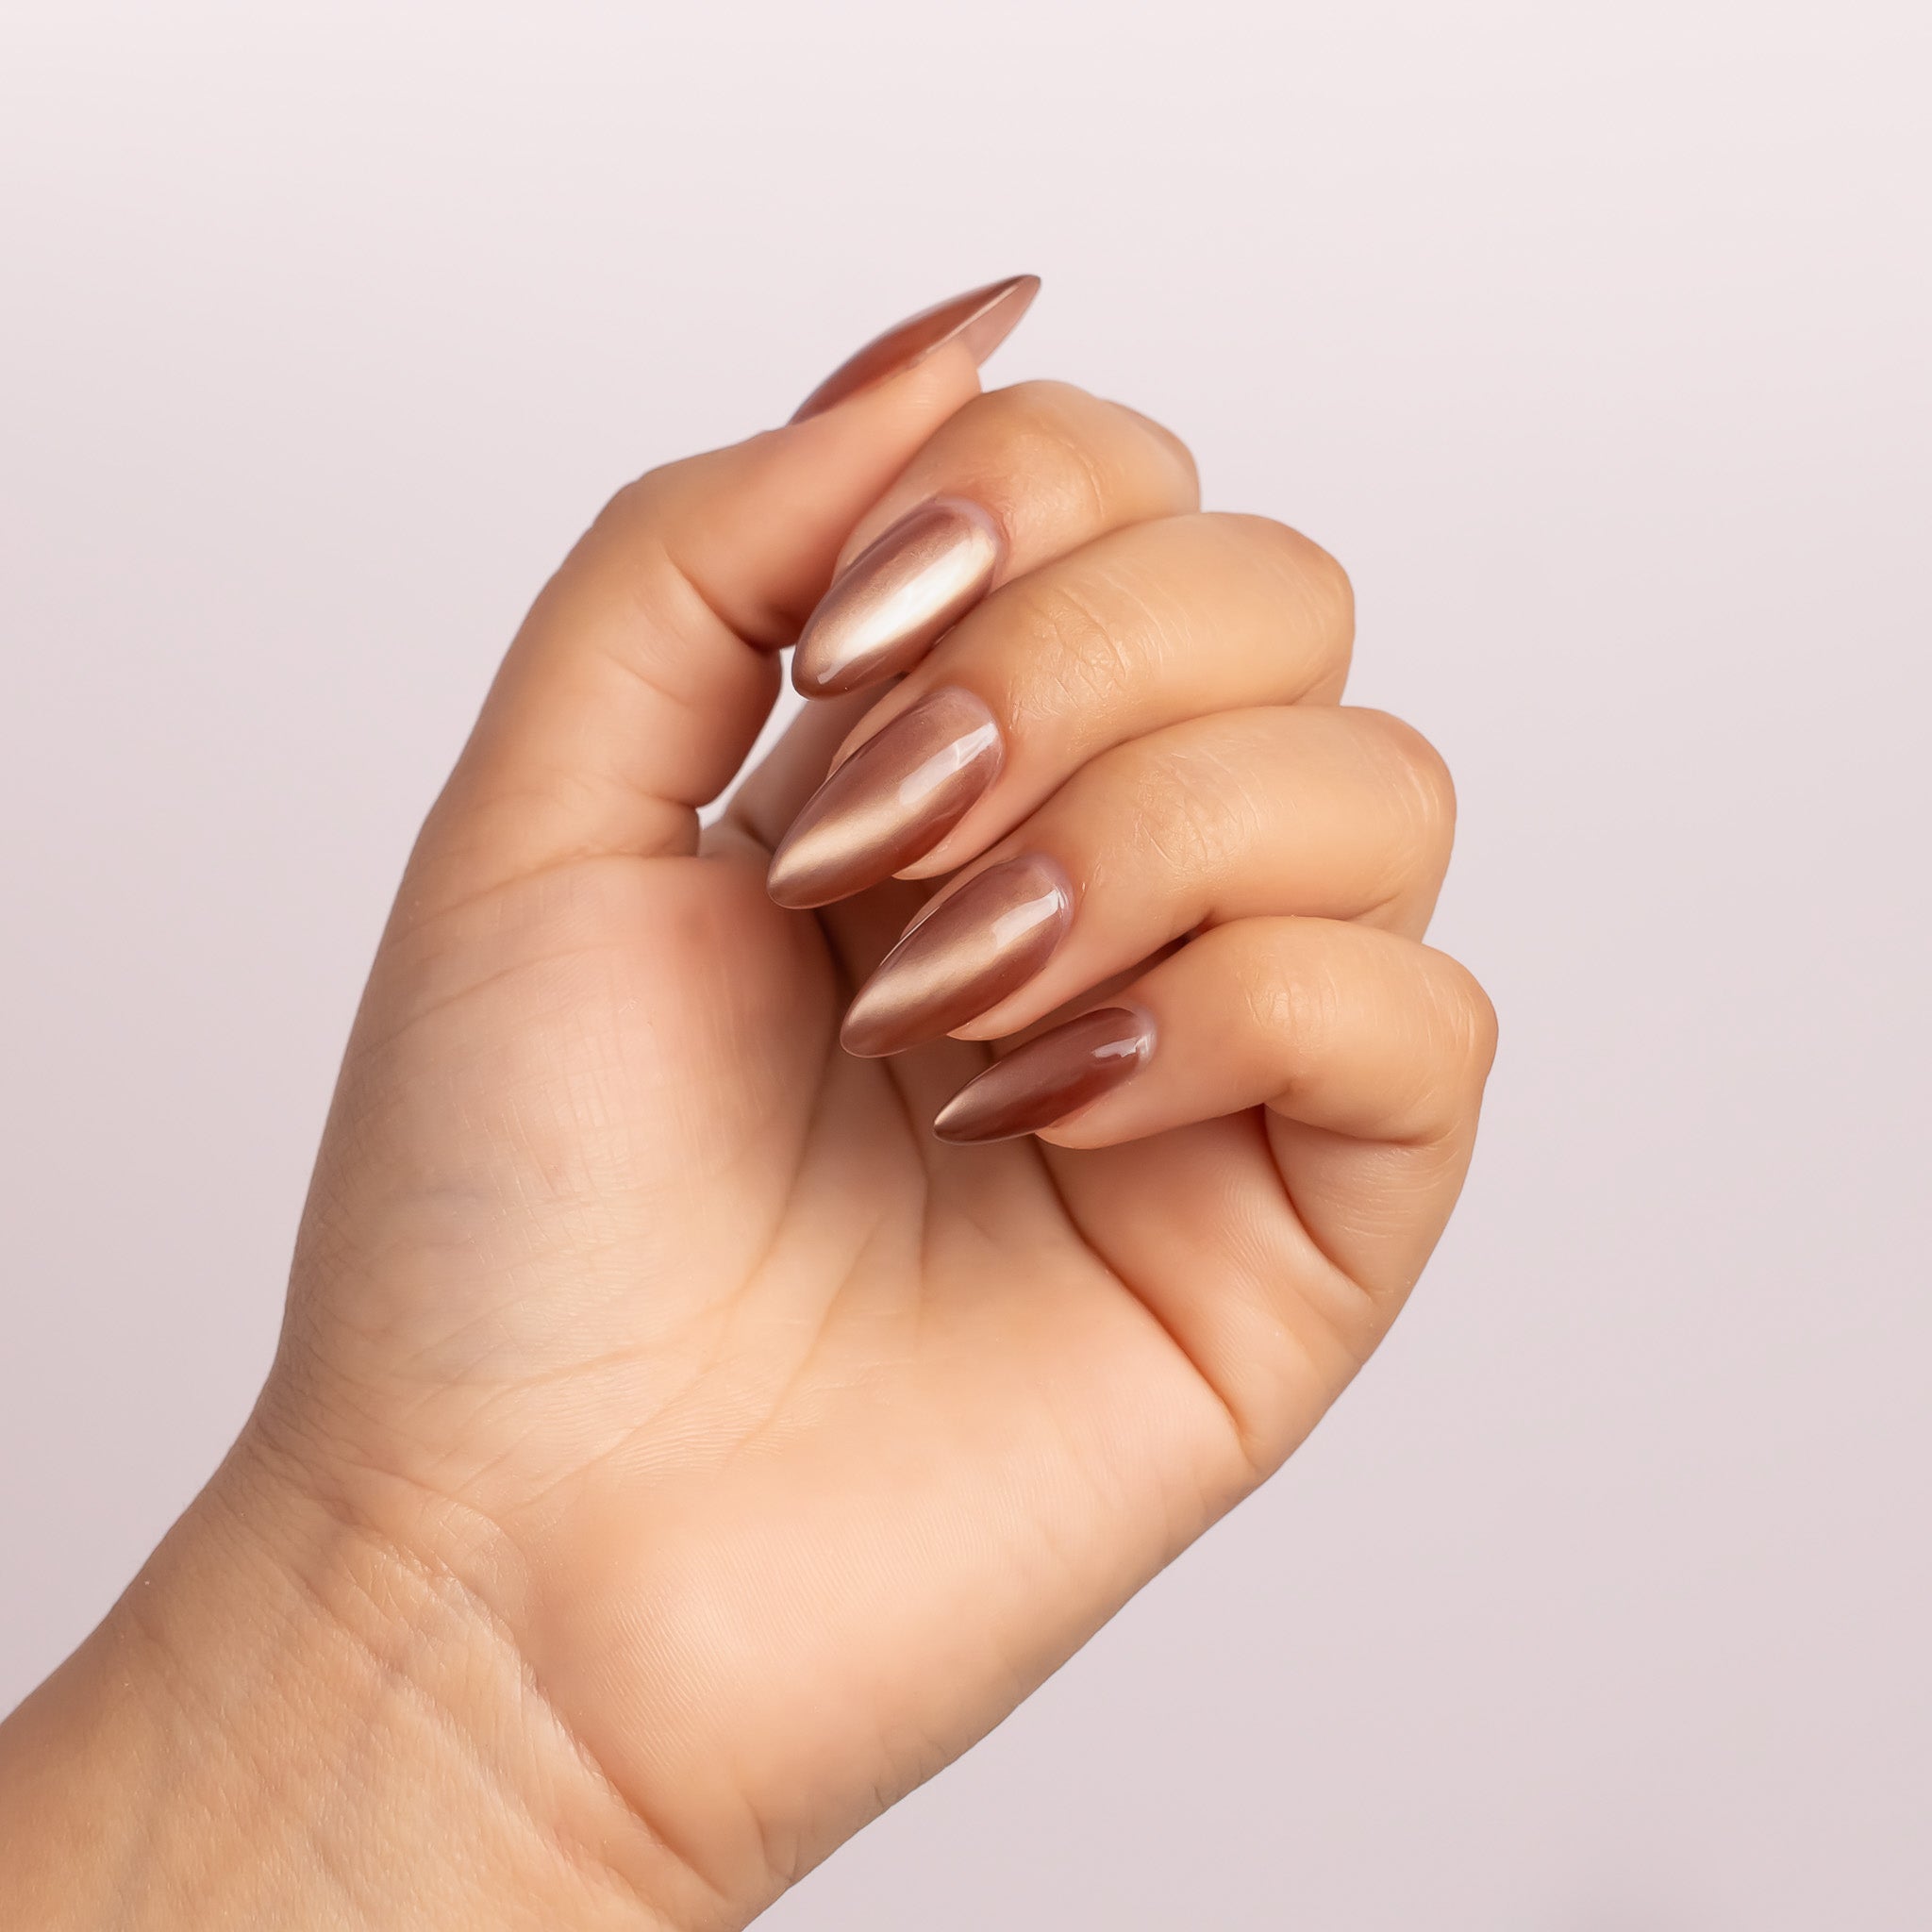

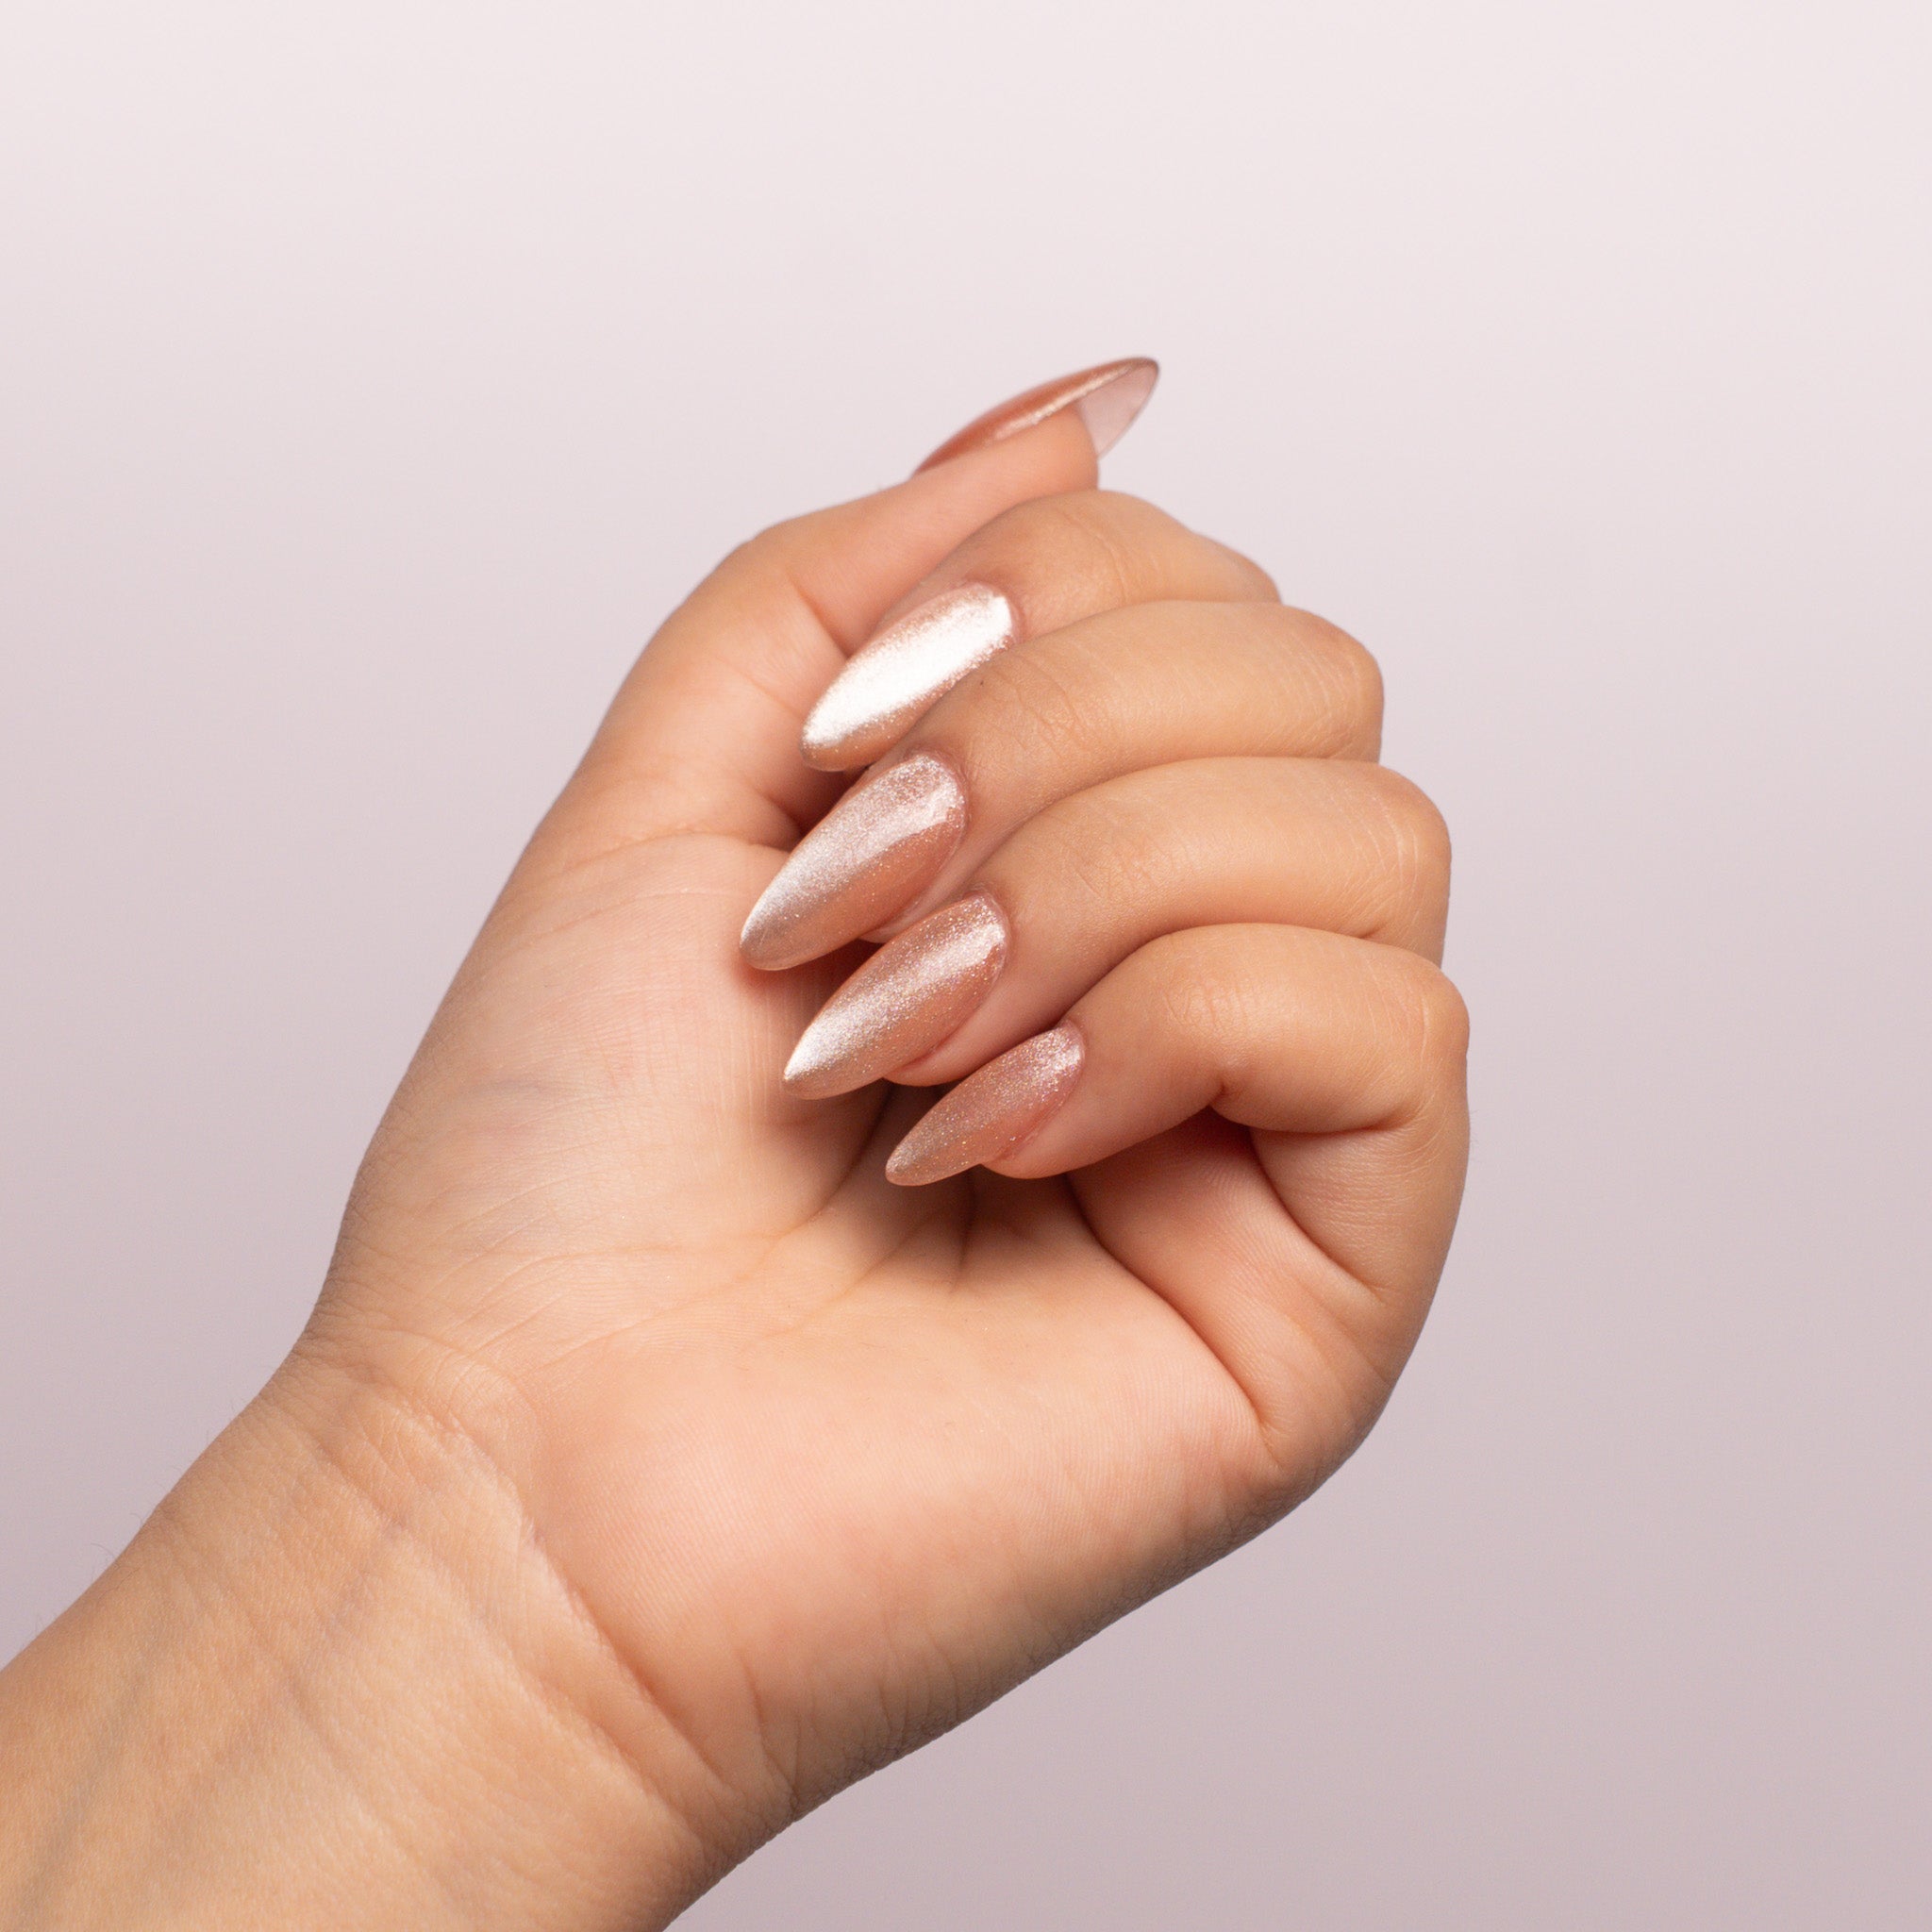
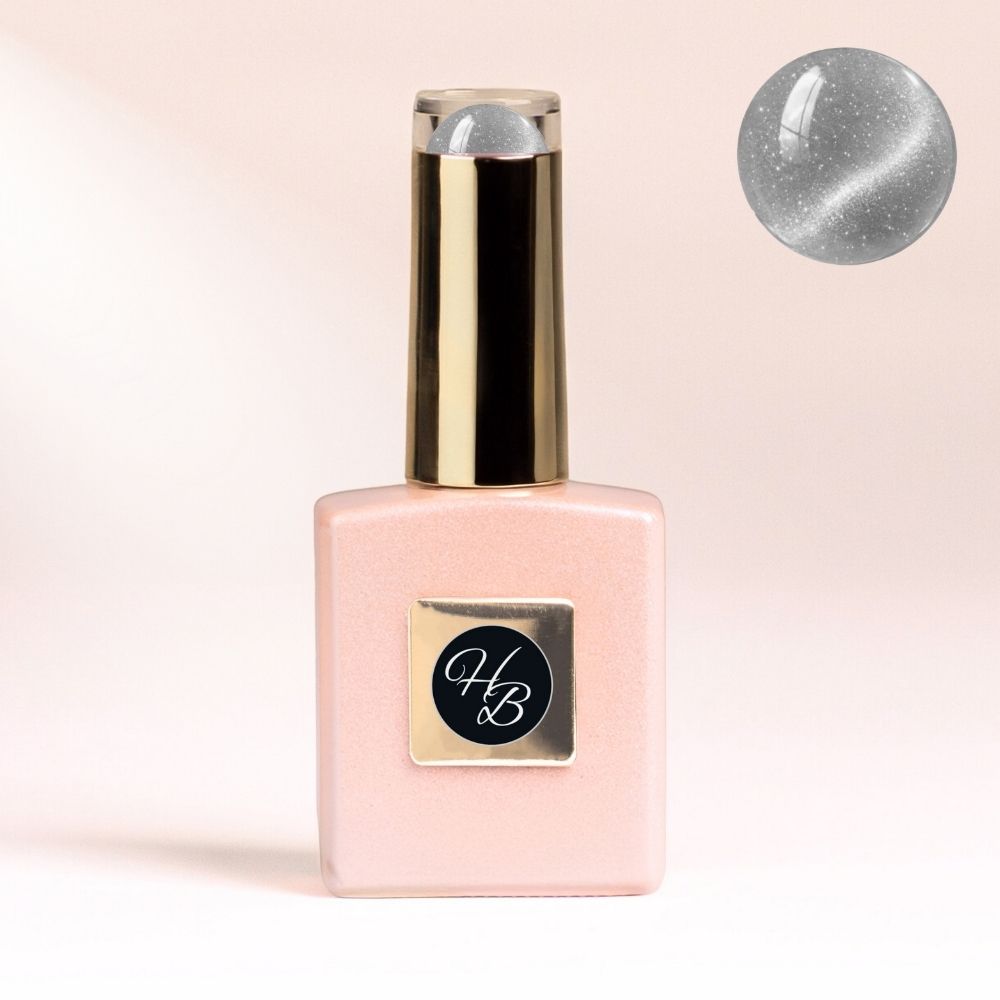
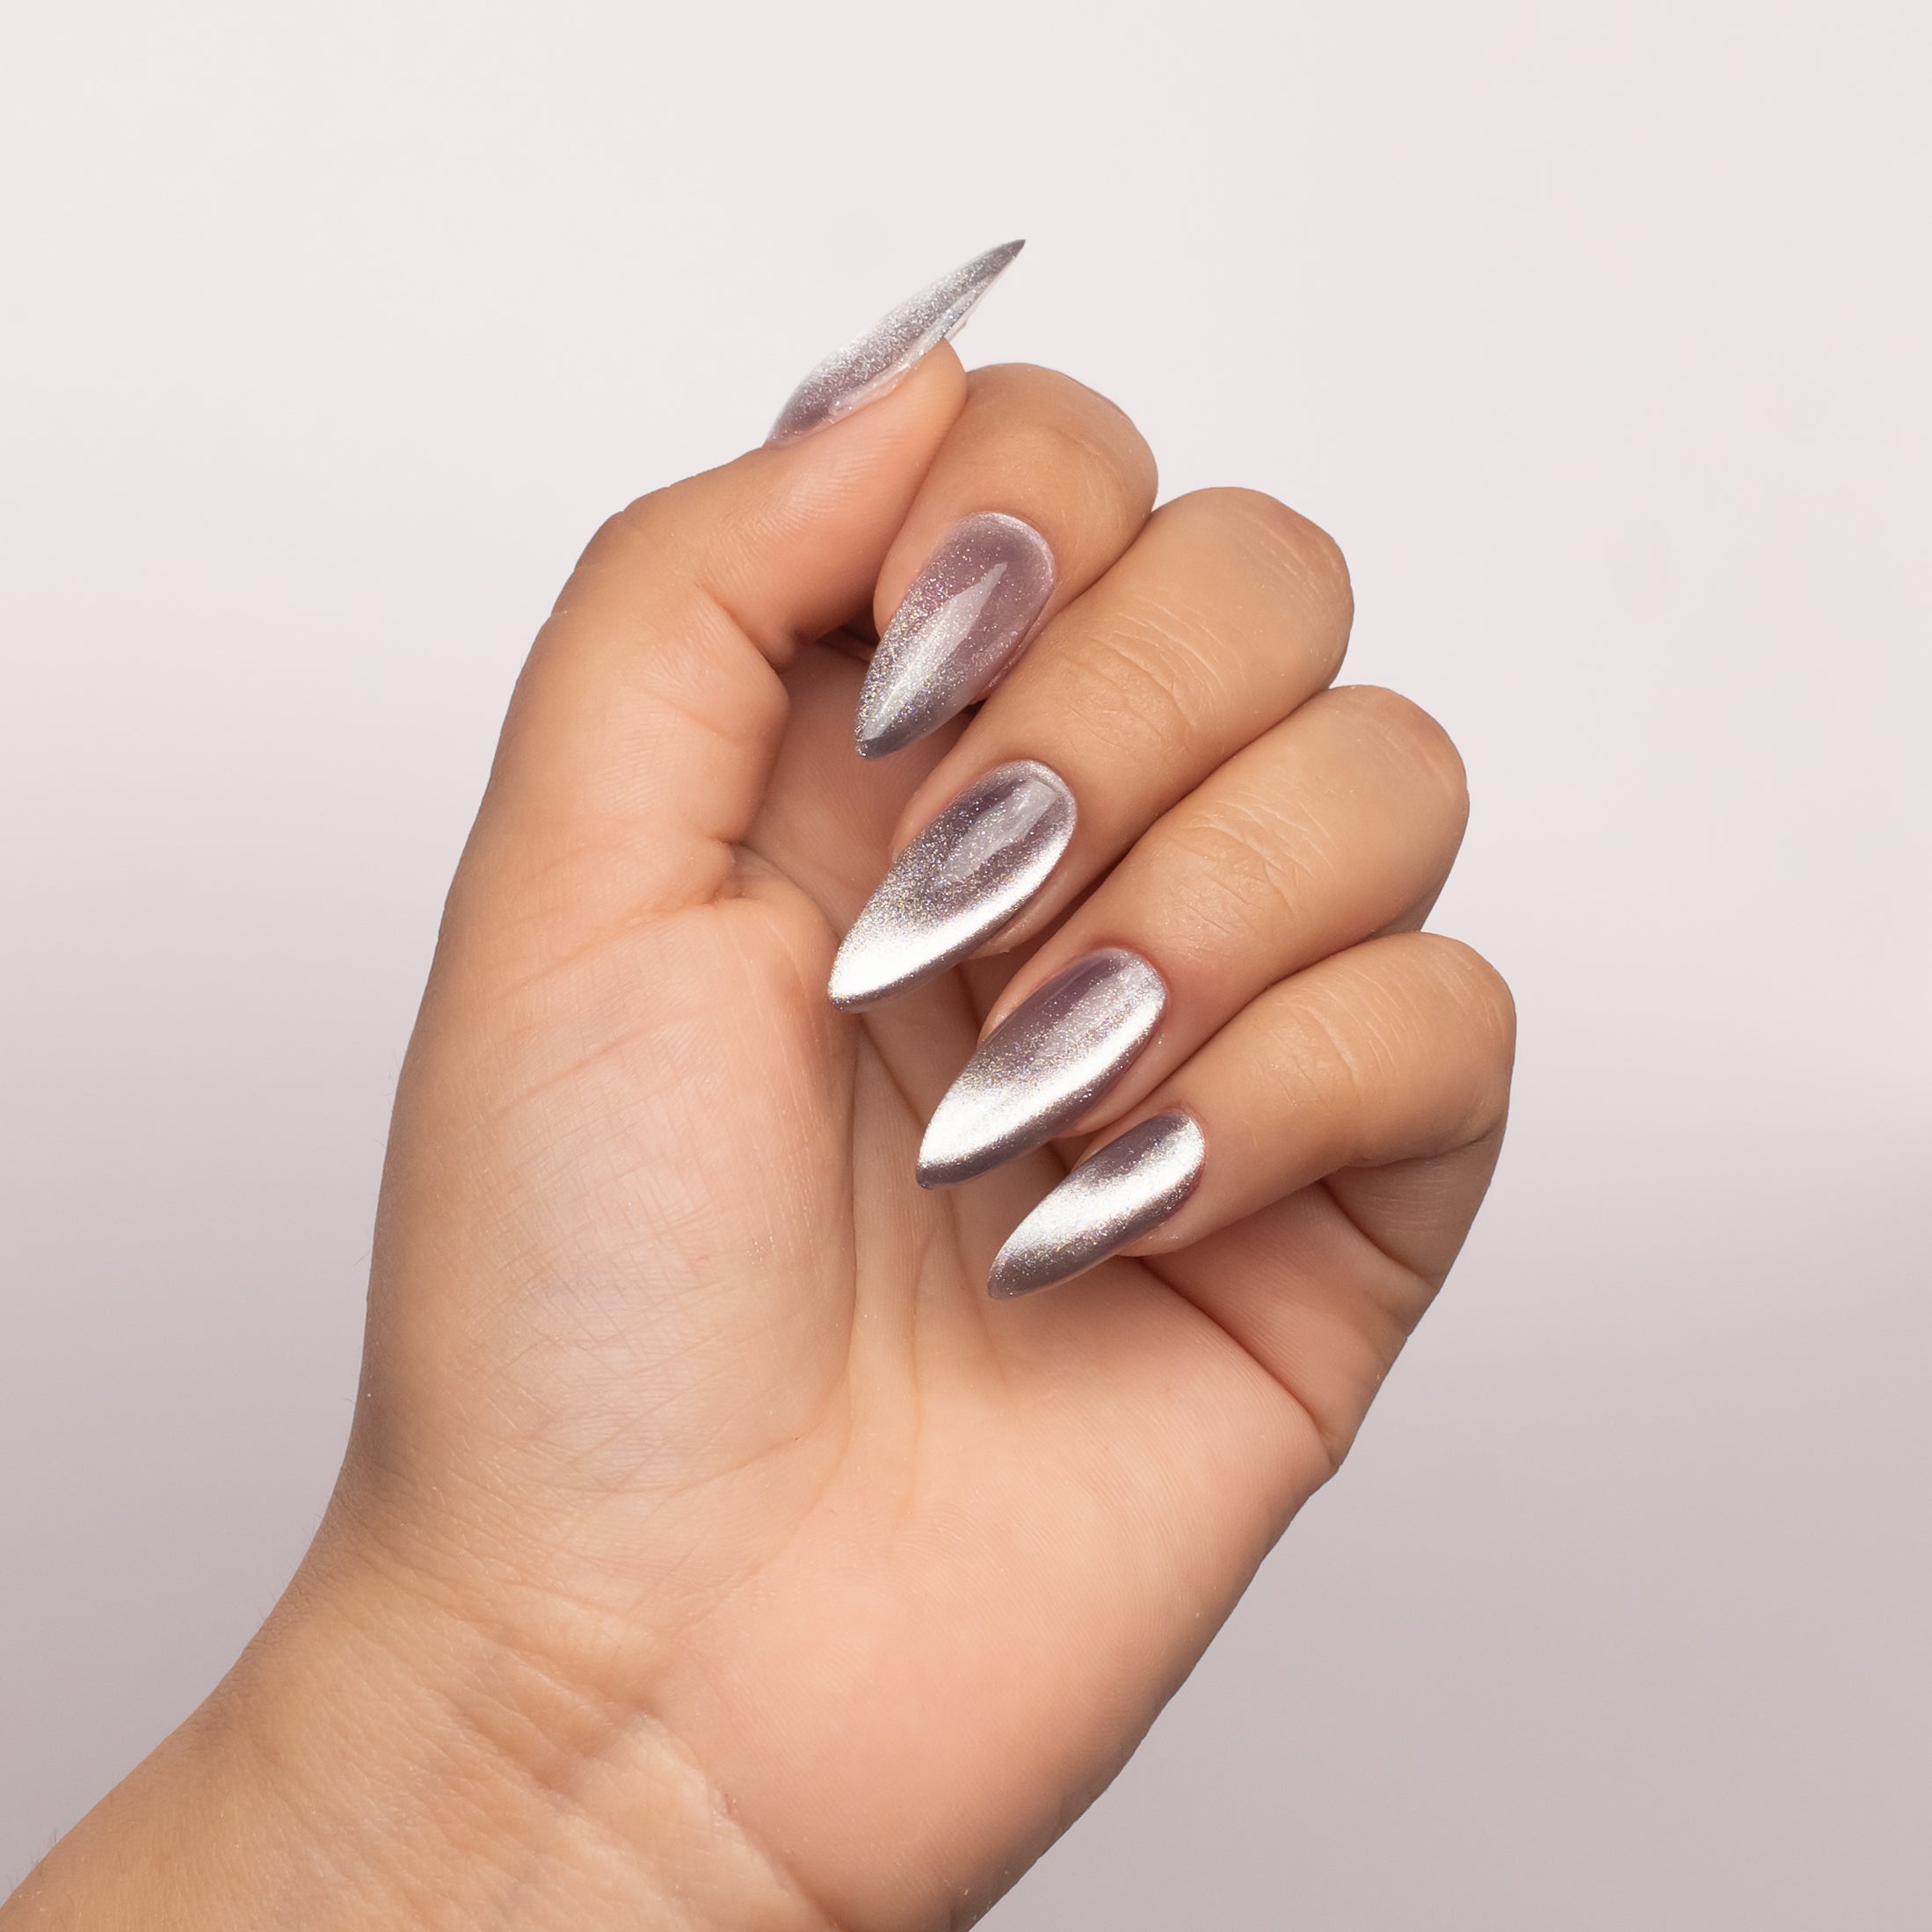
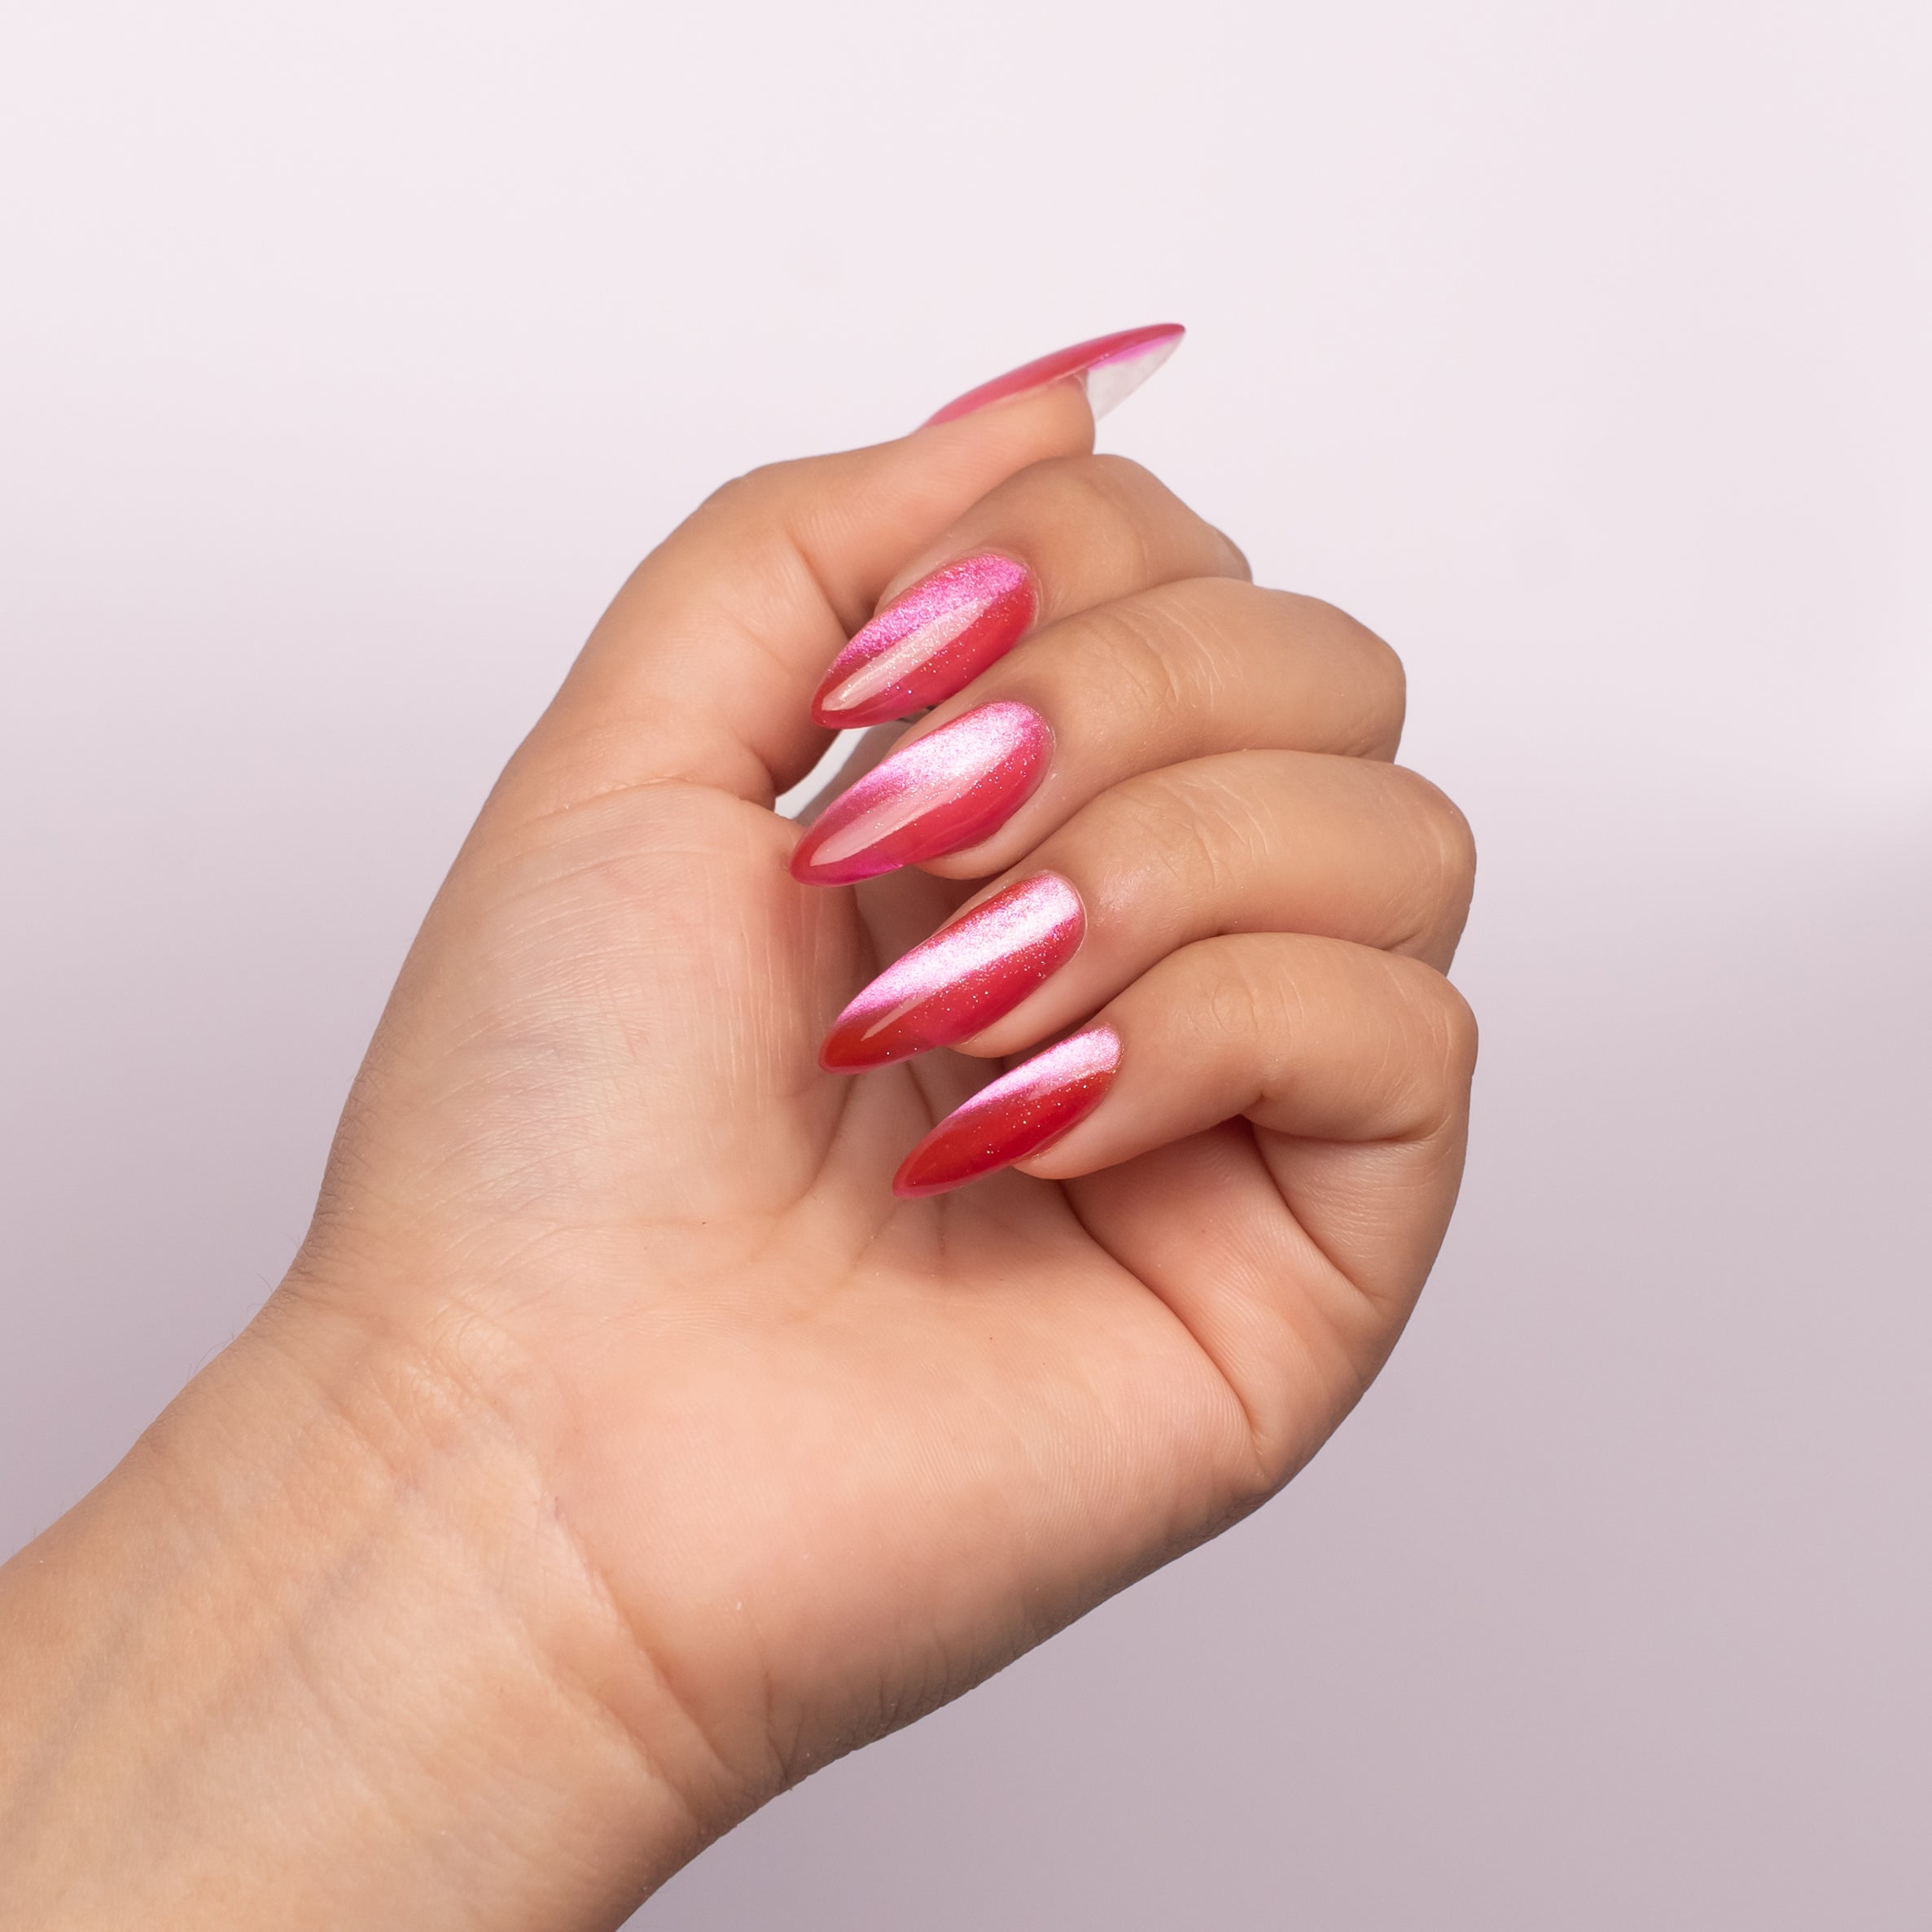
Shimmery Effect
Larger Grains to create a stunning high sparkle effect


How To Use
For Maximum Performance
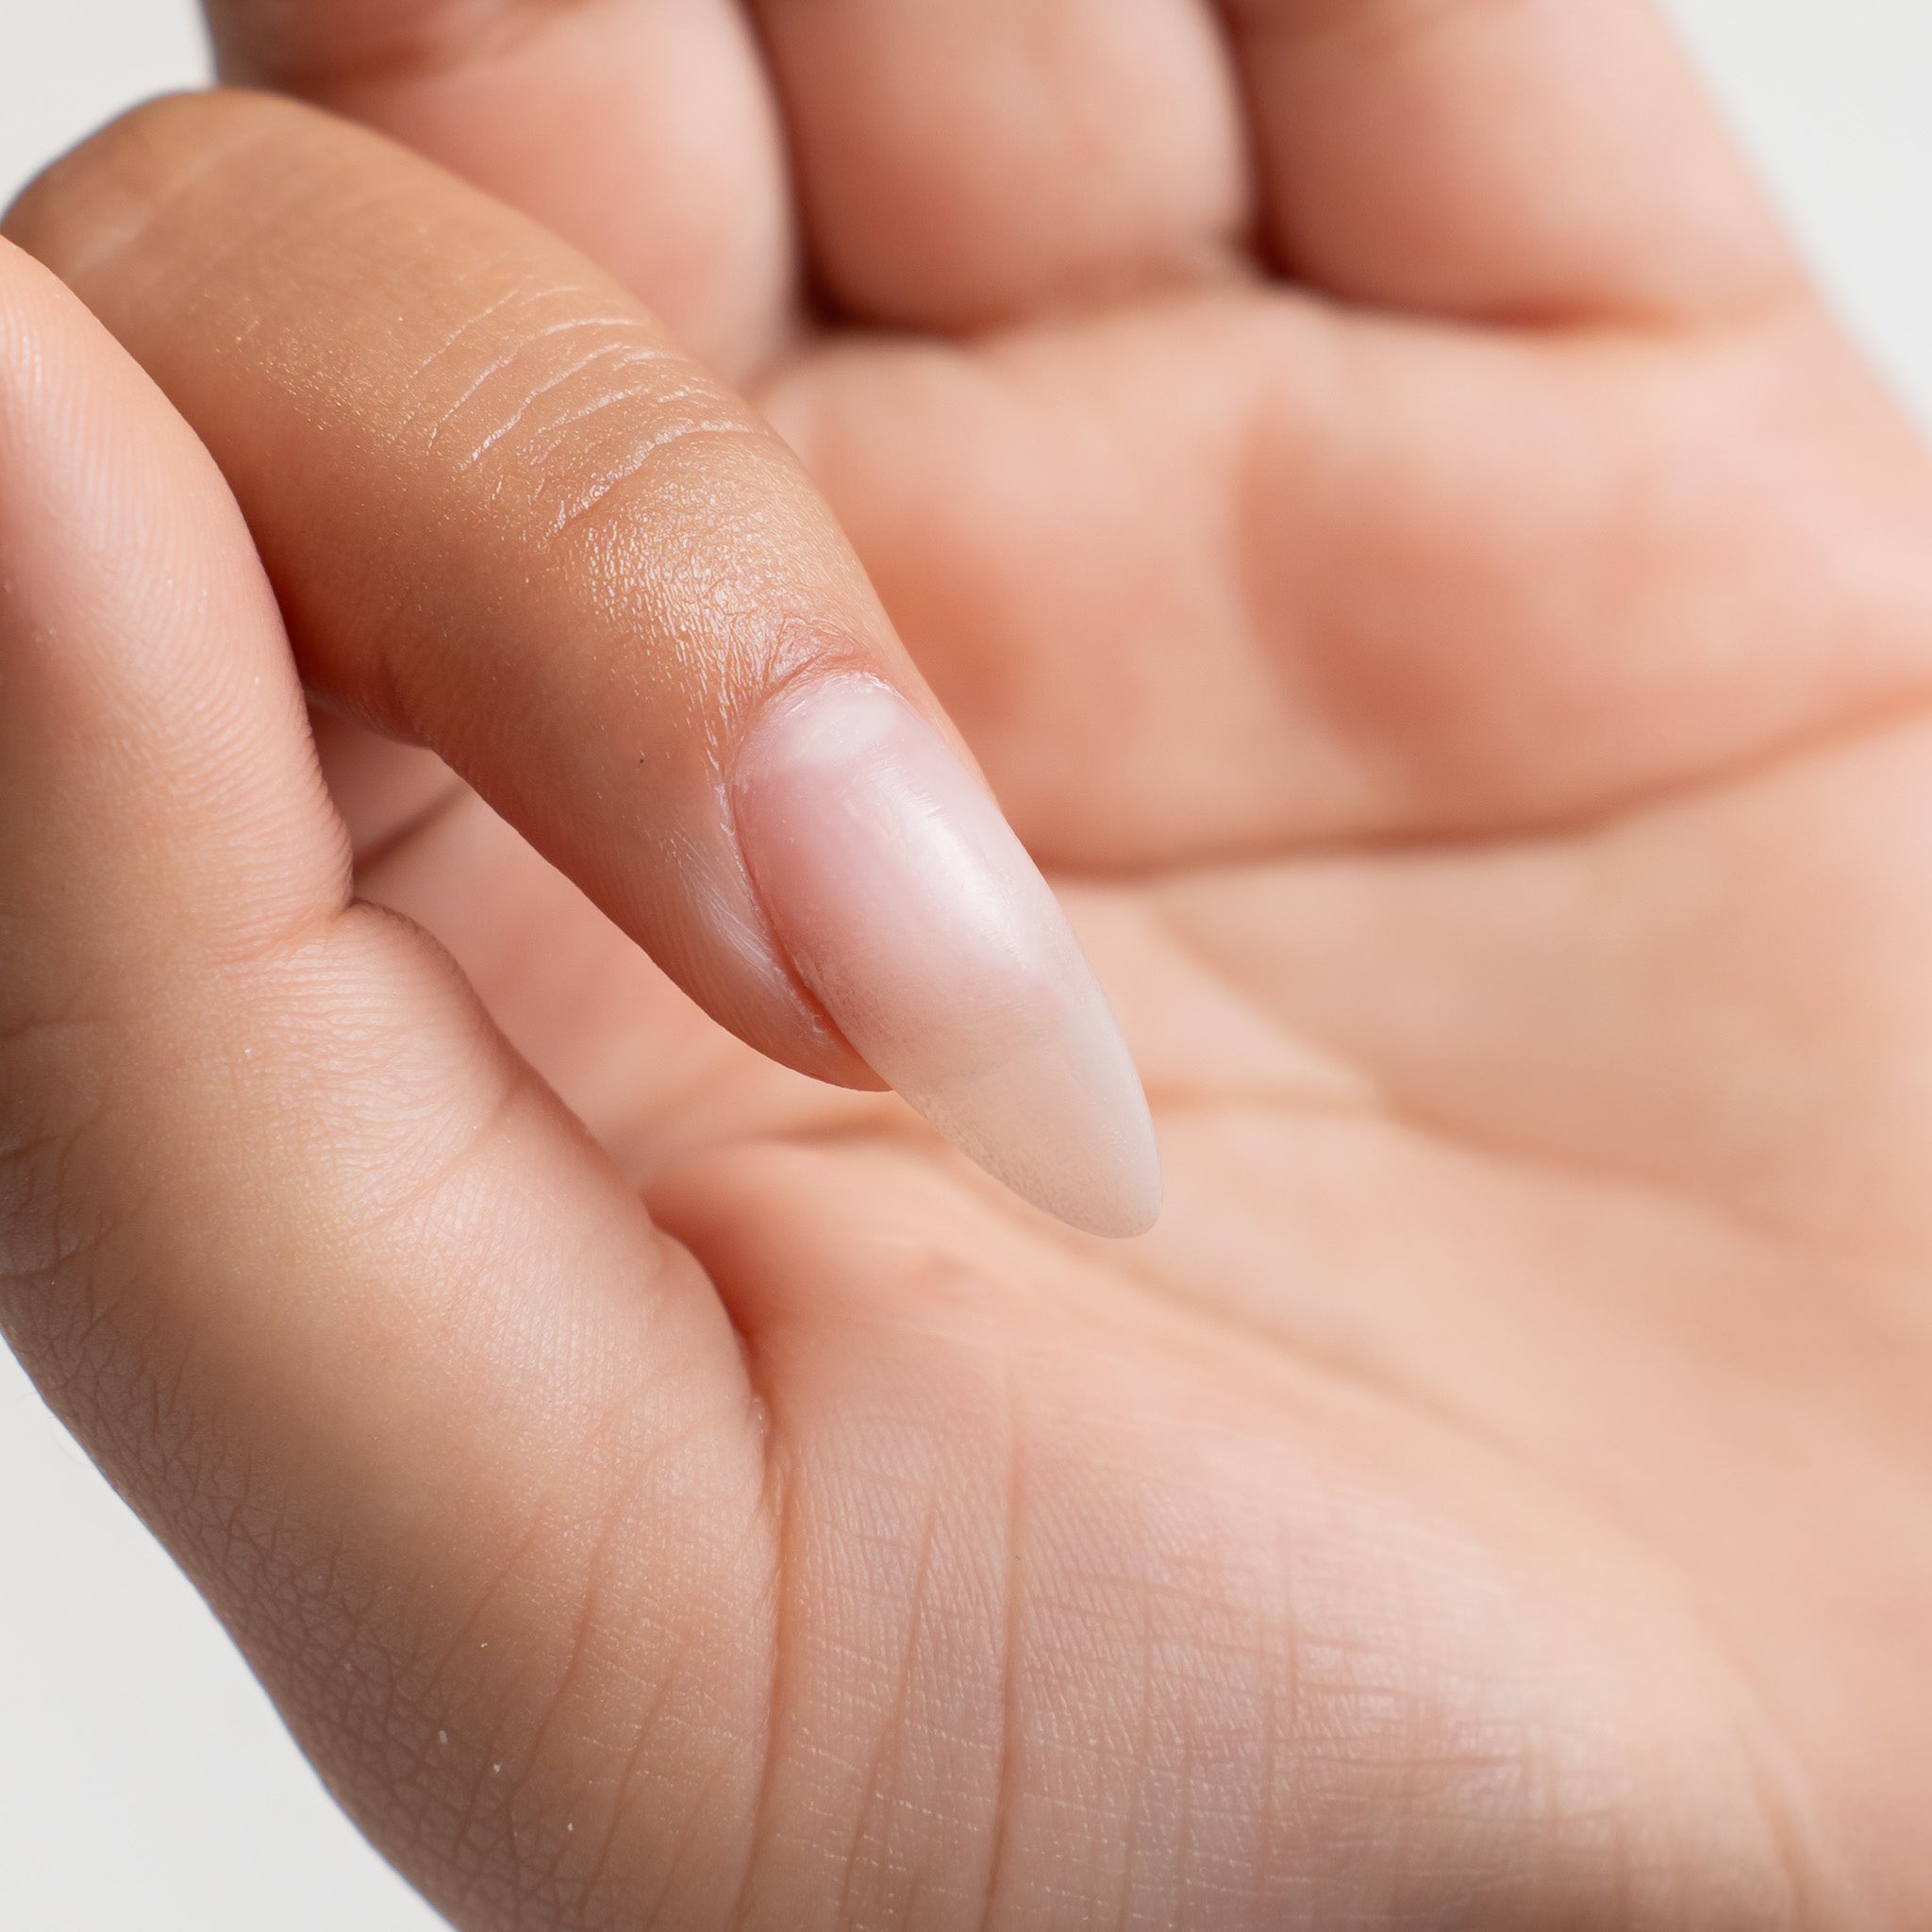
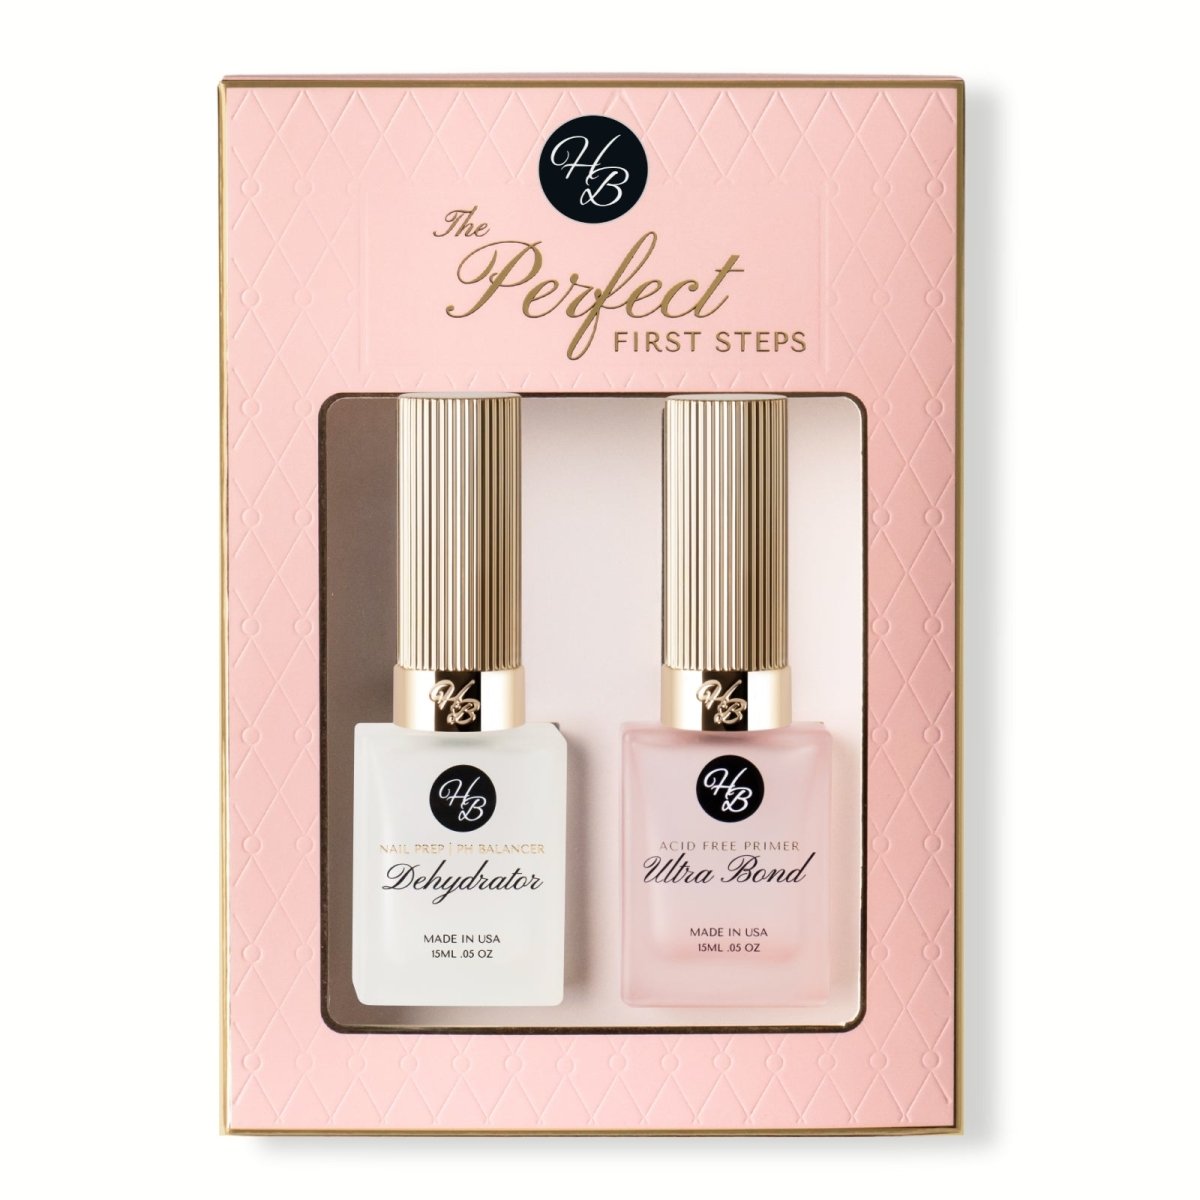
Step 1
Make sure you have a clean canvas
Prep the nail—clean, dehydrate, and apply base so the cat-eye effect lays smooth and lasts.
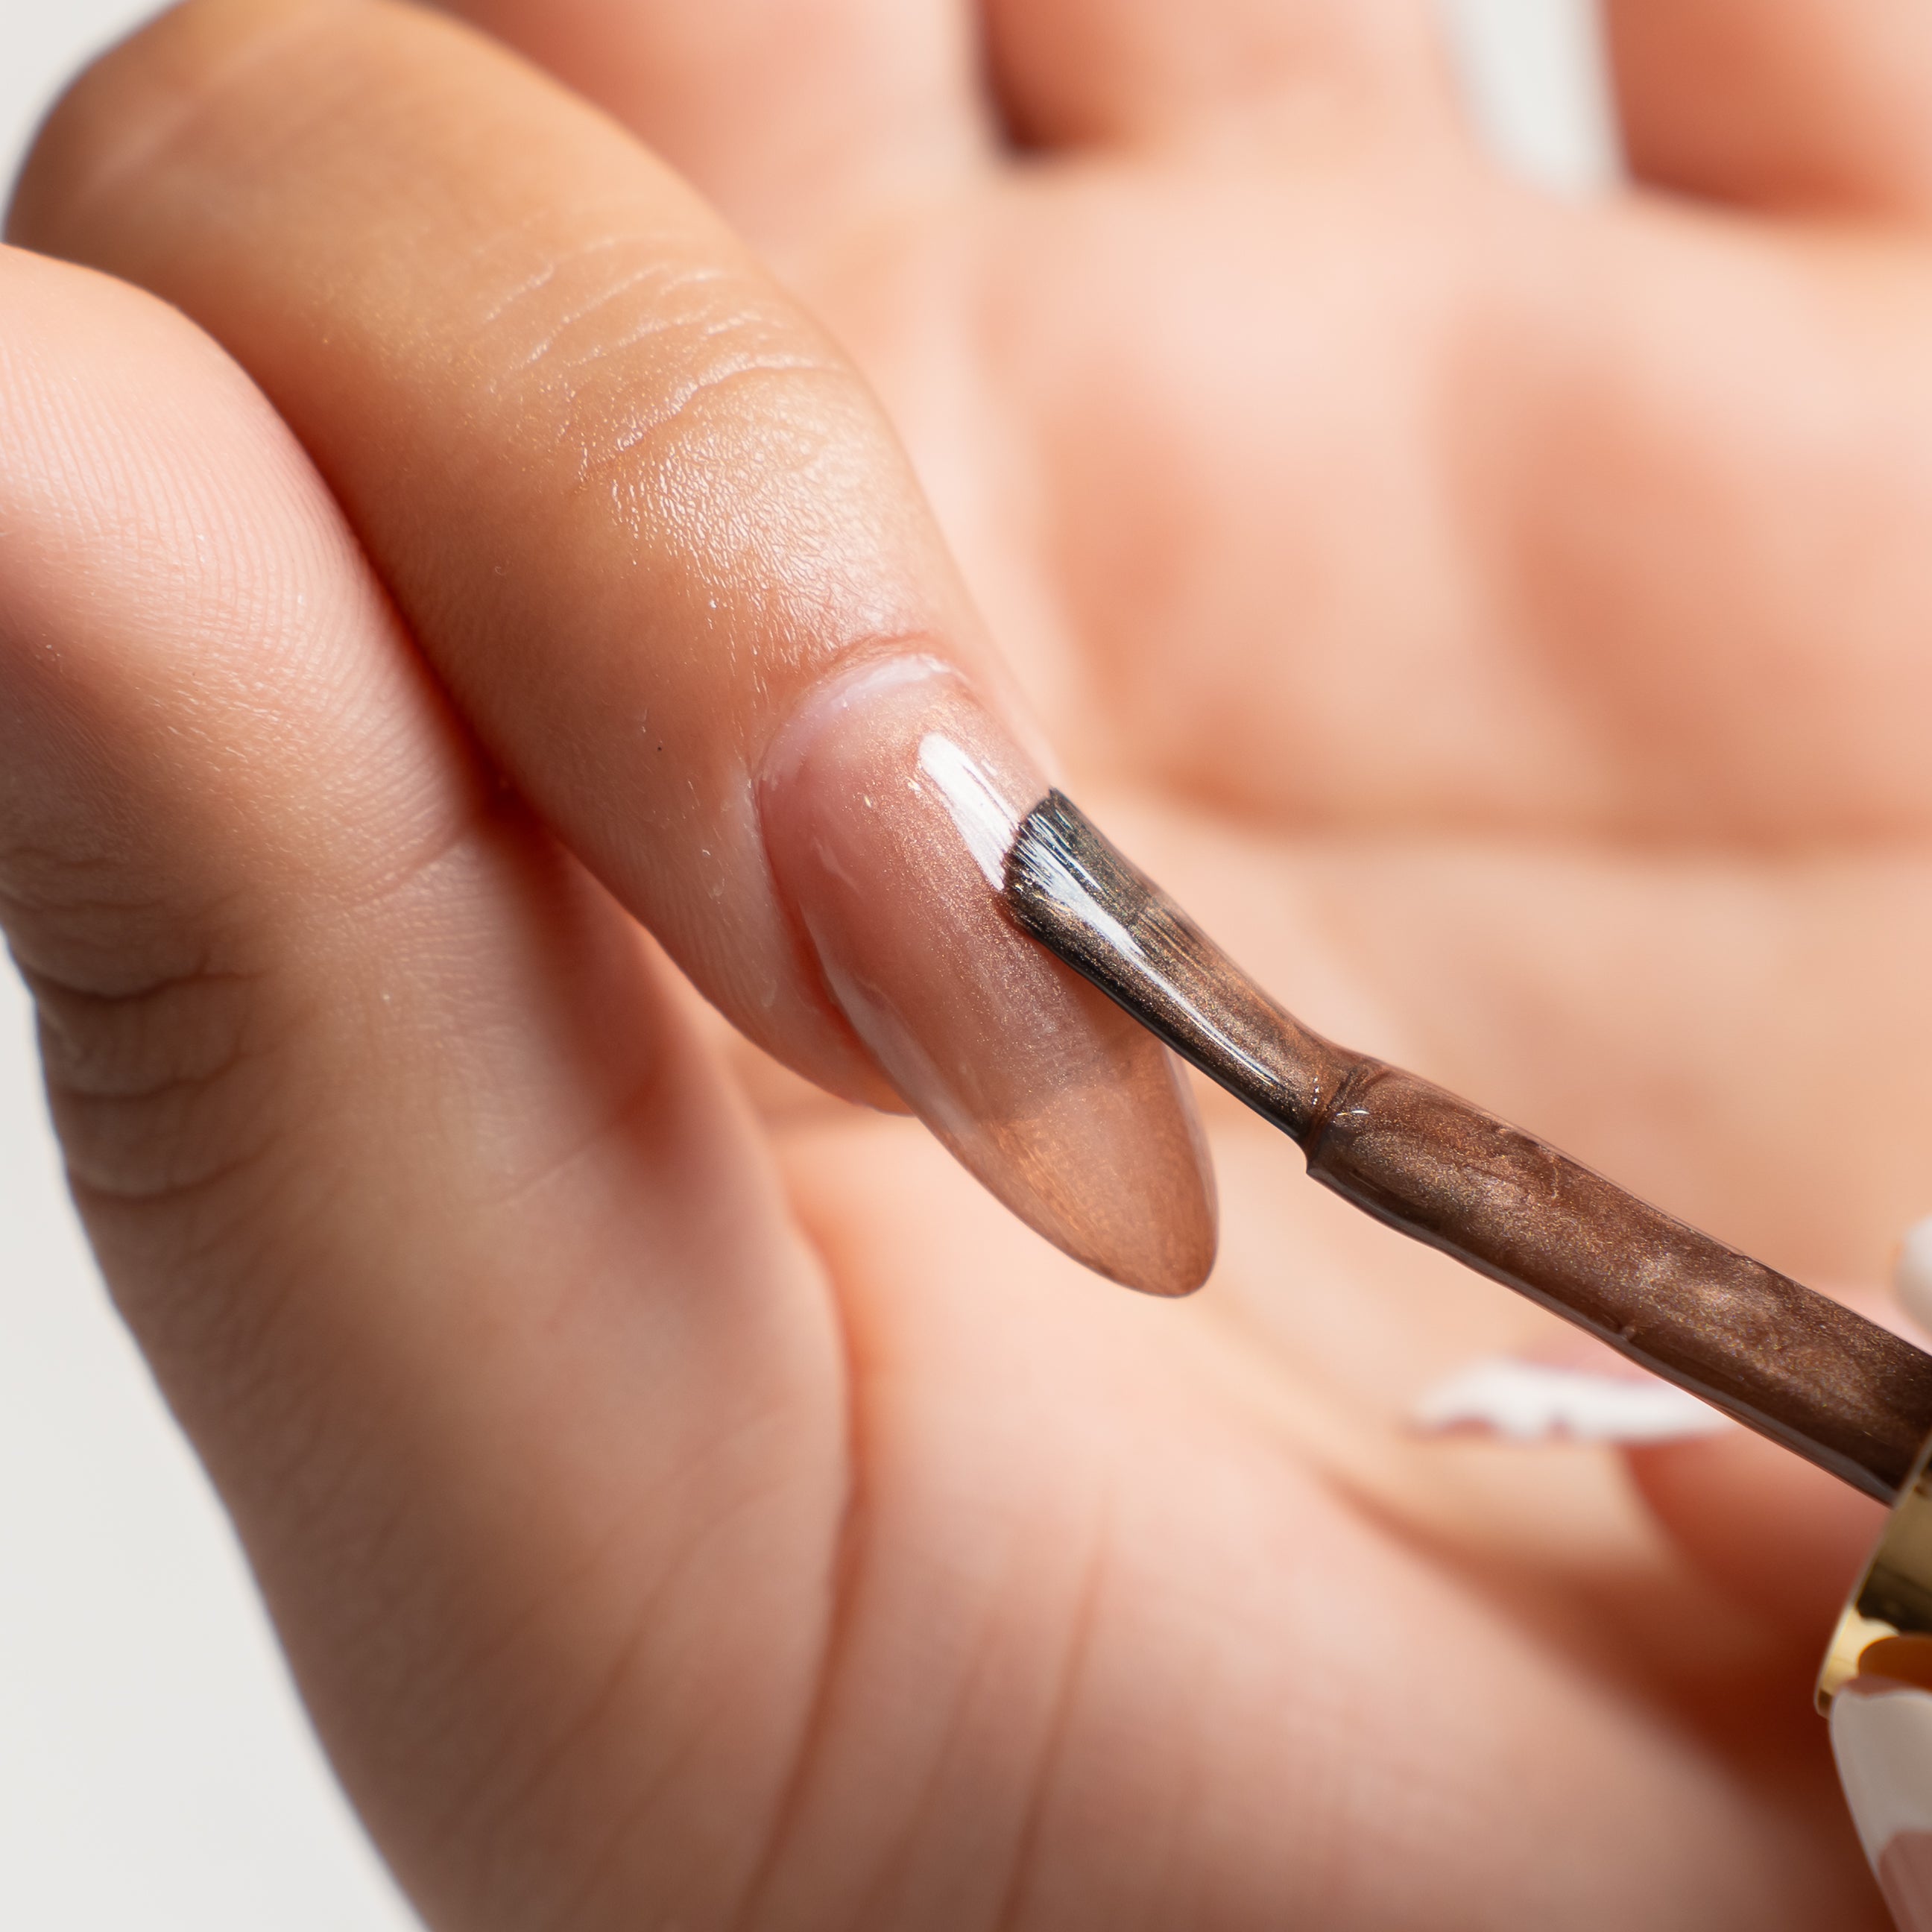
STEP 2
Apply a thin layer + cure.
Apply a thin, even layer and cure to create a smooth base for the effect layer.
This step can be applied over acrylic or gel polish to modify the cat eye tone.
For the richest, most dramatic result, use a black base.
Step 3
Apply a second coat (normal amount).
This is your “effect layer.” Too thin = weak. Too thick = blurry.
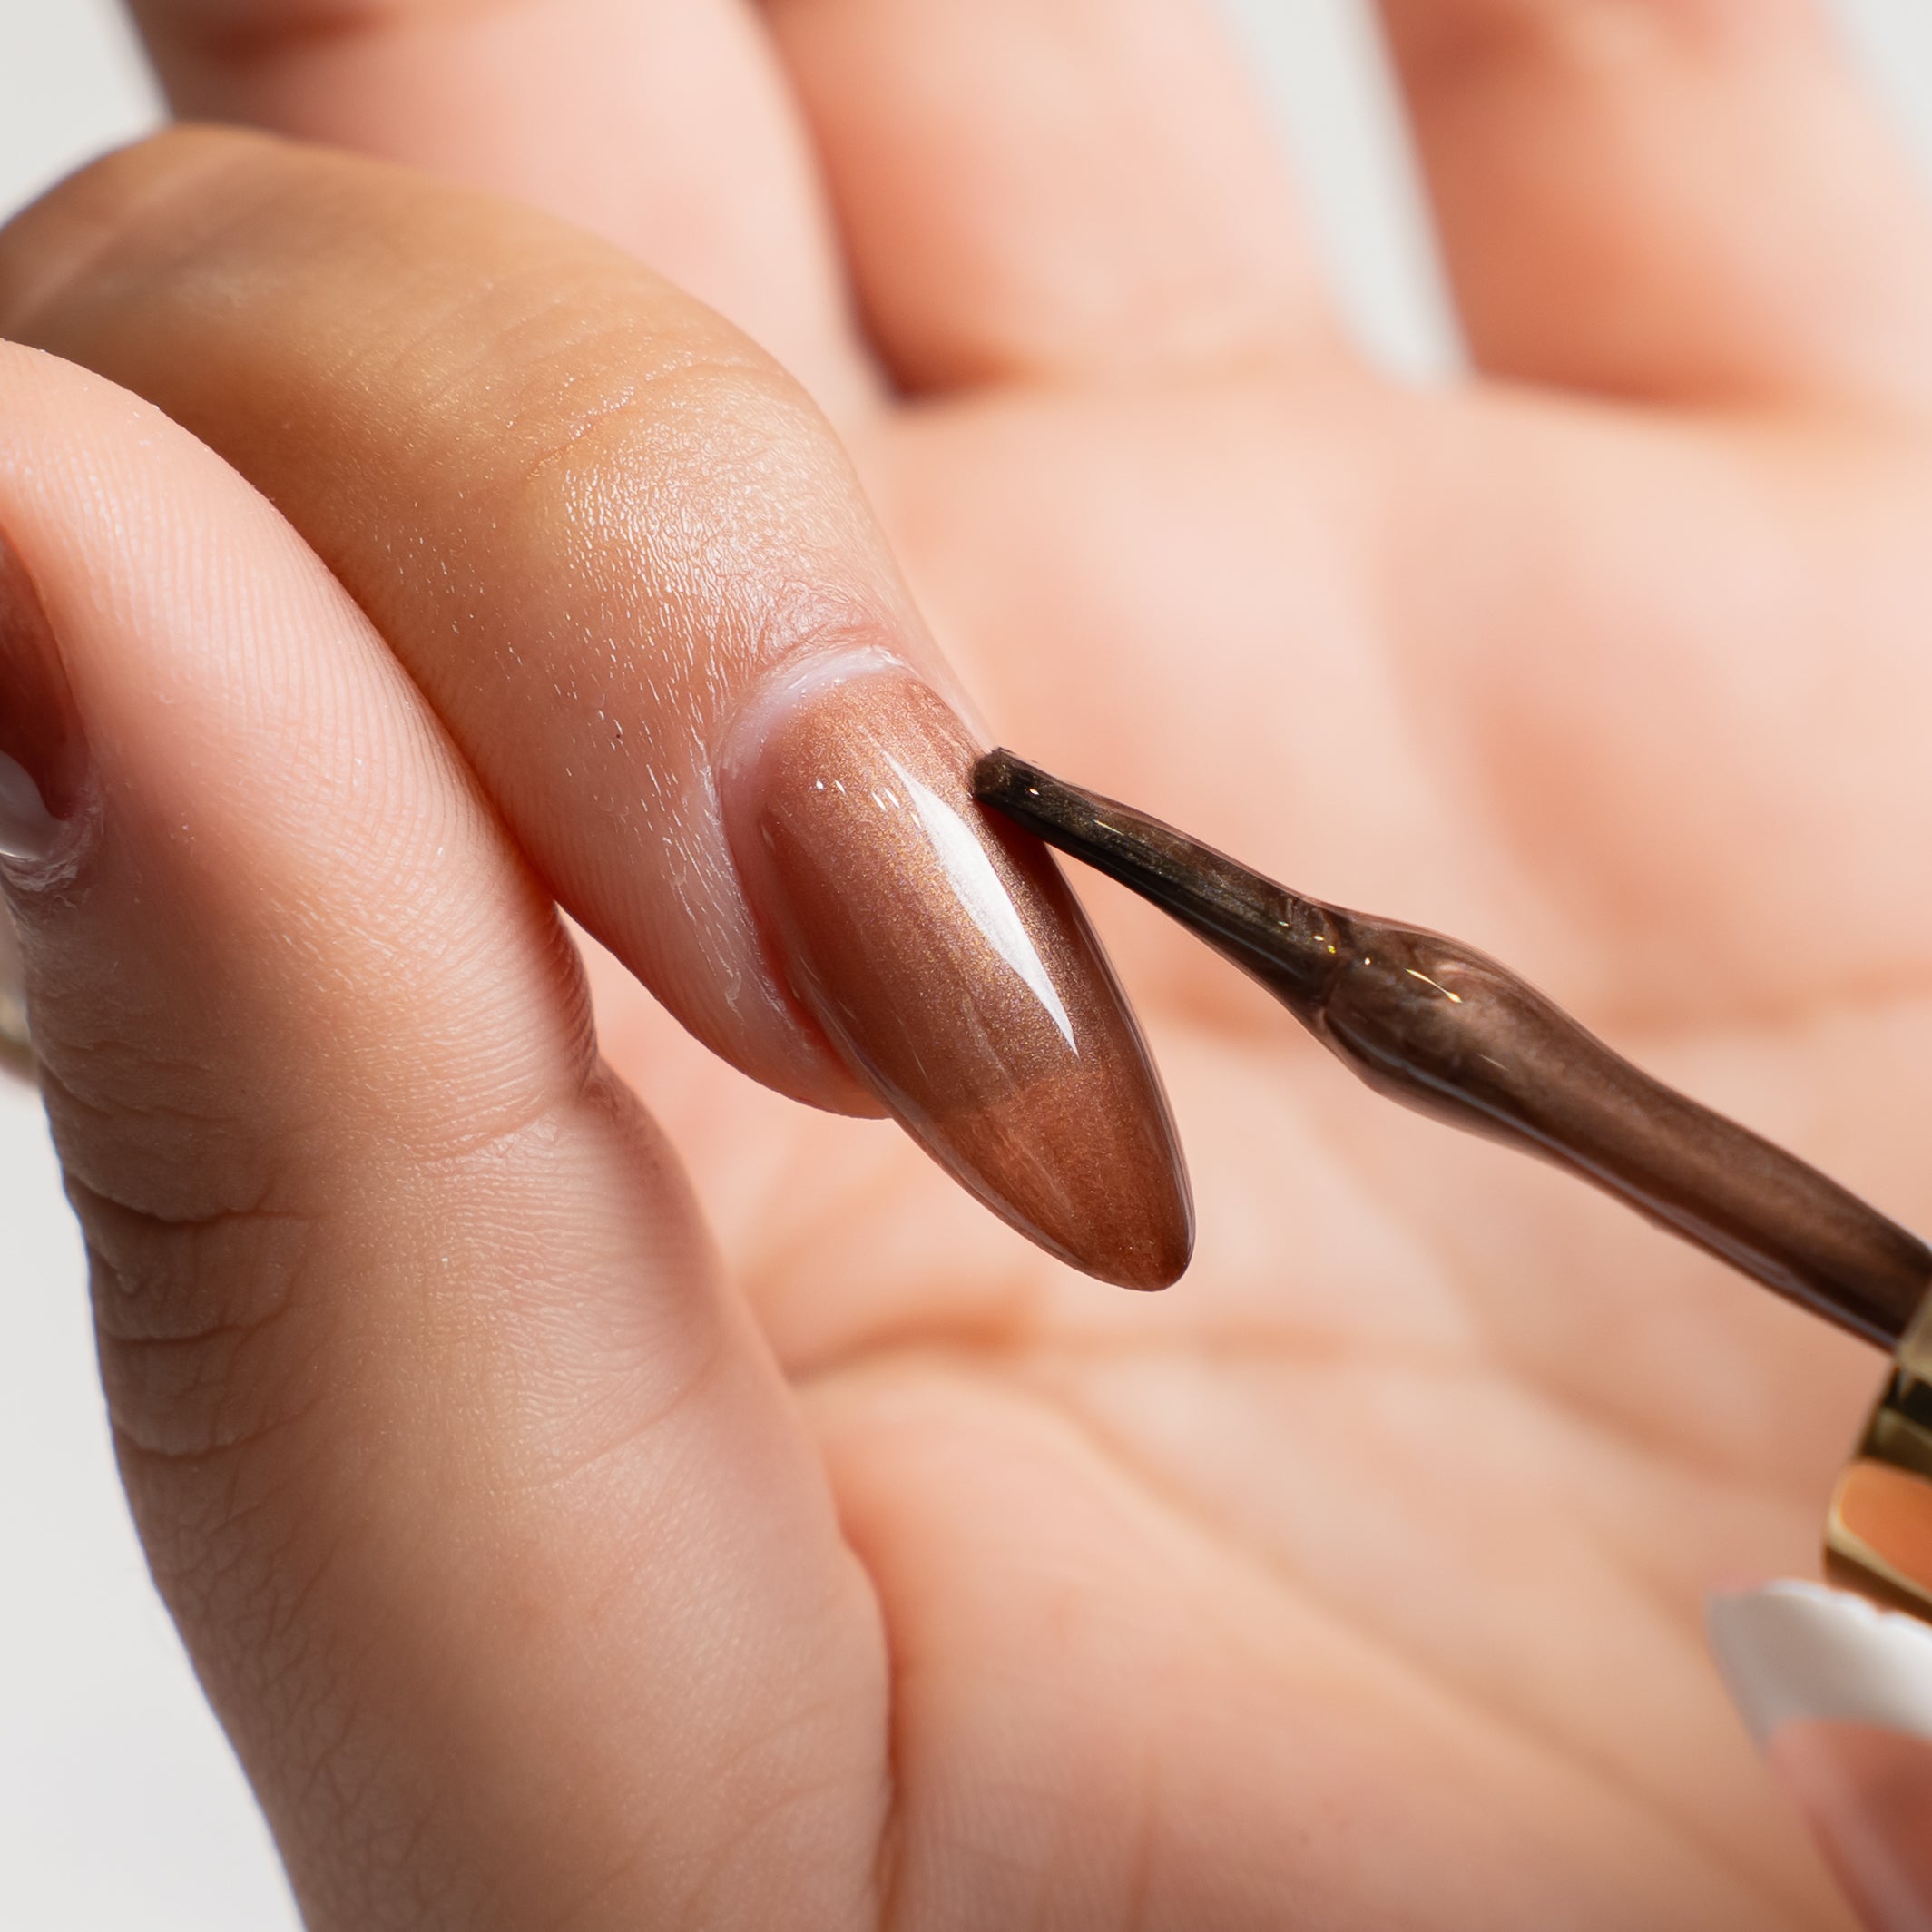
Step 4
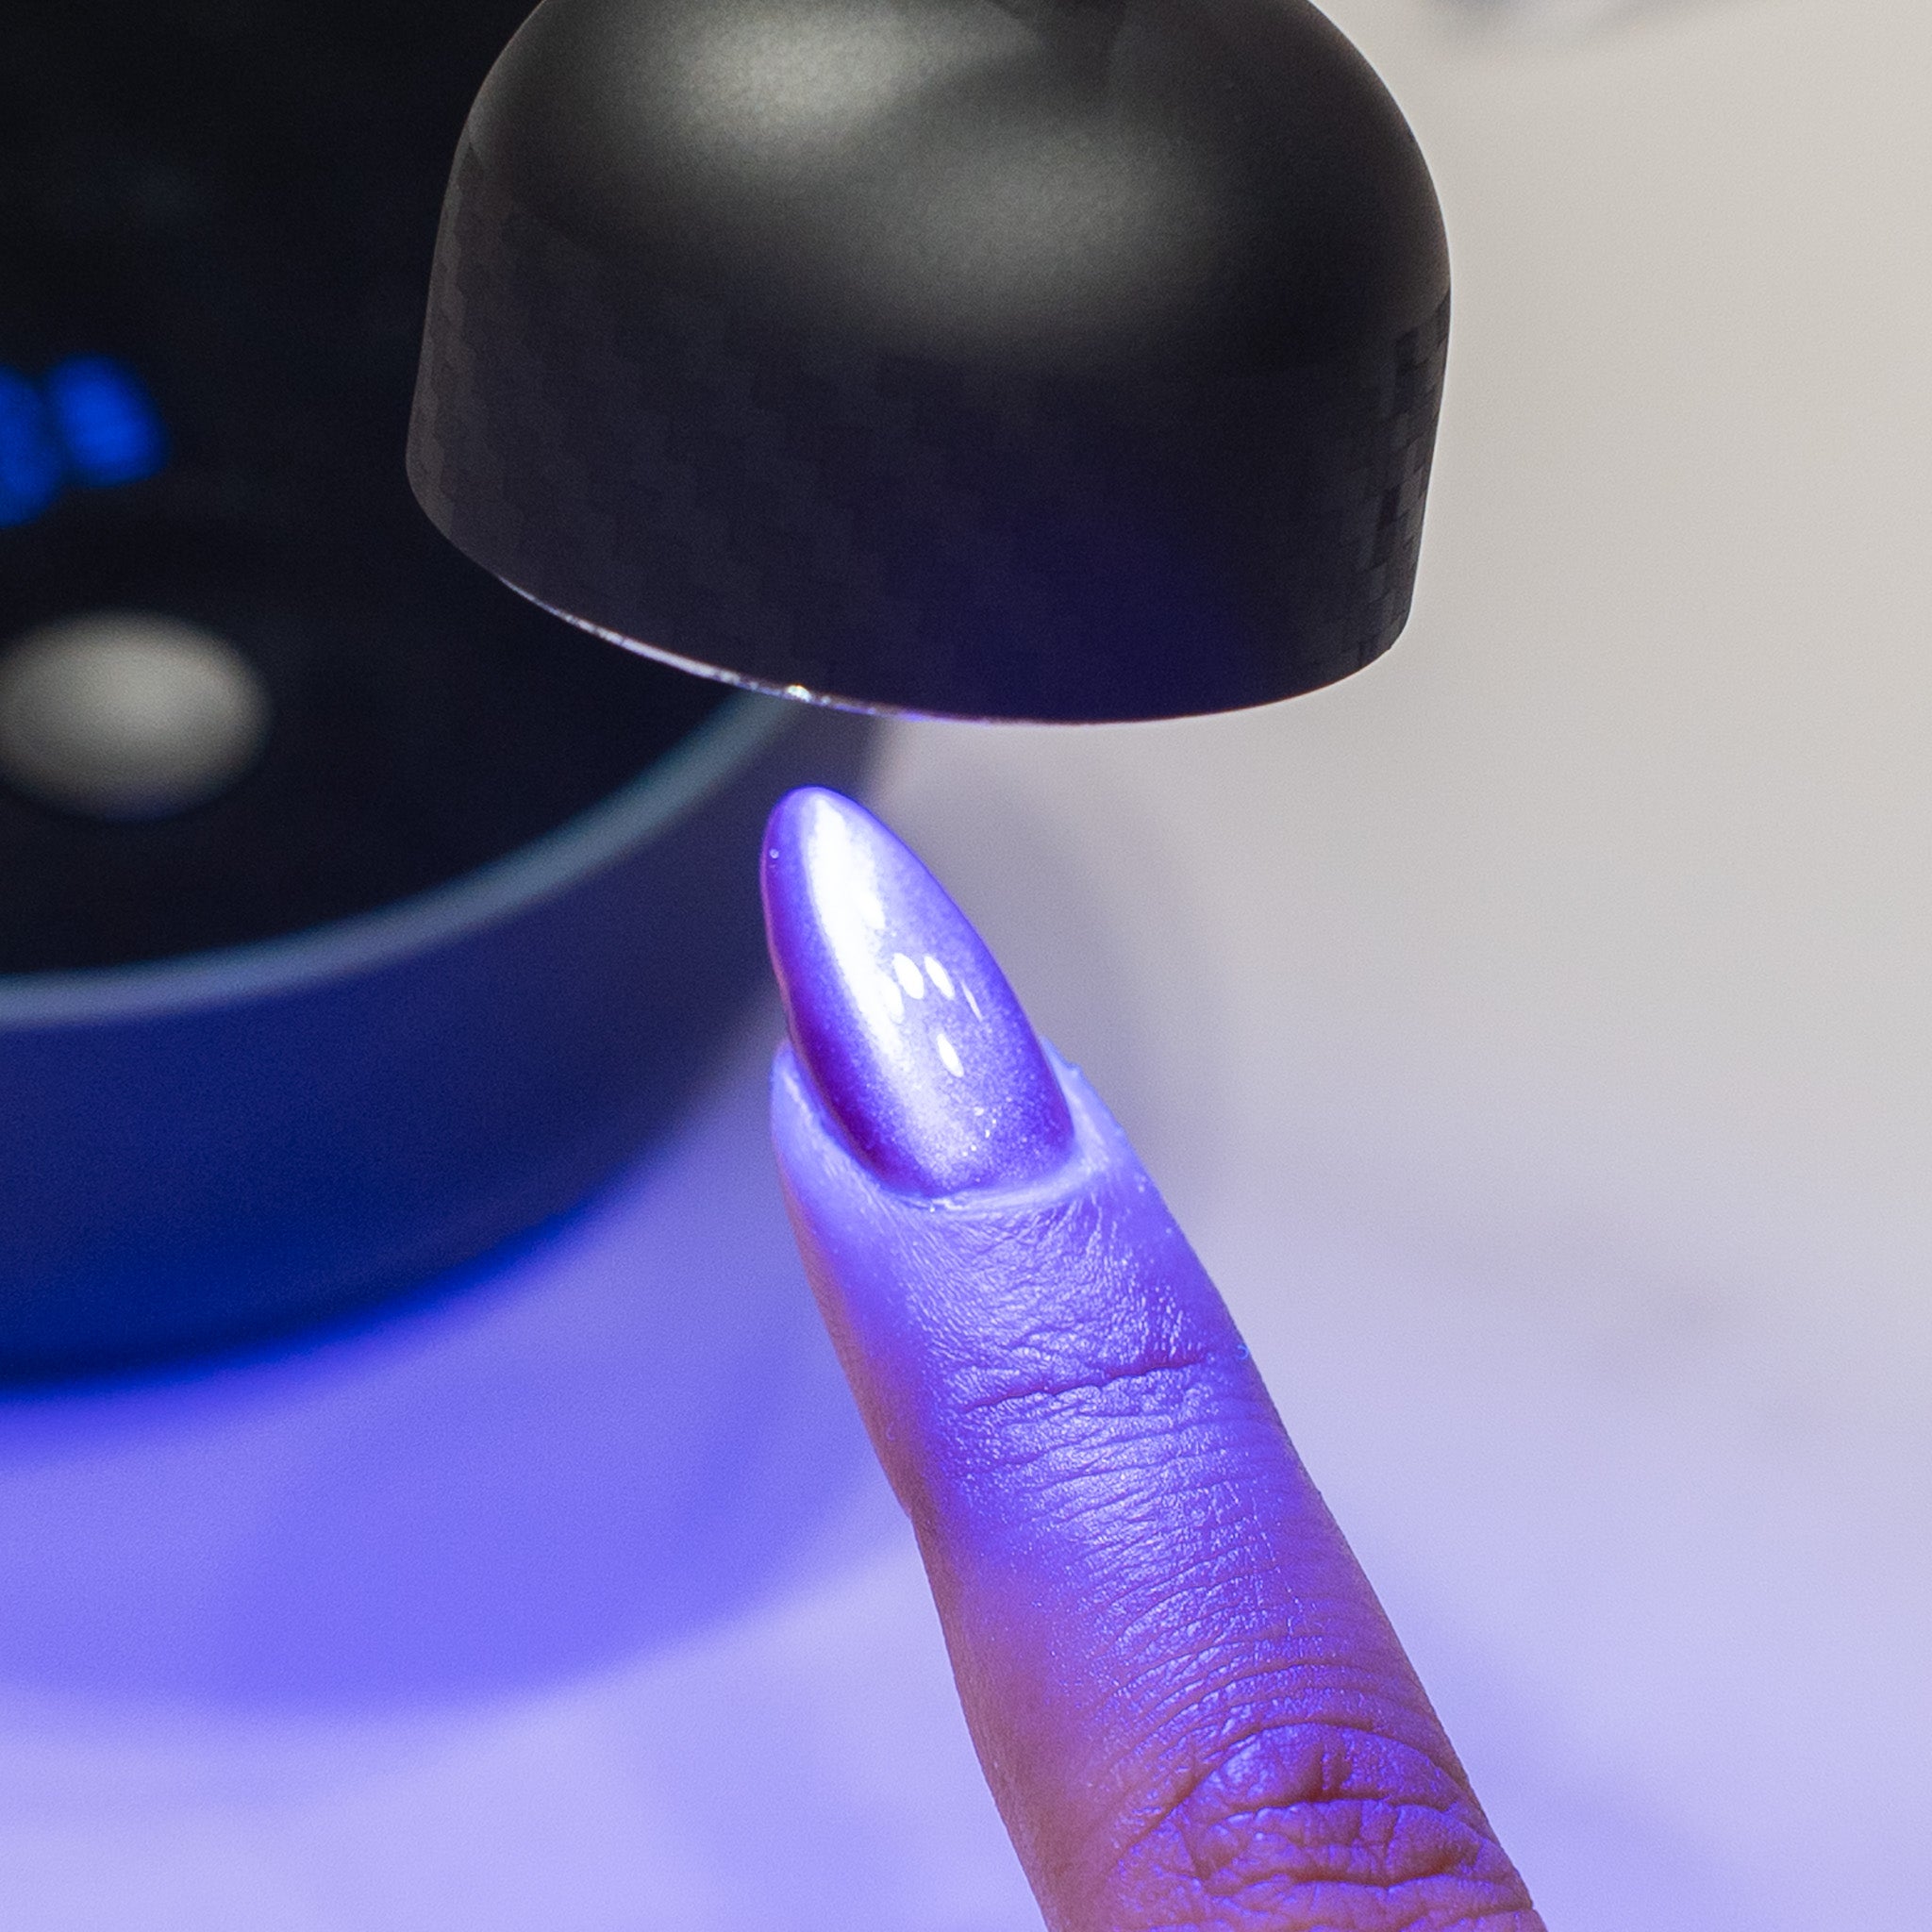
CREATE THE MAGNET EFFECT
Hold magnet 1–3 mm away for 5–10 seconds (don’t touch). Work one nail at a time.
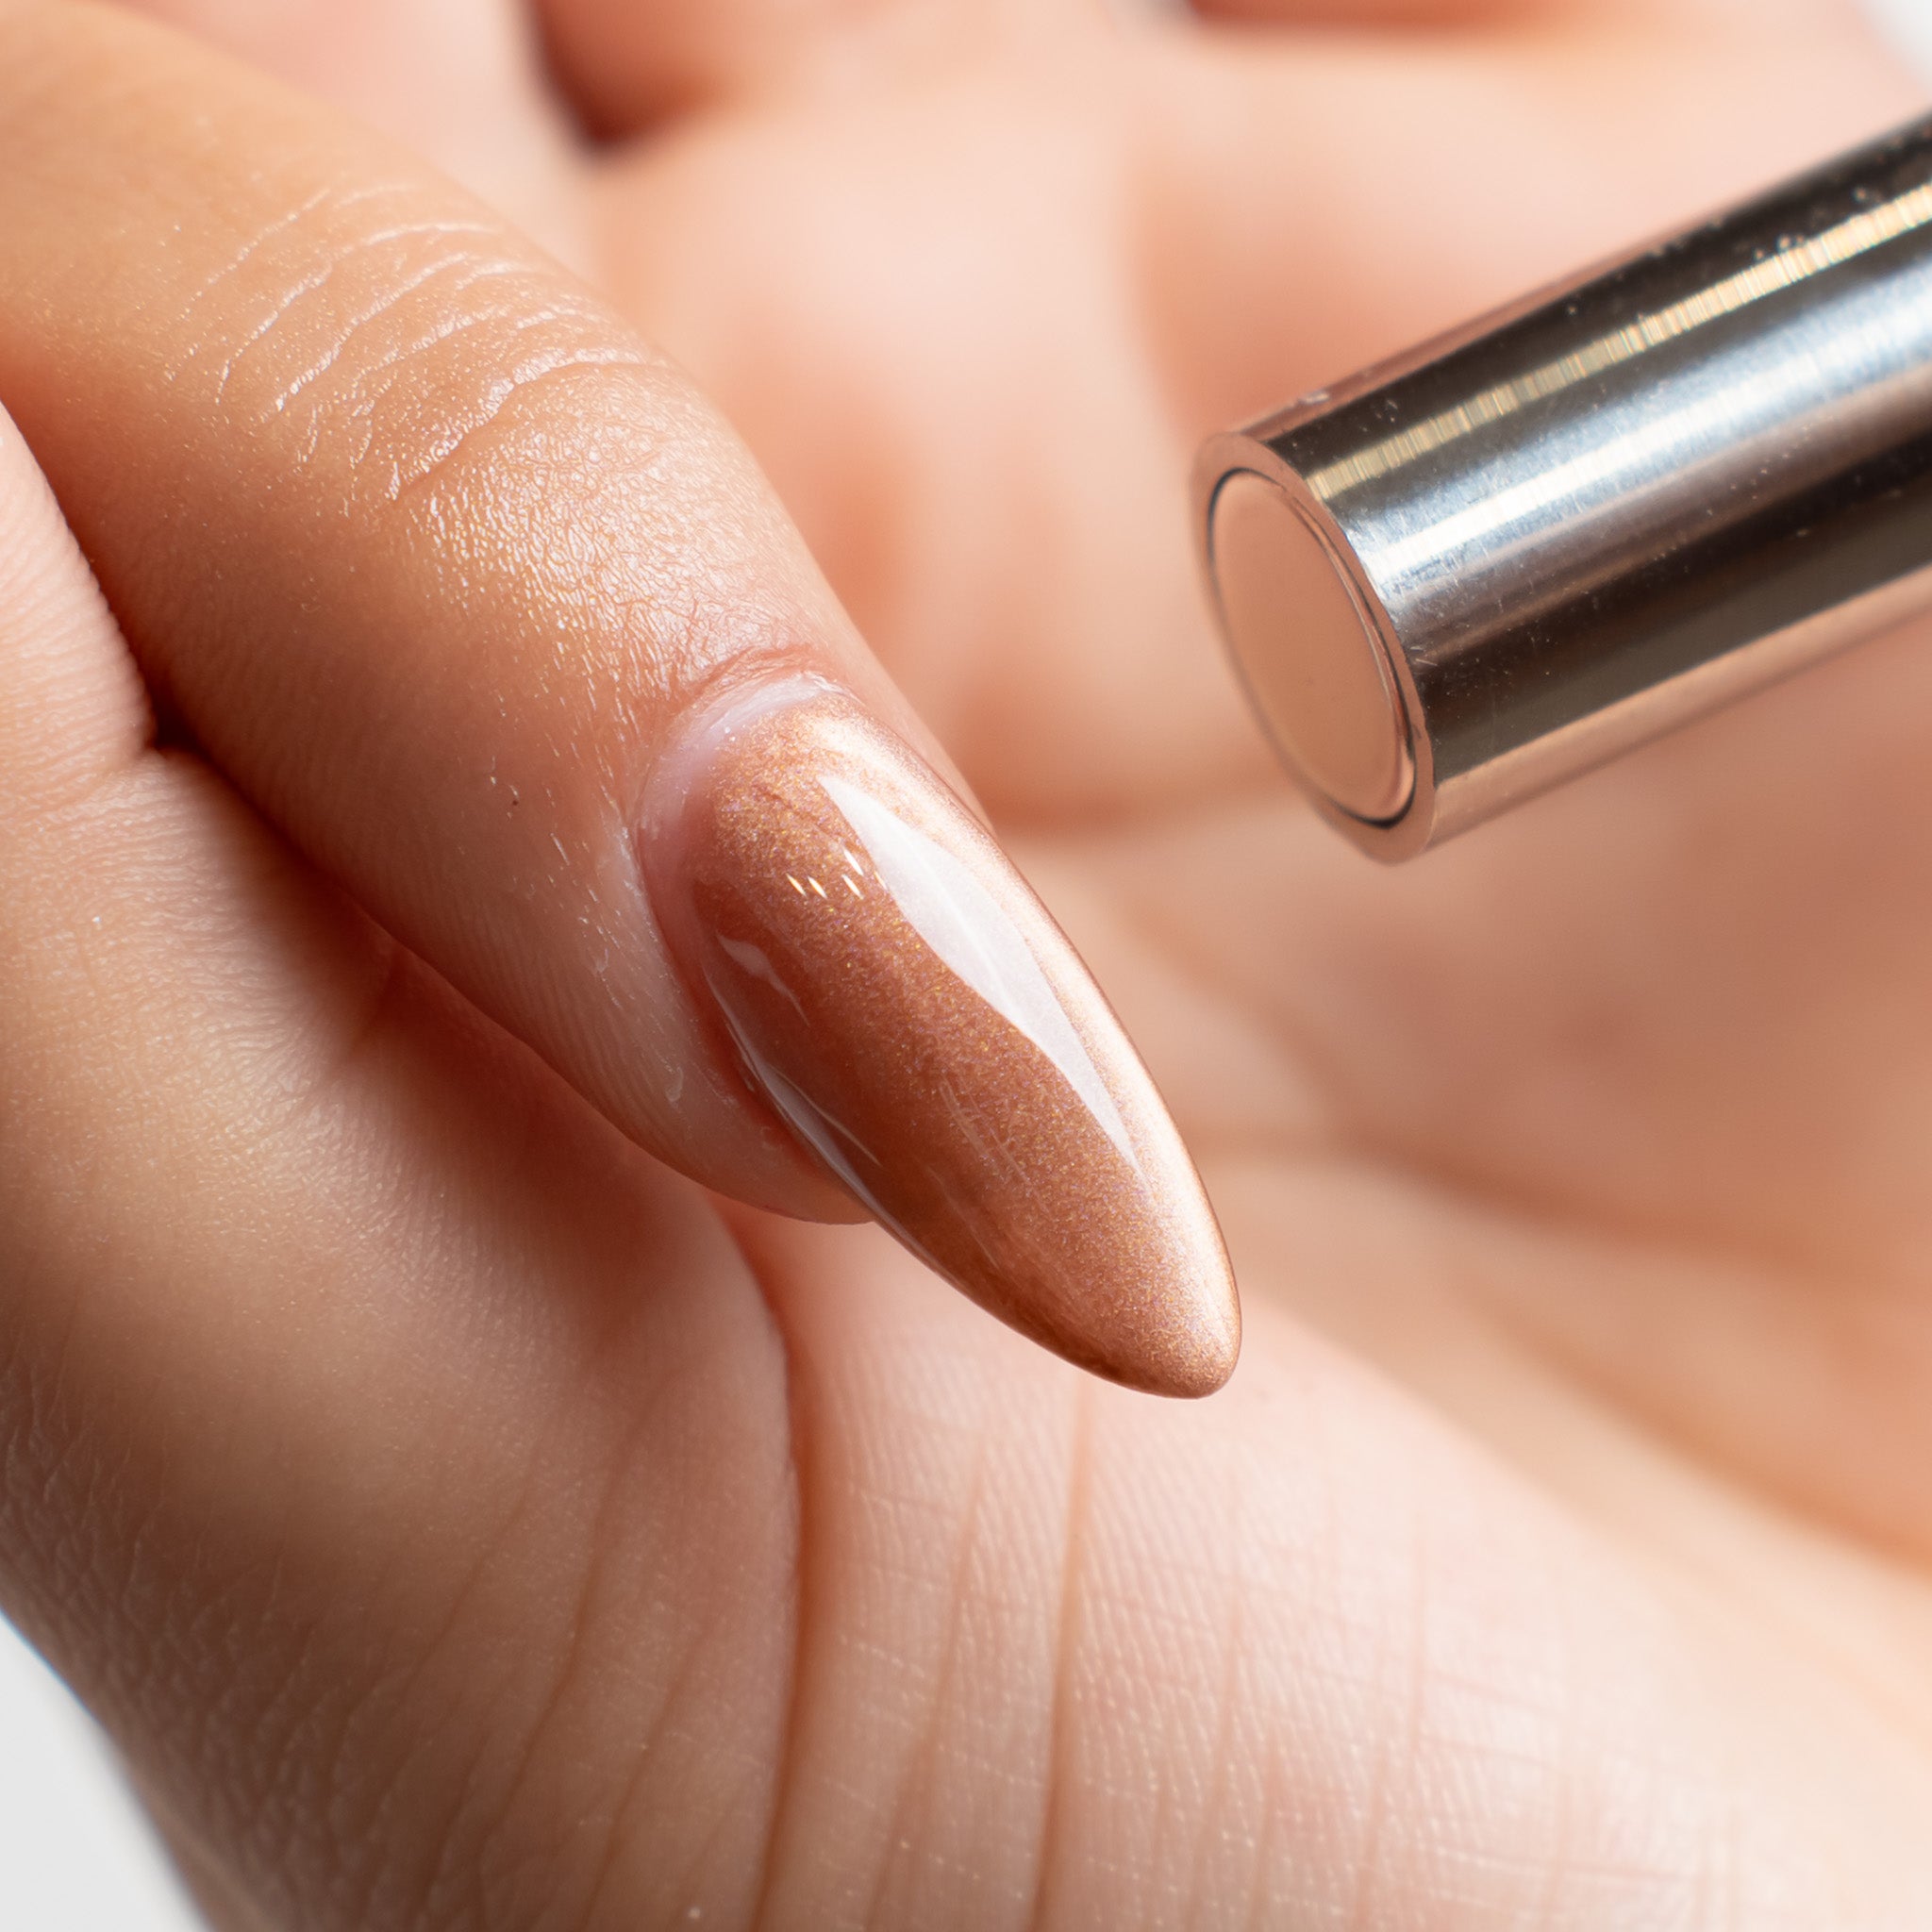
Step 5
Cure immediately to lock the pattern.
Cure 60s LED (or 90–120s in lower-power lamps).

Step 6
Add Lumi Nosa Lux Top Coat for max durability + Cure
Seal, add shine, and protect the design. Cap the free edge for best wear.
FAQ
Is this safe to use, and what makes your formula different?
Answer: We take safety and performance seriously and most of our producstt have been HEMA & TPO free since 2020. Our Cat Eye Gel is made for professional results with a smooth, controlled application and reliable curing. We’re transparent about what matters: our formula is HEMA & TPO free, and we recommend thin, even coats with proper curing to help ensure a durable, comfortable wear. If you ever have questions about compatibility, curing lamps, or application, our team will help you get it right.
What if I don’t get the cat-eye effect—will you help me troubleshoot?
Answer: Yes. Cat eye is technique + magnet distance, and small changes make a big difference. If your effect isn’t crisp, message us with a quick photo or short clip and we’ll tell you exactly what to adjust (layer thickness, magnet position/time, base color, or curing). We’d rather help you perfect it than leave you guessing—because when applied correctly, the results should be clean and consistent.
Why isn’t the cat eye effect showing / my magnet isn’t working?
Answer: It’s almost always one of these:
- Magnet is too far away (keep it close—hover, don’t touch). The effect gets stronger the closer/steadier you are.
- Polish layer is wrong (too thin = weak effect, too thick = blurry).
- You waited too long before curing (the particles drift back).
- Pigment wasn’t activated (some pros “wave” the magnet over the nail first to get particles moving).
Do I need a black base coat under cat eye gel?
Answer: You don’t have to, but black (or a deep base shade) gives the strongest, most dimensional pop and makes the shimmer look brighter and cleaner.
Tip: For softer looks, use a nude/neutral base; for maximum “luxury beam,” use black.
How long do I hold the magnet, and how close should it be?
Answer: Most people get the best results at about 5–10 seconds, hovering close to the nail without touching.
Reality check: Different magnets and formulas vary—closer + steadier usually beats holding it forever.
Why does my line look blurry or patchy?
Answer: Blurry/patchy usually comes from application technique:
- Too much product → particles spread out and the line turns foggy.
- Not even layers → streaking and patchiness.
- Not curing properly → the design can shift or look uneven.
- Also: applying thin, even layers matters—both for results and to avoid issues from uncured gel.
Fix: Thin anchor coat + cure, then a controlled second coat for magnetizing (your method is spot-on).
Can I layer cat eye gel over other colors, and will it still work?
Answer: Yes—layering is one of the best parts of magnetic gels. You can apply cat eye over a cured base color to change the vibe (deep, bright, moody, neutral) while keeping the magnetic effect.
Best practice: Keep the cat eye layer as the “effect layer” you magnetize right before curing.